Inserting floors and groups
The definition of floors and groups in the program is necessary for the subsequent insertion of elements such as columns, screens or walls from floor to floor, or beams and floor slabs on each floor.
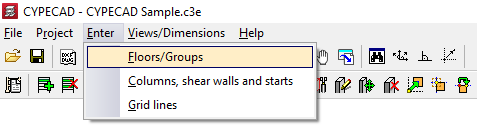
To enter floors and groups in CYPECAD, within the "Column input" tab, open the "Input" menu and select the "Floors/Groups" option.
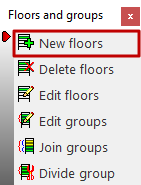
This opens a menu that includes the following option:
- New floors
This feature is detailed below.
New floors
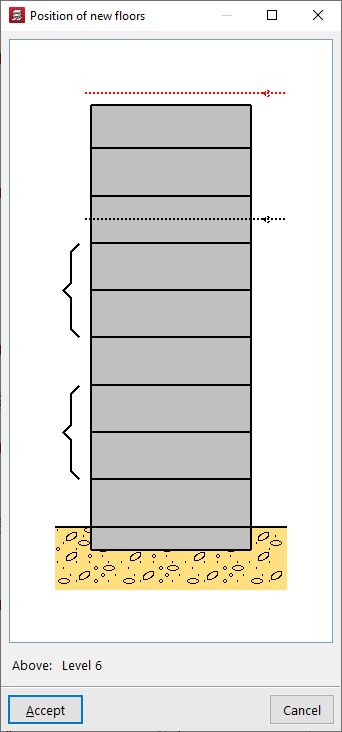
When clicking on the "New floors" option, if other floors have been entered previously, the "Position of new floors" must be indicated in relation to the existing ones by clicking on the desired position in the diagram.
If no other floors have been entered previously, the program will skip to the next step.
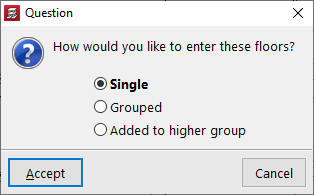
Now, a dialogue box appears asking how you want to enter the sloors, either "Single" or "Grouped".
If floors have been entered previously, they can also be grouped with the floors below or above using the options "Grouped below" or "Grouped above", which will be available in this case.
Entering single floors
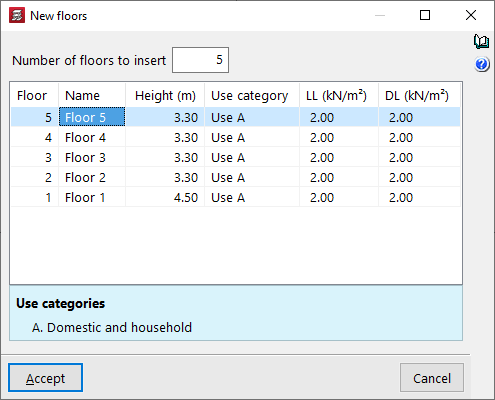
When entering "Single" floors, in the window that appears next, "New floors", first enter the "Number of floors to insert" to generate the same number of rows in the table.
Each row represents a "Floor", with its "Name", "Height" (distance between the upper faces of the slabs), the "Use category" of the live load associated with the floor, the numerical value of this live load (column "LL") and the numerical value of the dead loads (column "DL").
The surface load indicated here (both live load and dead load) will be automatically applied to the surface of all structural elements drawn on each floor, such as beams and slabs.
| Note: |
|---|
| It is not necessary to add the weight of the structure itself, as this is automatically taken into account by the program. |
Entering grouped floors
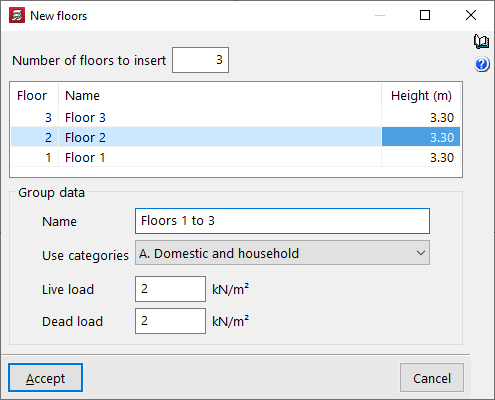
When entering grouped plants, the programme allows you to define the "Number of plants to insert" in the "New plants" window. This automatically adds rows to the central table. Here you can define the "Name" and "Height" of each plant in the group.
At the bottom, you can enter the "Group data". To do this, enter the "Name" of the group, select one of the available "Categories of use" and enter the numerical values for the "Live loads" and the "Dead loads".
The live load and dead loads defined here will apply to all floors in the group.
| Note: |
|---|
| Groups are sets of consecutive floors that are identical to each other and have a single output of results. Data entry will be the same for all floors in the group. After the analysis, the envelope results for all floors will be displayed. The design and reinforcement will be unique, allowing the output of a single valid plan for all groups. |