CYPECAD - Inserting walls on other walls
The "Insert walls on other walls" option in the "Walls" menu of the "Beam input" tab allows you to insert a wall on top of an existing one.
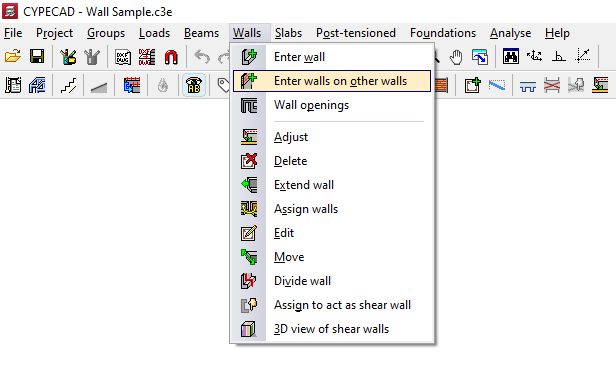
To do this, you need to position yourself on the top floor of a wall or several walls that have already been inserted and click on the option.
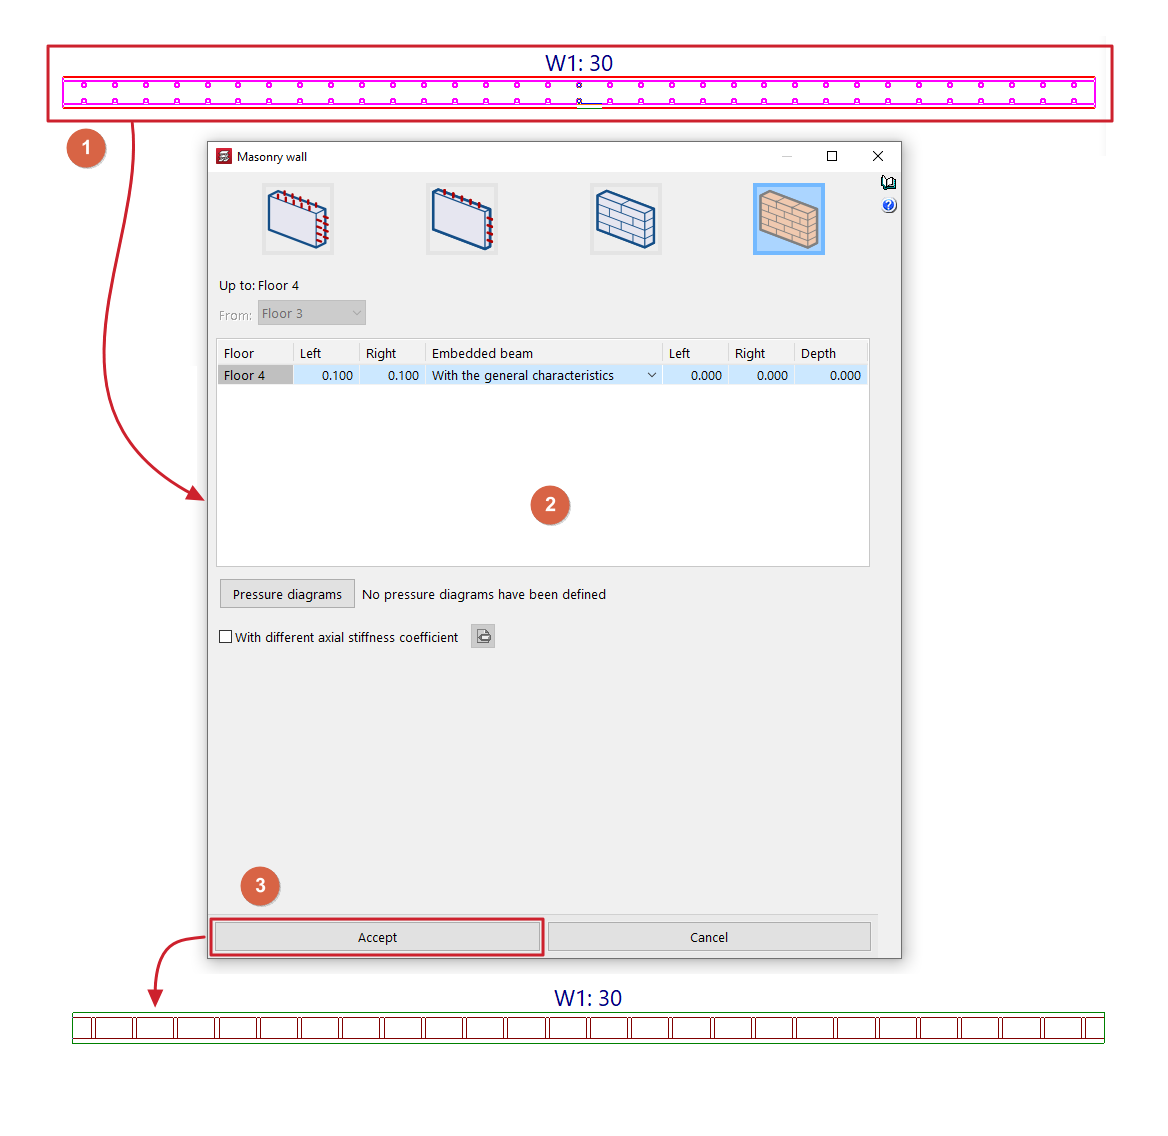
Next, select the previous walls by clicking on them one by one with the left mouse button or by using a capture window (1). To finalise the selection, click the right mouse button.
This opens a window where you can define the characteristics of the new wall or walls to be inserted (2), including their final floor. The "From" parameter, which defines the initial floor of the new wall, will be locked and its information will have been taken from the final floor of the lower wall.
After clicking "Accept" (3), the new walls will be inserted, taking the position of the lower walls on the floor plan.
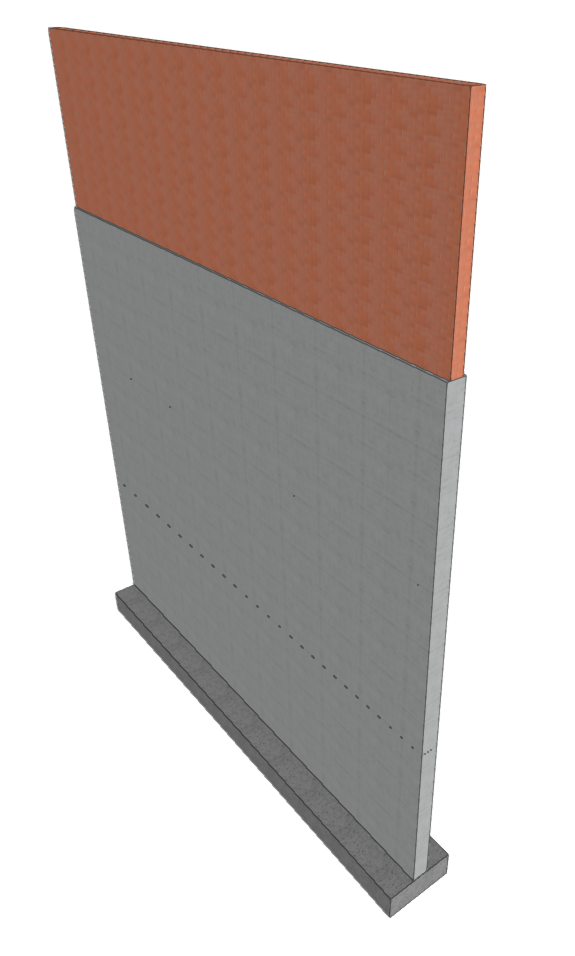
This option allows you to insert walls on top of others of different types or materials, making it possible, for example, to define reinforced concrete walls on lower floors and masonry walls that rise above them.
| Note: |
|---|
| The program will not allow you to insert a reinforced concrete wall on brick or block masonry walls. |