Layout of foundation elements on the floor plan
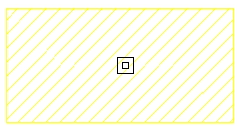
Once you have accepted the foundation element definition, if you move the mouse pointer over a support, it will turn yellow. The pointer takes the form of two concentric squares. If you click at this point, the foundation element will be positioned centrally beneath the support.
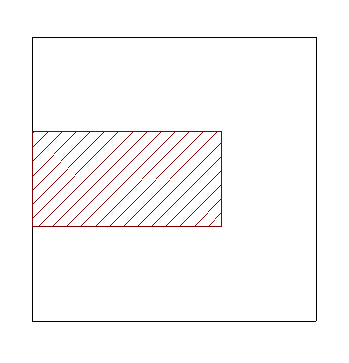
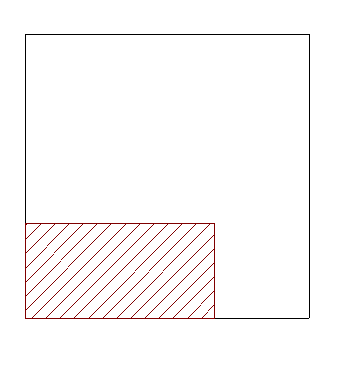
If you have chosen an eccentric footing, and the mouse pointer is positioned outside the bracket whilst the bracket is still selected, you can insert a corner or partition footing. The shape of the pointer indicates what the footing will look like.
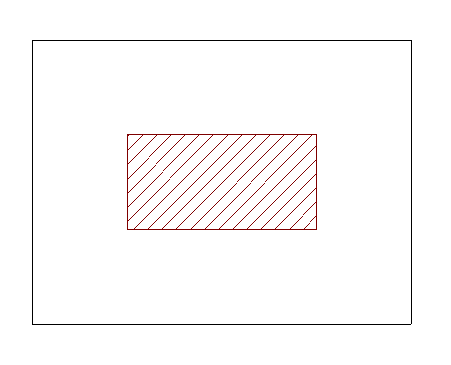
You can click on the support again to reposition the foundation element.

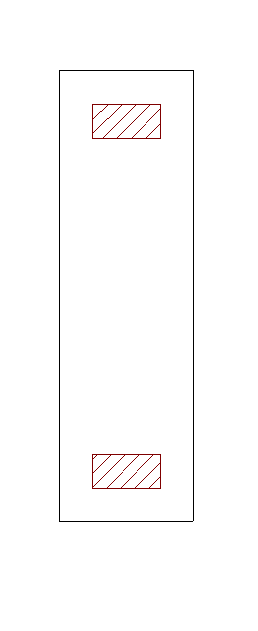
Layout of multi-column foundation elements on plan
If you have selected the “Multi column elements” option, after confirming the element definition window, you must click on several supports in succession – whether they are columns, screens or walls – or make your selection using a window.
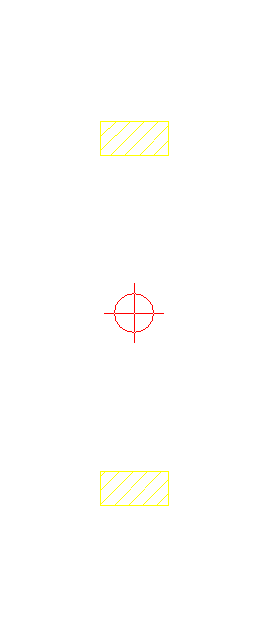
Once the selection is complete, click the right mouse button. At this point, the insertion point for the foundation element appears; this is represented by a small circle with a cross and is located at the geometric centre of the selected set of supports.
As with the insertion of single-column elements, the shape of the pointer will indicate the type of footing: centre, corner or party wall. Clicking on this point will place the foundation element beneath the column group. The angle of the footing will be taken from the angle of the first column inserted.