
Setting up views of slab reinforcement and waffle slabs
The "Views" option, available in the "Flat/Waffle slabs" menu on the "Results" tab, allows you to select the type of slab and waffle slab reinforcement you wish to view and then configure how it is displayed.
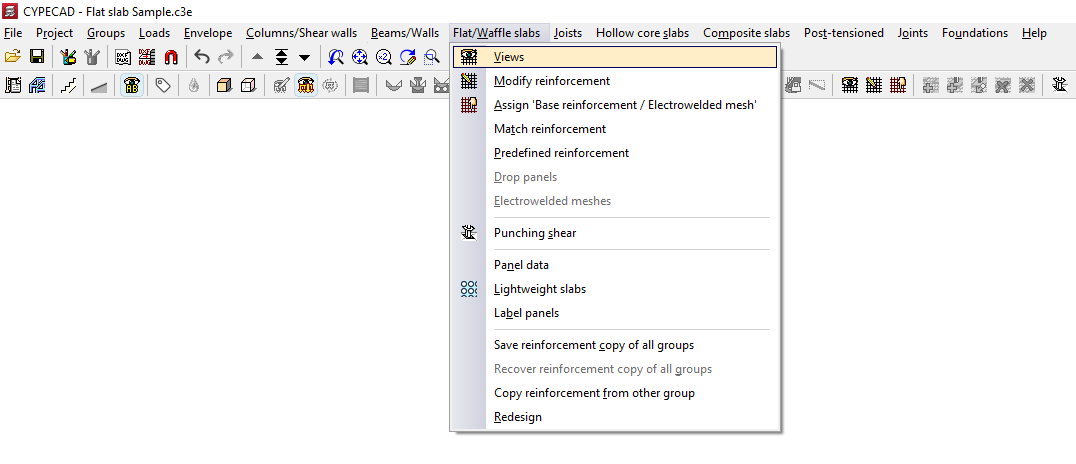
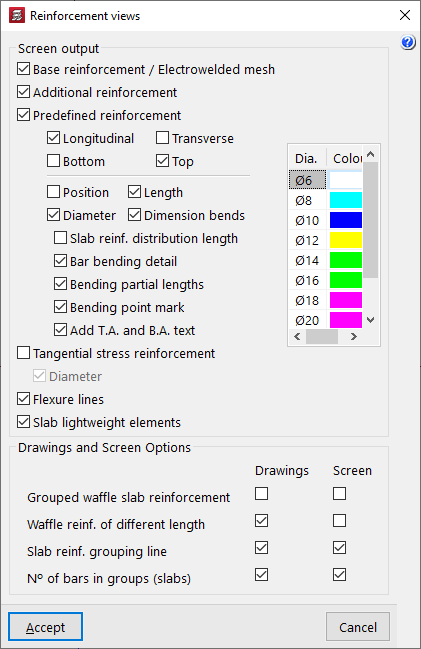
After clicking on this option, the "Reinforcement views" window opens. The "Screen output" section contains the following options for displaying results on screen:
- Base reinforcement / Electrowelded mesh (optional)
Enables the display of the base reinforcement (added using the "Assign 'Base reinforcement / Electrowelded mesh'" option in the "Flat/Waffle slabs" menu). The base reinforcement is displayed with the label 'A.B.'. - Additional reinforcement (optional)
Enables the display of reinforcement. If base reinforcement has been entered for the panels and the options available under "Detail base reinforcement in drawings" (within "Project", "General data", "By position", "Flat, waffle and joist floor slab options"), the base reinforcement is not treated as such, but is considered as the first layer of the reinforcement, so the "Reinforcement" option must be enabled to display it on screen. - Predefined reinforcement (optional)
Enables the display of default reinforcement (inserted using the "Default reinforcement" option in the "Slabs/Grids" menu). - Longitudinal / Transverse / Top / Bottom (optional)
These options allow you to display the longitudinal and/or transverse reinforcement on the top and/or bottom faces of slabs or grid slabs, both in the base reinforcement (or welded mesh) and in the reinforcement or default reinforcement, depending on the boxes that have been ticked. - Position (optional)
Selecting this option displays all the dimensions required for setting out the reinforcement. These dimensions are shown in grey. - Length (optional)
Selecting this option adds the length of the bars to the reinforcement label. - Diameter (optional)
Selecting this option adds the diameter of the bars to the reinforcement label. - Dimension bends (optional)
Enabling this option displays a label showing the length of the bar's bends next to the bars themselves. - Slab reinf. distribution length (optional)
Displays a text field showing the width of the area over which each slab assembly is laid out. - Bar bending detail (optional)
For inclined panels, a bending diagram is drawn next to the bar. - Partial bending lengths (optional)
For inclined sections, the length of the bar on either side of the bending point is specified. - Bending point mark (optional)
On sloping surfaces, the bending point is marked with a line perpendicular to the axis of the bar. - Add T.A. and B.A. text (optional)
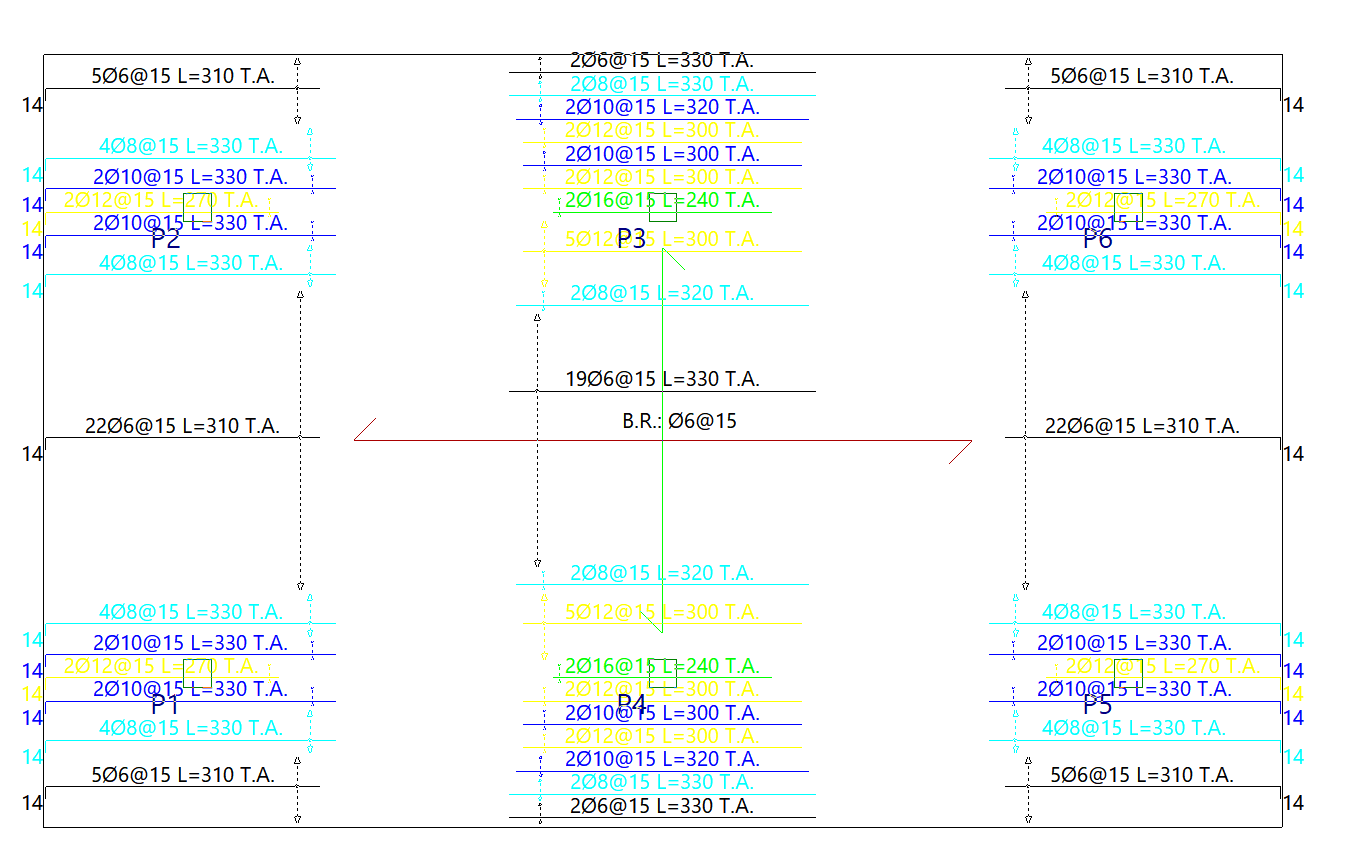
Selecting this option adds the 'T.A.' or 'B.A.' abbreviations to the reinforcement labels, depending on whether it is an upper or lower reinforcement. - Tangential stress reinforcement (optional)
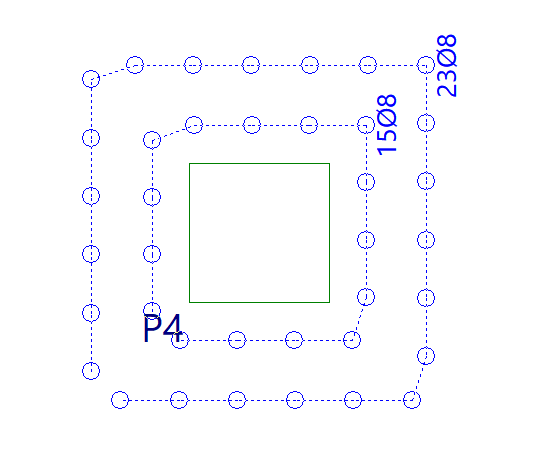
Activates the representation of the tangential stress reinforcement. The tangential stress reinforcement is represented by circles indicating the number of vertical bars to be placed and the spacing between them. Furthermore, if the maximum force is exceeded in a section, a red line will appear along with the label "Insufficient".- Diameter (optional)
Selecting this option displays labels showing the diameter of the reinforcement bars subjected to shear stresses.
- Diameter (optional)
- Flexure lines (optional)
Enables the display of defined bend lines. - Slab lightweight elements (optional)
Enables the display of the lightweighting elements for the slabs (added using the "Lightweight slabs" option).
In addition, on the right-hand side of the table, you can configure the colours of the reinforcement bars. Each diameter of the reinforcement bars is assigned a different colour to make them easier to read on screen. You can change this colour by double-clicking on it and then selecting a different colour from the colour palette that appears.
At the bottom of the dialogue box, under the "Drawings and Screen Options" section, there are various options for configuring the display of reinforcement in both the "Drawings" and on screen ("Screen"):
- Grouped waffle slab reinforcement (optional)
Selecting this option makes all the reinforcement in waffle slabs visible, even if they are grouped. We recommend that you do not enable this option on screen, as it slows down the redrawing of the reinforcement. - Waffle slab reinforcement of different lengths (optional)
Enabling this option displays grouped waffle slab reinforcement bars of different lengths as if they were not grouped. In other words, all reinforcement bars within the group are visible. This option has no effect if the "Grouped waffle slab reinforcement" option is enabled. As with the previous option, we recommend not enabling this on-screen, as it slows down the redrawing of the reinforcement. - Slab reinf. grouping line (optional)
Enabling this option displays slab reinforcement groupings with a line featuring an arrow at each end. If the option is not enabled, only the arrows at the ends of the line will be drawn. - Nº of bars in groups (slabs)
Enabling this option adds the number of bars per reinforcement group to the reinforcement label.
| Note: |
|---|
| Thus, the meaning of a label such as '10Ø8@15 L=300 R.S' on a reinforcement cage is as follows: 10 bars with a diameter of 8 mm, spaced 15 centimetres apart and 300 centimetres long, forming part of the top reinforcement. |