Show selected instances in Revit
Each Revit instance is uniquely identified in Arquimedes by an ID, which is exclusive to each Revit project. To avoid duplicates in Arquimedes when there are linked Revit projects, the acronym of the source project name is added to the instance ID to ensure its unique identification.
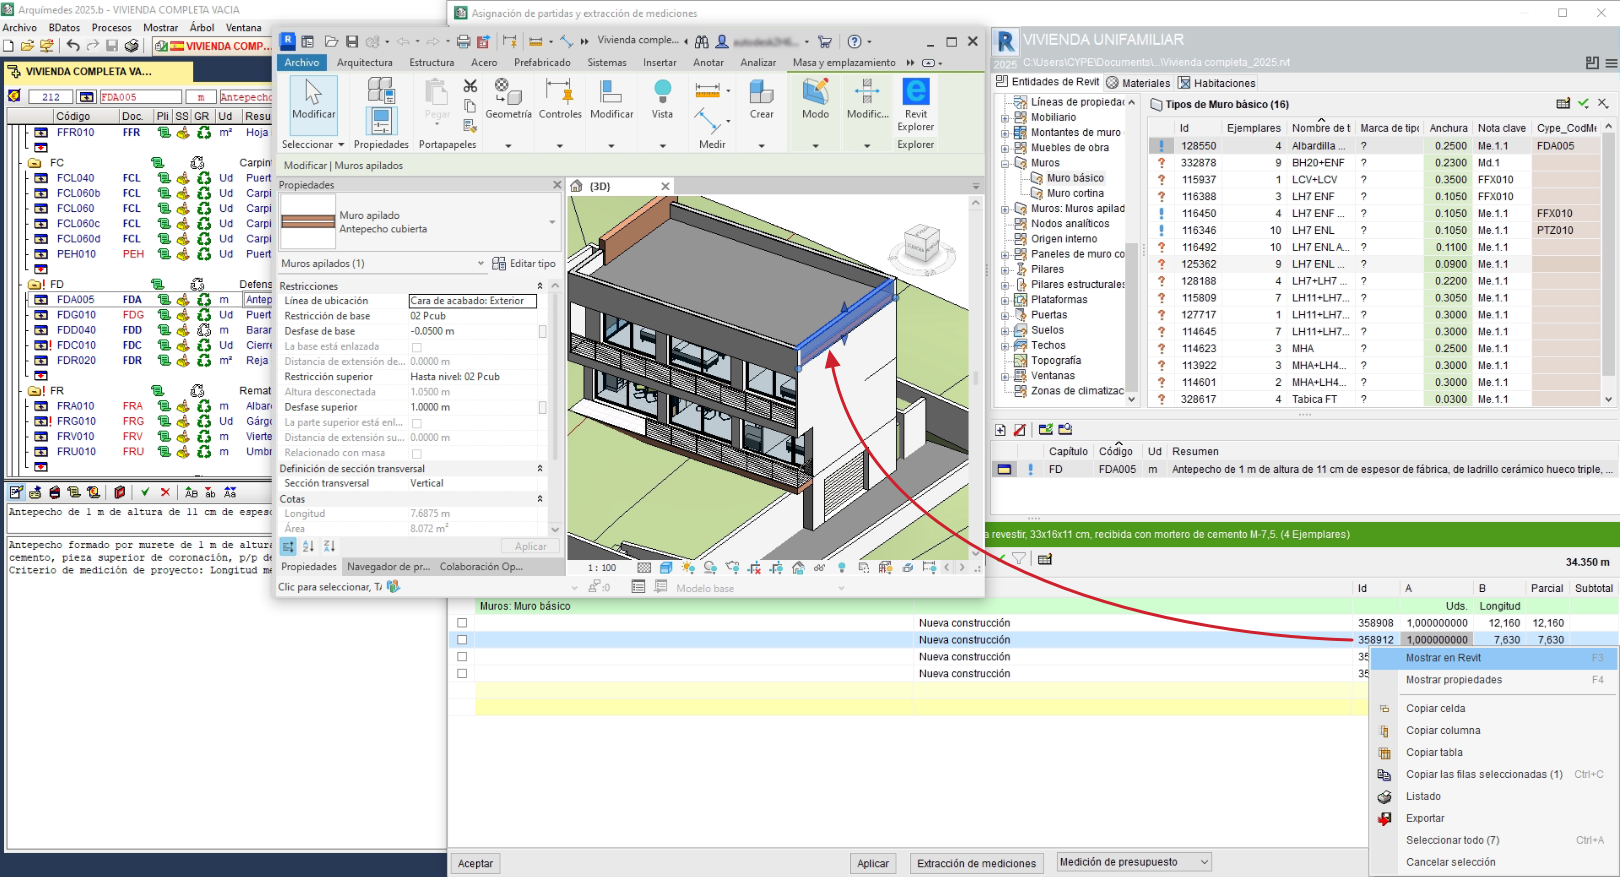
To show the selected instances in Revit from the dialogue "Assignment of items and extraction of quantities", there are several ways to do so:
Option 1
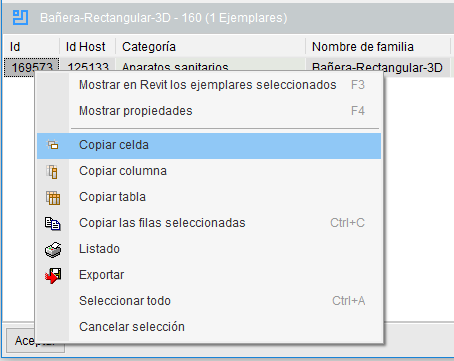
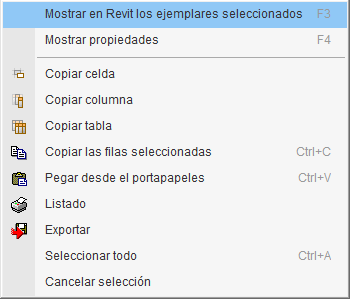
By right-clicking on any of the rows in which an instance appears, a contextual menu similar to the one shown in the image is displayed, with the options "Show selected instances in Revit", "Show instances of the selected types in Revit" or "Show in Revit".
If Revit is open and the project is linked to the Arquimedes budget, clicking on the option "Show in Revit" locates and displays in Revit the selected instance or instances for checking and review.
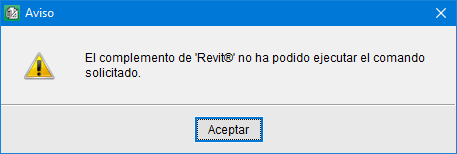
If, when clicking on the option "Show in Revit", a window appears with the warning "The Revit add-in could not execute the requested command", or a similar message, this may be due to several reasons:
- Revit is not open at that moment (and the program cannot open it). Revit must be kept open while using the option "Show in Revit".
- The Revit project linked to the Arquimedes project has been moved, so its link (path or directory) cannot be found. You must indicate the new location of the Revit project from Arquimedes by accessing "File", "Connection with Revit", "Status of links with Revit projects" and using the option "Change Revit model location".
- The version of Revit indicated in the dialogue "Assignment of items and extraction of quantities" does not match the version of Revit currently installed on the machine. The link between the Revit project and the Arquimedes project must be updated again from the "Add-ins" tab in Revit.
Option 2
Another way to show the selected instances in Revit is to right-click on any instance ID and select the contextual menu option "Copy cell".
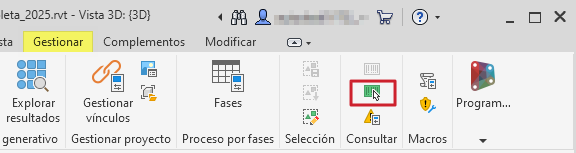
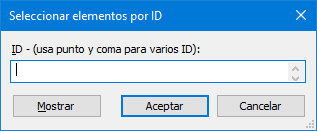
With this information copied to the Windows clipboard, open Revit with the project linked to Arquimedes and show the instance by using the option "Select by ID" on the "Manage" tab.