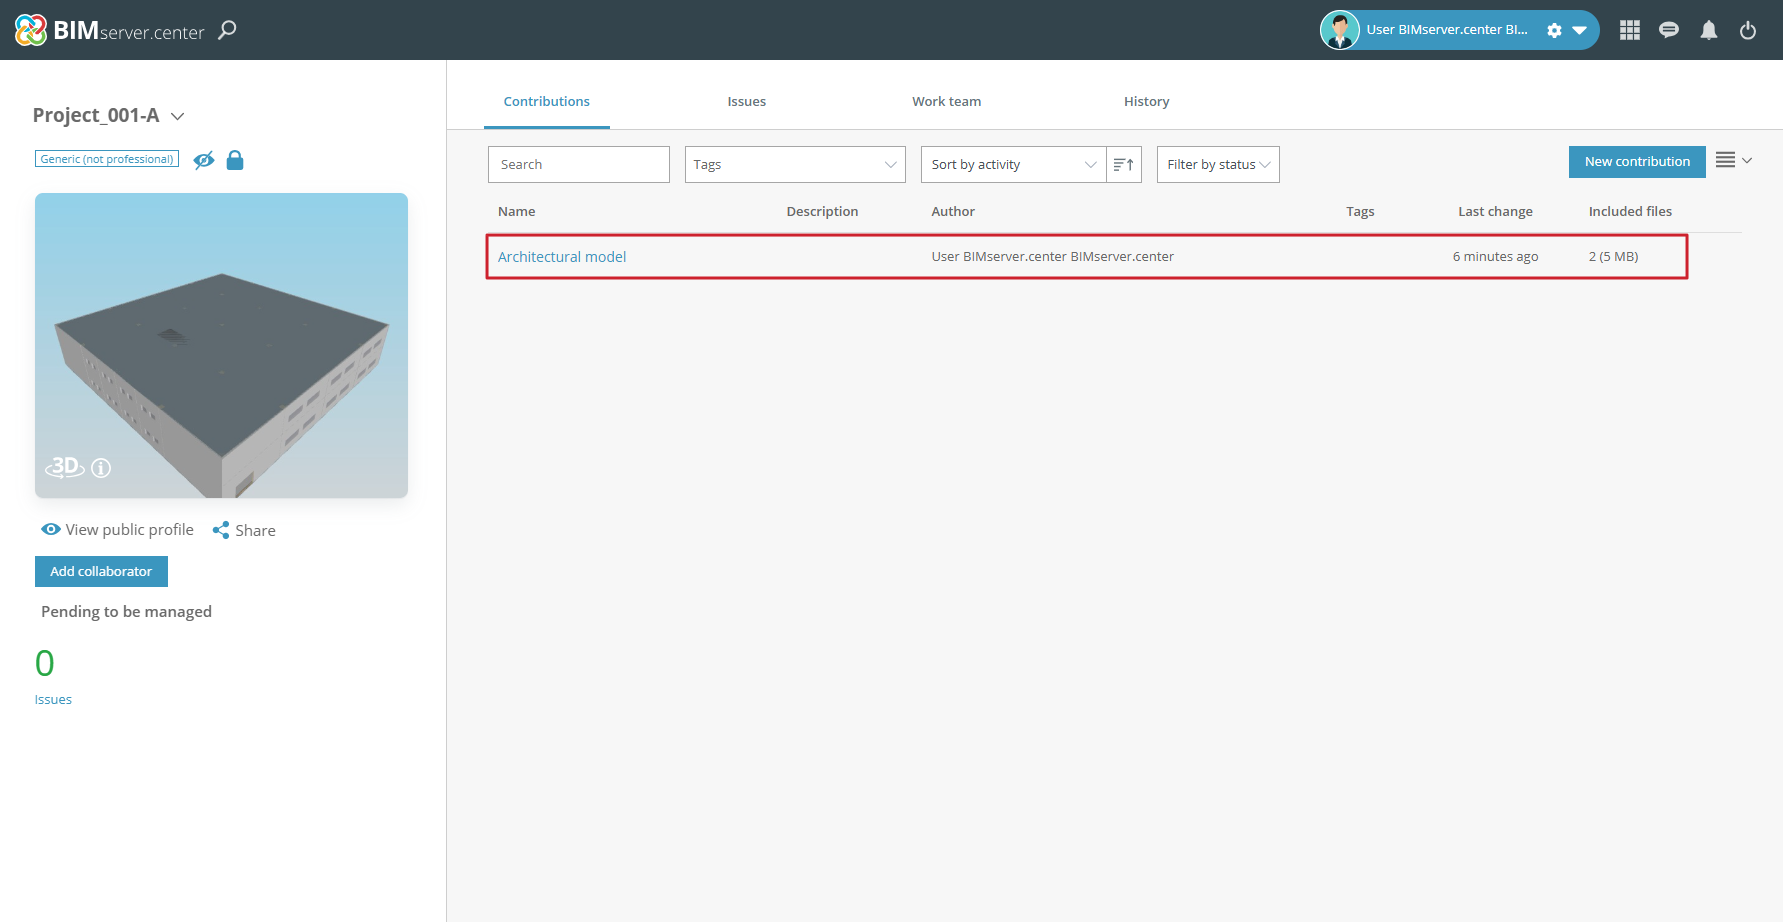
Uploading IFC files to a BIMserver.center project
To upload an IFC file manually to a BIMserver.center project, you must create contributions directly from the project page on the BIMserver.center website. To do this, follow these steps:
- From the "Projects" section of the BIMserver.center website, open the page for the project where you wish to upload the file.
- Once you’re in, look for the "New contribution" button in the top right-hand corner of the "Contributions" tab.
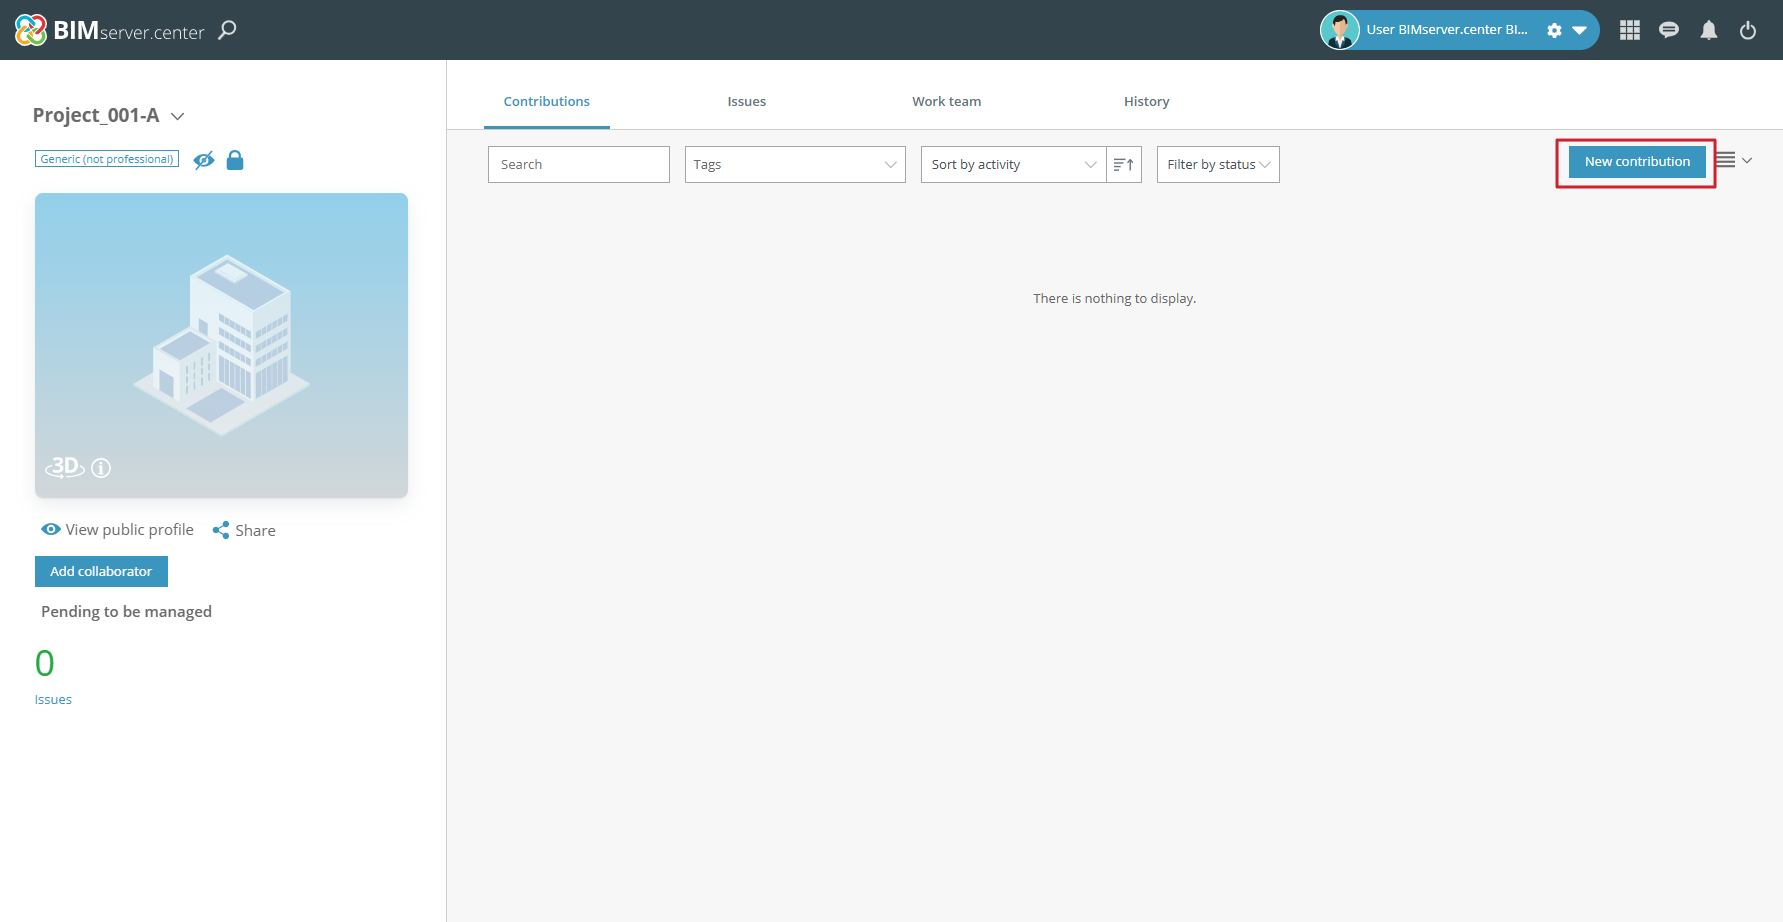
- When you click on it, a form will appear with fields for creating a new contribution to the project: "Name", "Description" and "Contributions".
- You can drag and drop various types of files into the "Contributions" field; these will then be linked to the contribution, such as files in IFC format.
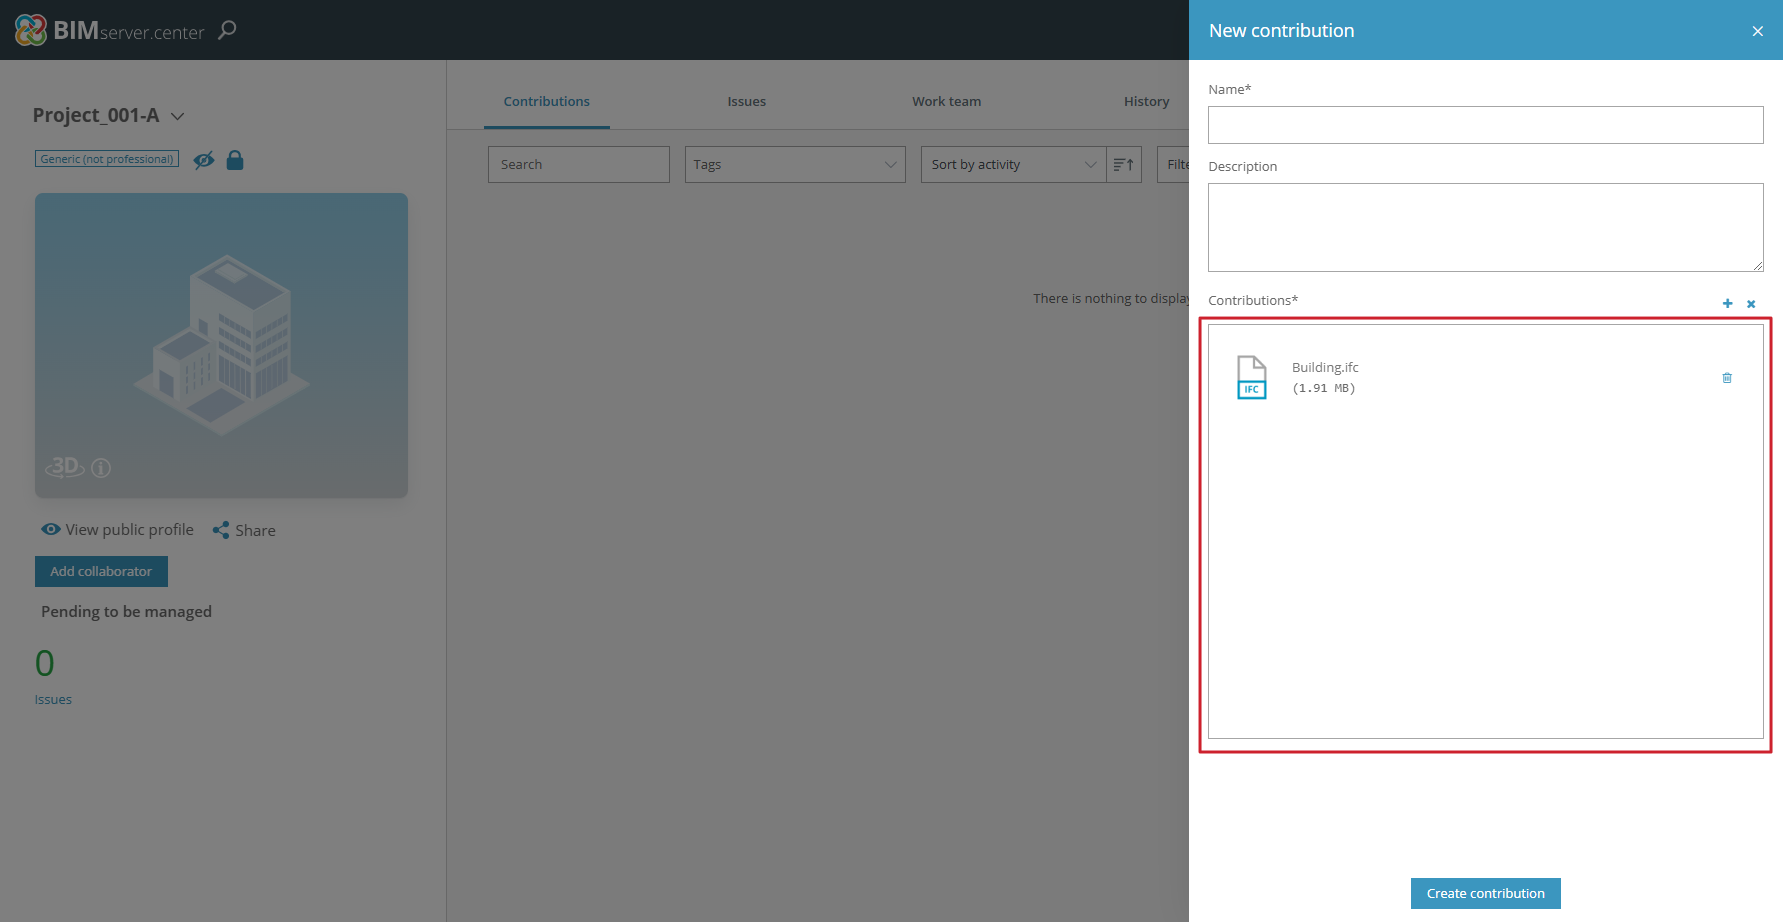
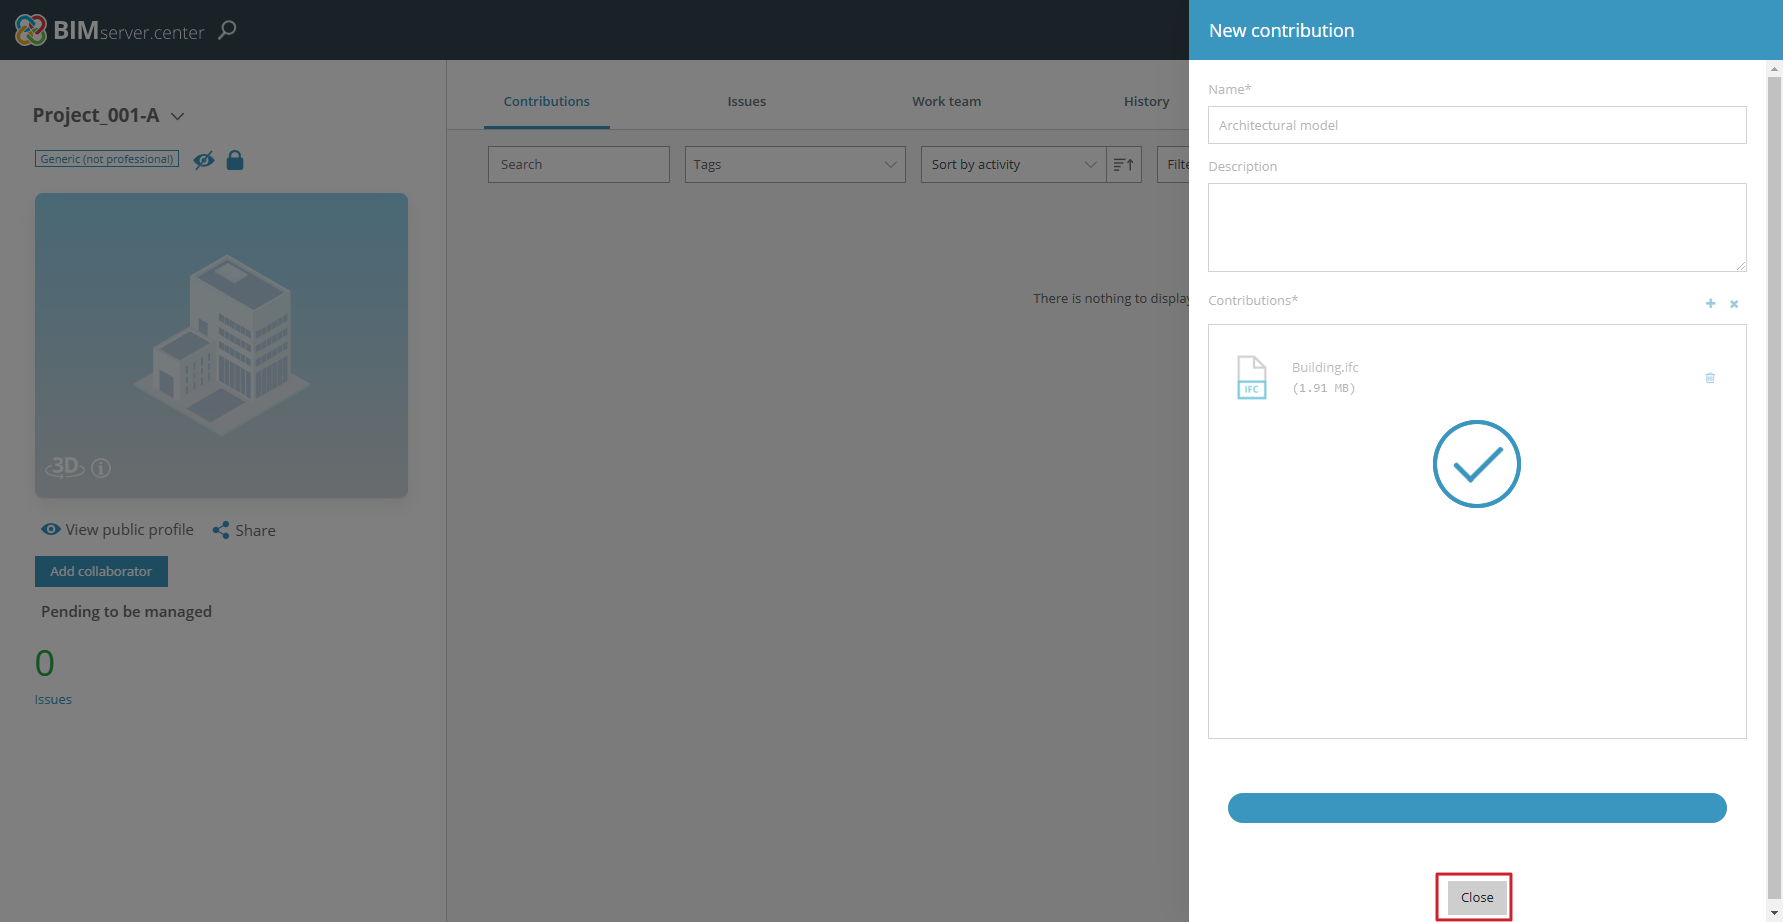
- Finally, when you click the "Create contribution" button, your contribution will be added to the project after a few moments.
- To complete the process of creating the contribution, click on "Close".
When files in the standard IFC format are added to the submission, 3D visualisation files are automatically generated for the web viewer and apps.
| Note: |
|---|
| As a result, all the features of the IFC Uploader program (which has been discontinued) are integrated into the BIMserver.center web platform, meaning there is no need to rely on additional software for these tasks. |