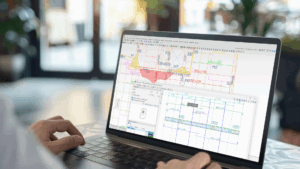
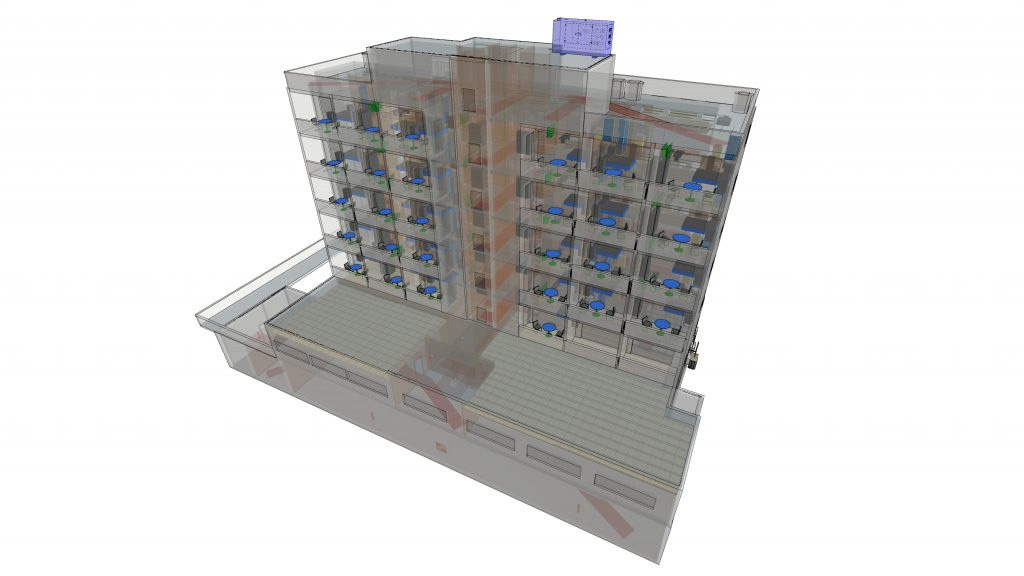
The aim of this Case Study is to facilitate the installation of a stairwell overpressure system in a hotel, with six floors above ground level and a car park at basement level. To tackle this project we will use the CYPEFIRE Pressure Systems application. It is a software tool designed to create this type of installation, in accordance with European legislation EN 12101-6 on smoke and heat control systems.
Introduction
Before starting we must examine the staircase where the project is going to be carried out. It has seven floors above ground level belonging to a hotel, plus one floor below ground level for the car park. All of the building’s floors, except the roof floor, have a protected lobby at their staircase accesses.
Under these premises, and taking into account the definition of each class found in EN 12101-6, an overpressure stairwell system calculation for Class D must be carried out.
| Class | Examples of use |
|---|---|
| Class A | For means of escape. Defend in place. |
| Class B | For means of escape and firefighting. |
| Class C | For means of escape by simultaneous evacuation. |
| Class D | For means of escape. Sleeping risk. |
| Class E | For means of escape, with phased evacuation. |
Initial set up
Once we have clarified the type of system that will be introduced and the BIM model for the project, we can begin to use CYPEFIRE Pressure Systems.
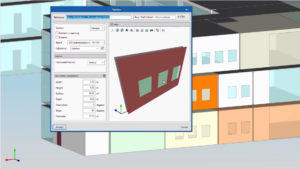
Once the BIM model has been imported, the first step we should take is to revise all of the elements that will have a fundamental role in the calculation. These elements (spaces, doors, windows, construction elements) are associated with corresponding regulations, as seen in the following image:
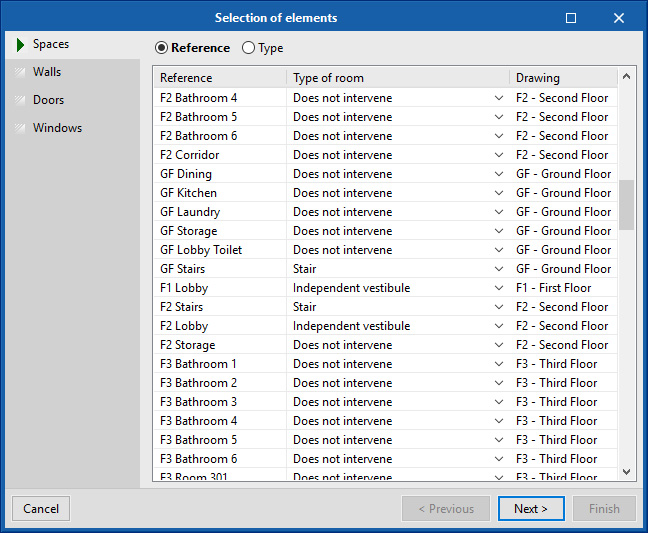
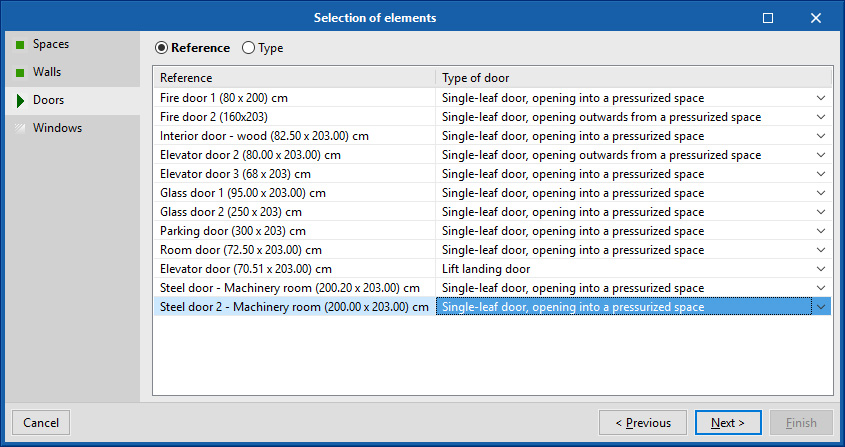
Once this configuration has been carried out, by accessing the programme’s main interface we can begin with the creation of the overpressure systems with which we are going to work.
From the main menu you can access the tool to create the overpressure system, and it can be completed very simply.

Step 1 - Spaces
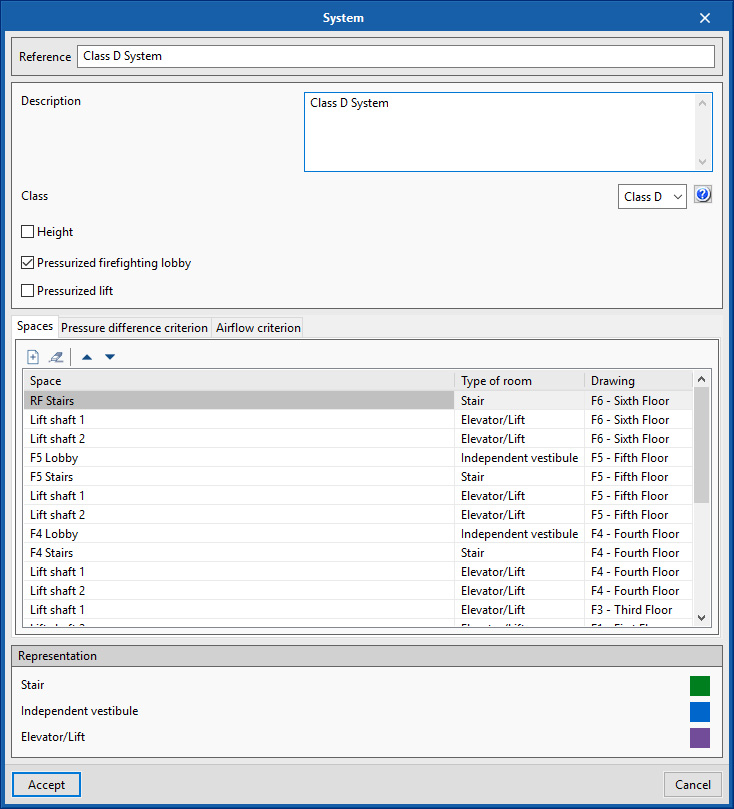
From this tool we will have to complete the following basic information in order to start to design the installation:
- Reference
- Description
- Class of system
- Spaces of the model in the system
To determine the class of system, the software has a description available of the regulations and the requirements needed to complete each class, in order to assist us with the selection.
To introduce the spaces in the overpressure system, the application will show only those spaces categorised as stair, protected lobby or lift.
At the bottom of the window we can select the colours that the volumes of the spaces will have in the 3D view.
Step 2 - Pressure Difference Criterion
This tab isn’t always available since the Pressure difference criterion is only required in class of systems C, D and E. To apply this criterion to Class D, the regulations state that a pressure difference of 10Pa must be maintained in the stairwell whilst there are two doors open.
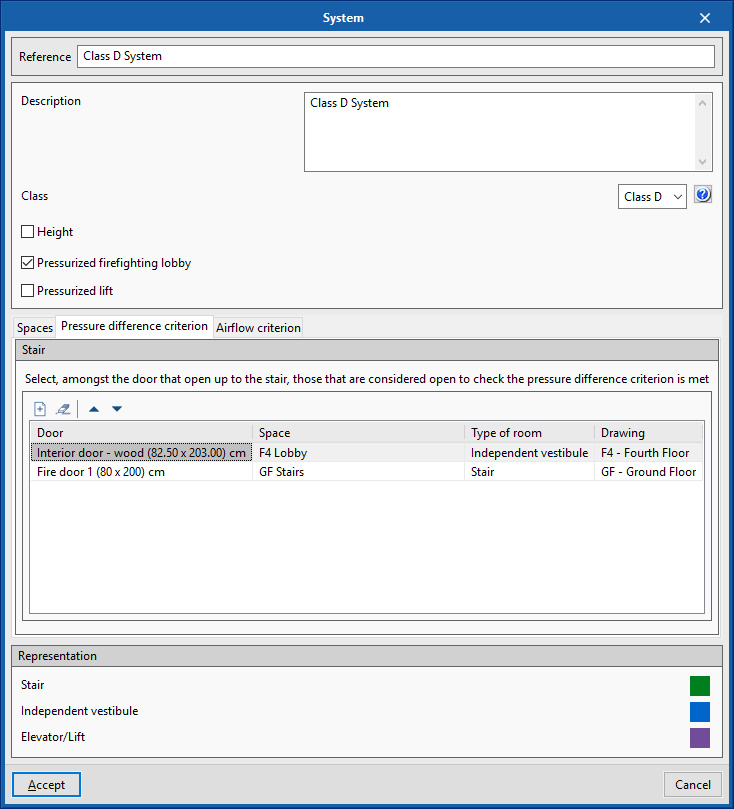
As we can see in the image, for this criterion the doors to the stairs on the ground floor and the 4th floor are going to be marked as open. To do this we just have to add to the central list in the window all the doors that communicate with the staircase, (that we have described in the Tab – Spaces), ordered by their reference, the floor and the space where they are located.
Step 3 - Airflow Criterion
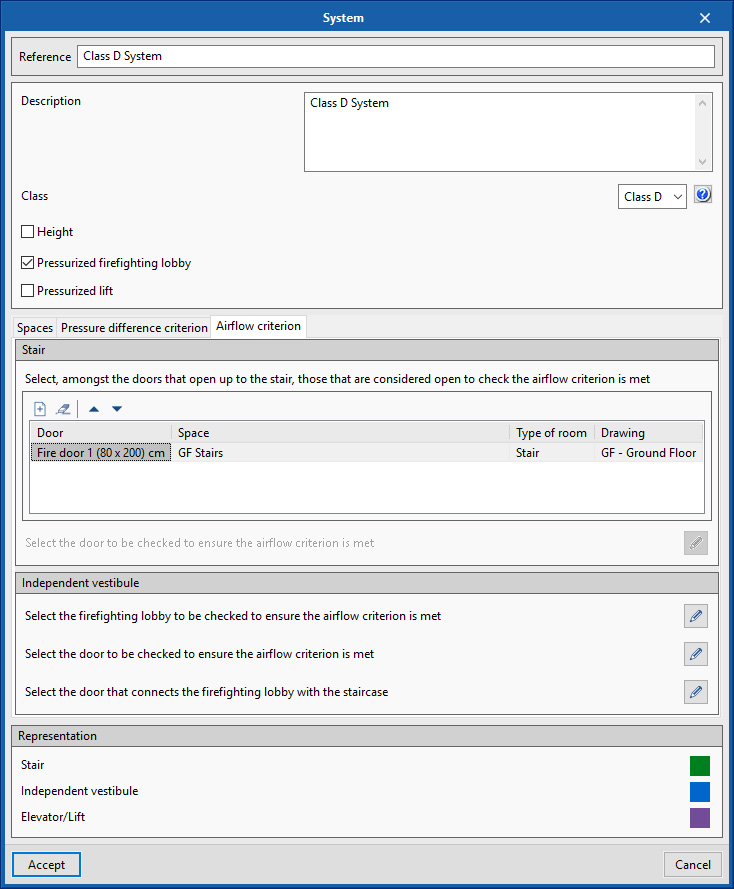
This tab isn’t always available since the Pressure difference criterion is only required in class of systems C, D and E. To apply this criterion to Class D, the regulations state that a pressure difference of 10Pa must be maintained in the stairwell whilst there are two doors open.
As we have seen in the previous criterion, the lift door on the ground floor is added as an open door. For the airflow speed, first we must select the protected lobby. Then, select the door to which the speed of the airflow will be applied and the door which connects the stairs with the lobby.
Calculation and Supply Points
Once the previous steps have been completed we will have finished with the introduction of the system. Upon calculating, CYPEFIRE Pressure Systems is able to apply the corresponding pressure differences of each criterion to doors, windows, walls and slabs; calculate the air leaks that are produced by each element in the construction and apply the factors of safety proposed by EN 12101-6.
After calculating, if the air supply points haven’t been introduced into the system, errors will appear on the interface that will guide us on how to carry it out correctly. In the case of the hotel, since the building measures over 11metres high, the supply grilles in the staircase mustn’t be separated by more than 3 floors between each other. Furthermore, a supply grille will need to be introduced in each protected lobby.
Results
As a final result, we will receive a justification report with a summary of the installation, the air leaks produced in each one of the elements for each calculated criterion, and, at the end, the total flow to provide in each one of the criteria.
Below you can see the BIM model used for the development of this Case Study. Hosting the model in BIMserver.center allows us to rotate it, activate and deactivate the layers and view the different spaces that form the pressurisation system (stair, protected lobby and lift).

In case of fire, the system must function at such a speed that it provides a sufficient flow in order to fulfil the requirements needed by the pressure difference criterion when the evacuation begins and the doors are opened. Whilst that when they are closed, the speed must be reduced in order for the system to work, supplying the flow required by the pressure difference criterion with all the doors closed.


