Inserting dimensions
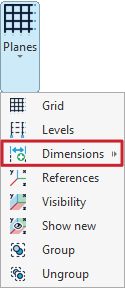
Dimensions are inserted and managed using the tools under the "Dimensions" option, available in the "Planes" menu of the group with the same name in the top toolbar, within the "Geometry" tab (under the "Structure" section).

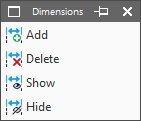
Clicking on the "Dimensions" option opens a window with the following functions:
- Add
- Delete
- Show
- Hide
Each of these functions is explained below:
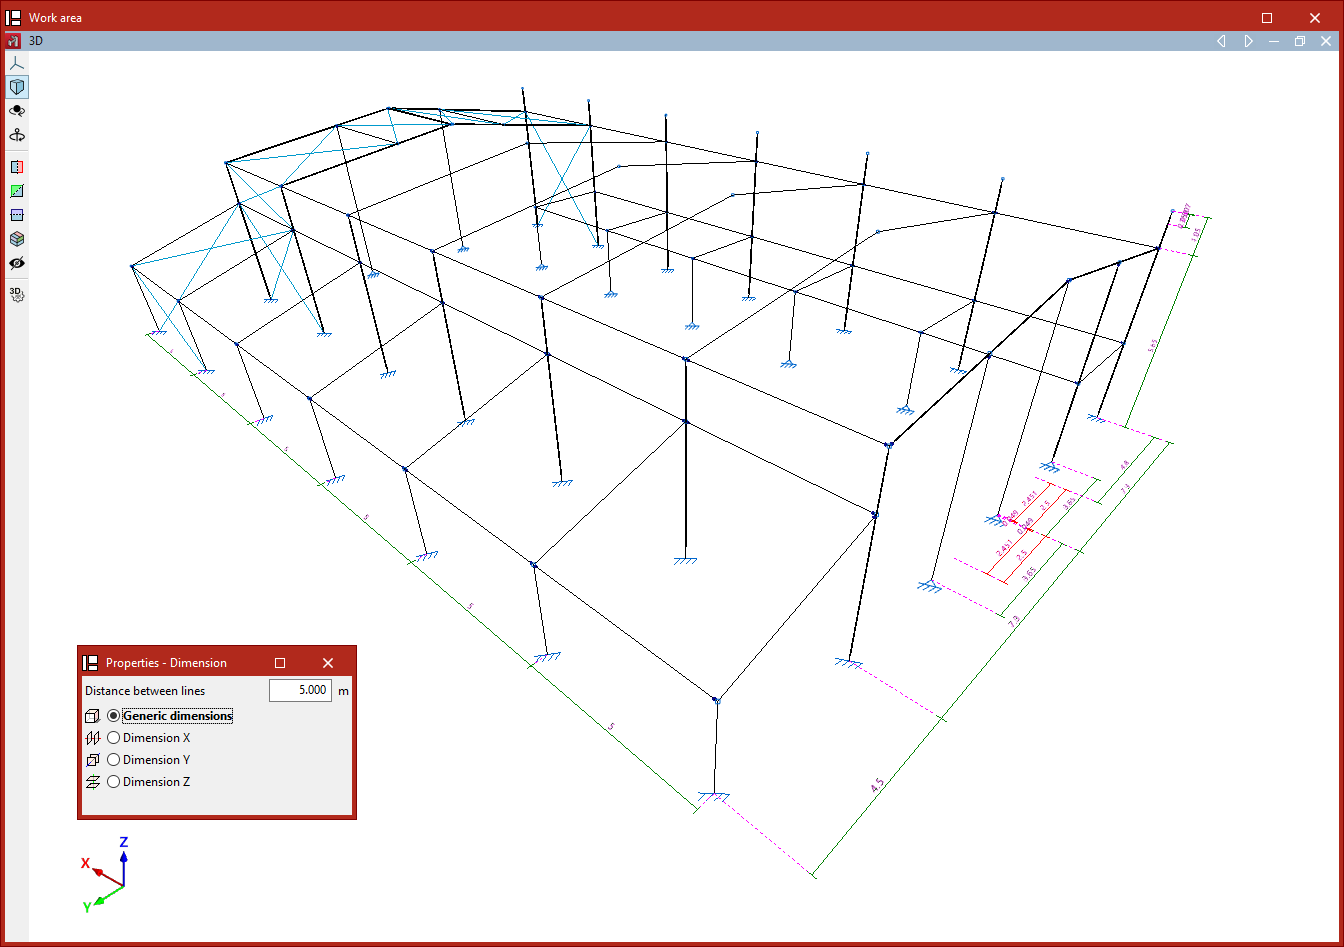
Adding dimensions
The first option, "Add", allows you to modify the model’s dimensions by inserting dimensions between geometric elements.
You must enter the "Distance between lines" that will apply when the dimension is inserted, and specify whether a "Generic dimension" will be used in any direction in space, or if you wish to "Dimension X", "Dimension Y", or "Dimension Z".
After selecting the desired option, use the left mouse button to select two reference lines, two bars, or two nodes between which the dimension will be inserted.Alternatively, you can left-click on an existing dimension displayed in the model to assign it a new value.
In any case, the model geometry will adjust after the dimension is inserted.
| Note: |
|---|
| The program automatically generates dimensions when elements such as bars or shells are inserted into the model. |
Deleting dimensions
The next option allows you to "Delete" dimensions.
Again, choose the type of dimension to be deleted. If "Generic dimension" is selected, any type of dimension can be removed. The other options—"Dimension X", "Dimension Y", and "Dimension Z"—allow dimensions in the corresponding directions to be deleted.
Then, using the left mouse button, select dimensions one by one or mark a capture area. Right-click to delete the selected dimensions.
This operation does not modify the model geometry.
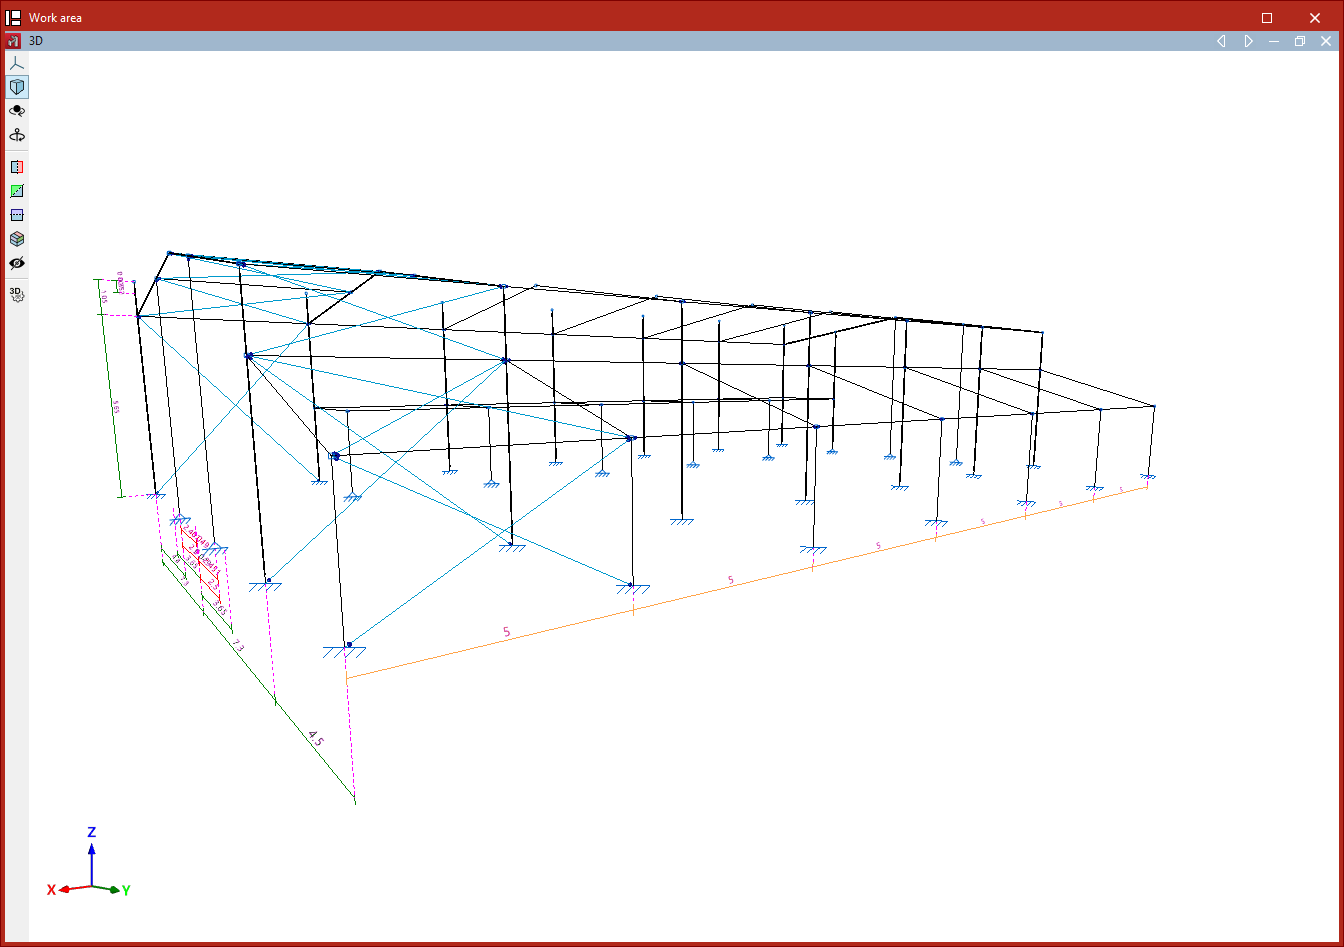
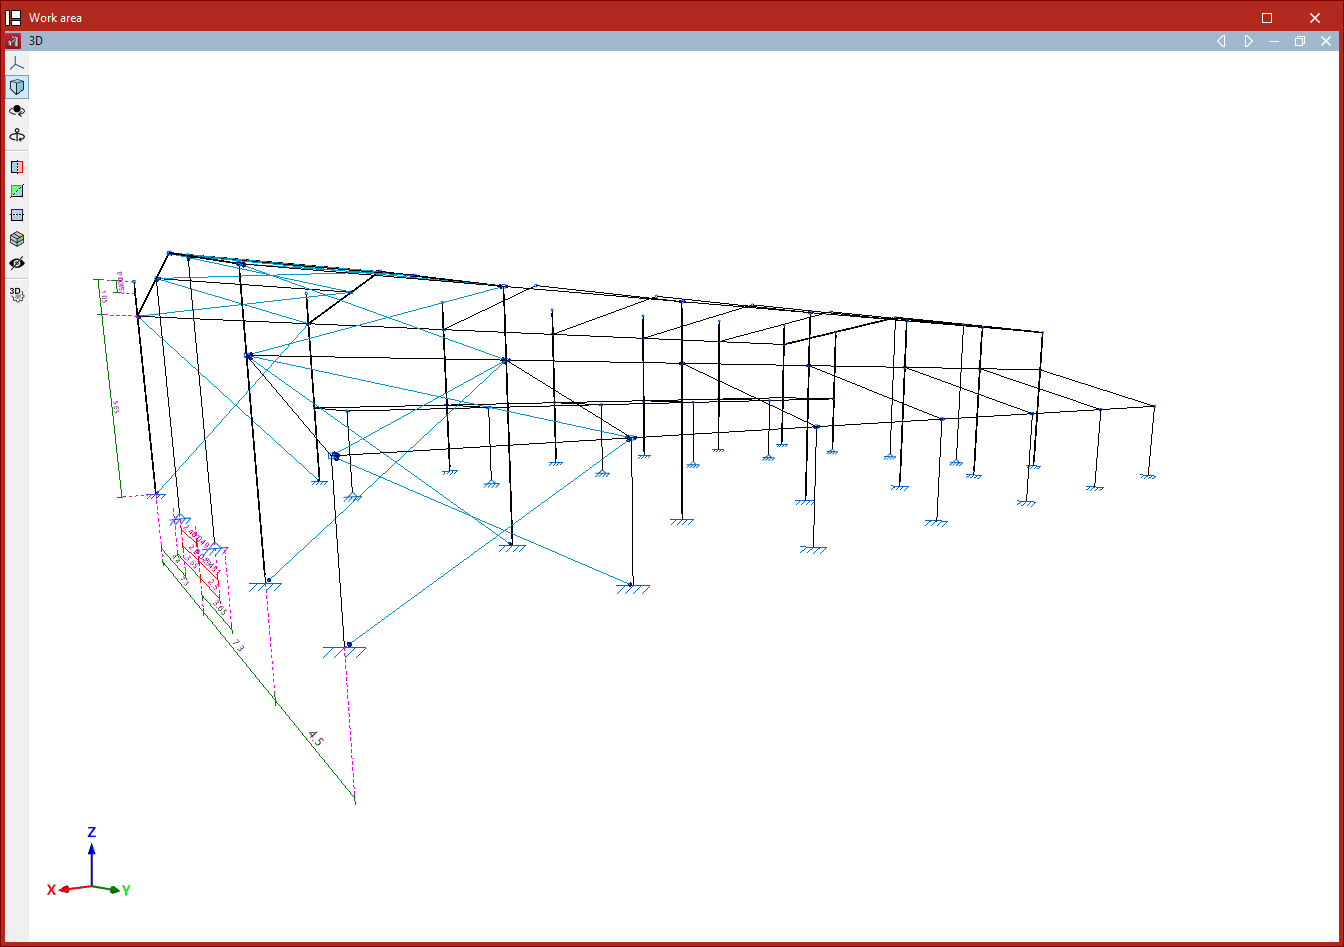
Dimension deletion process
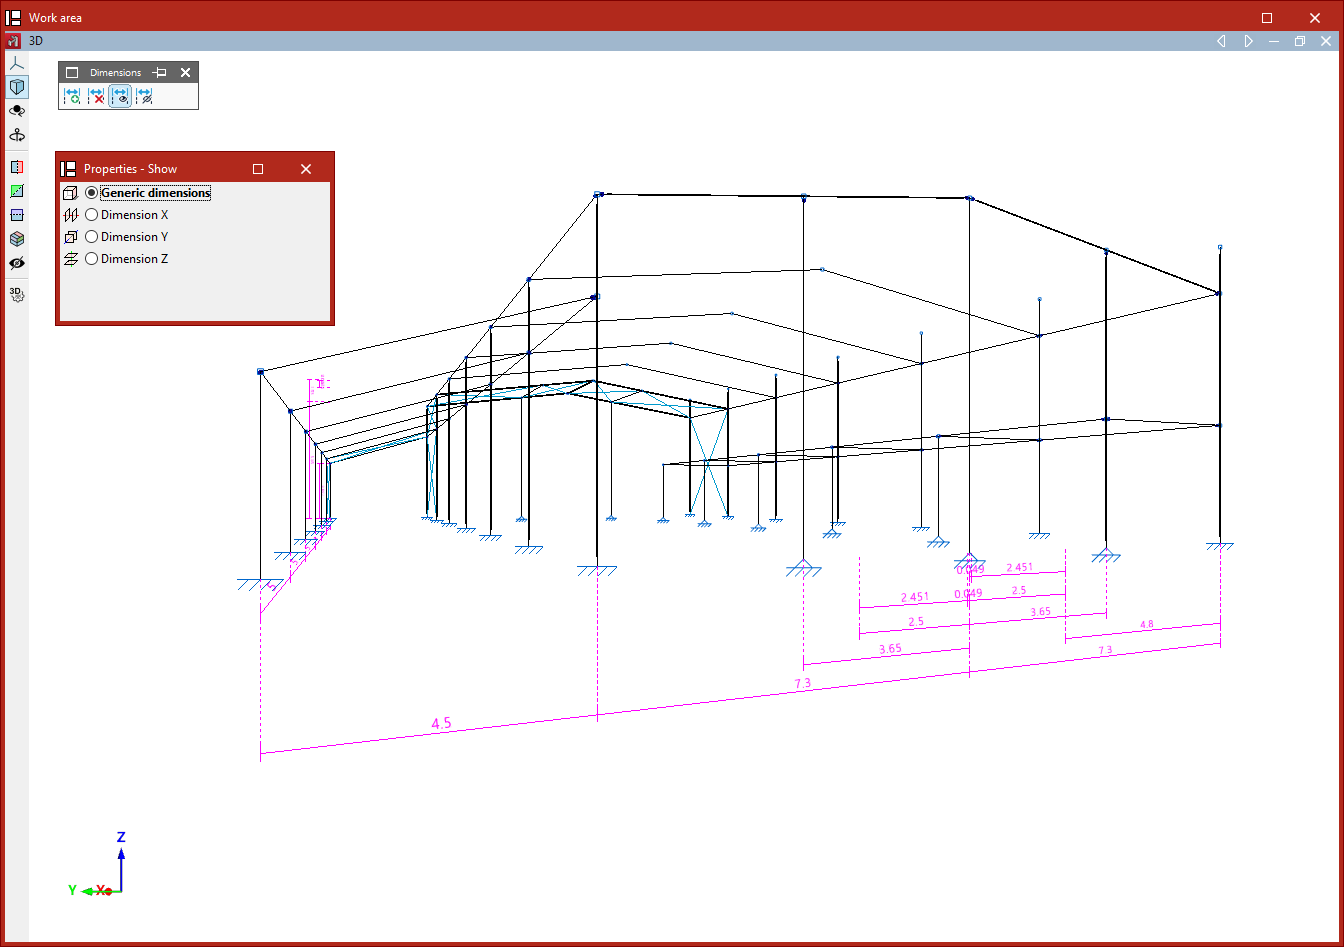
Showing dimensions
The "Show" option allows you to insert additional dimensions to improve clarity in drawings or on screen.
Dimensions inserted using this option do not affect the model’s dimensions; they are for information display only.
Again, choose whether to perform a "Generic dimension" or to "Dimension X", "Dimension Y", or "Dimension Z".
Then select two reference lines or two nodes using the left mouse button. The program will insert the dimension, displaying the measured distance between them.
Hiding dimensions
The "Hide" option allows you to select dimensions in the workspace to hide them from drawings only.
After clicking the option and selecting the type of dimension to be hidden, use the left mouse button to select dimensions one by one or mark a capture area, and then right-click to complete the process.
In this case, the dimension is not removed from the model.