
Entering joints
The following options, available in the upper toolbar of the "Joints" tab (in the "Structure" tab), are used to enter and remove joints in the structure.

If no joints have been entered, only the "New" and "Generate" options will be active.
New
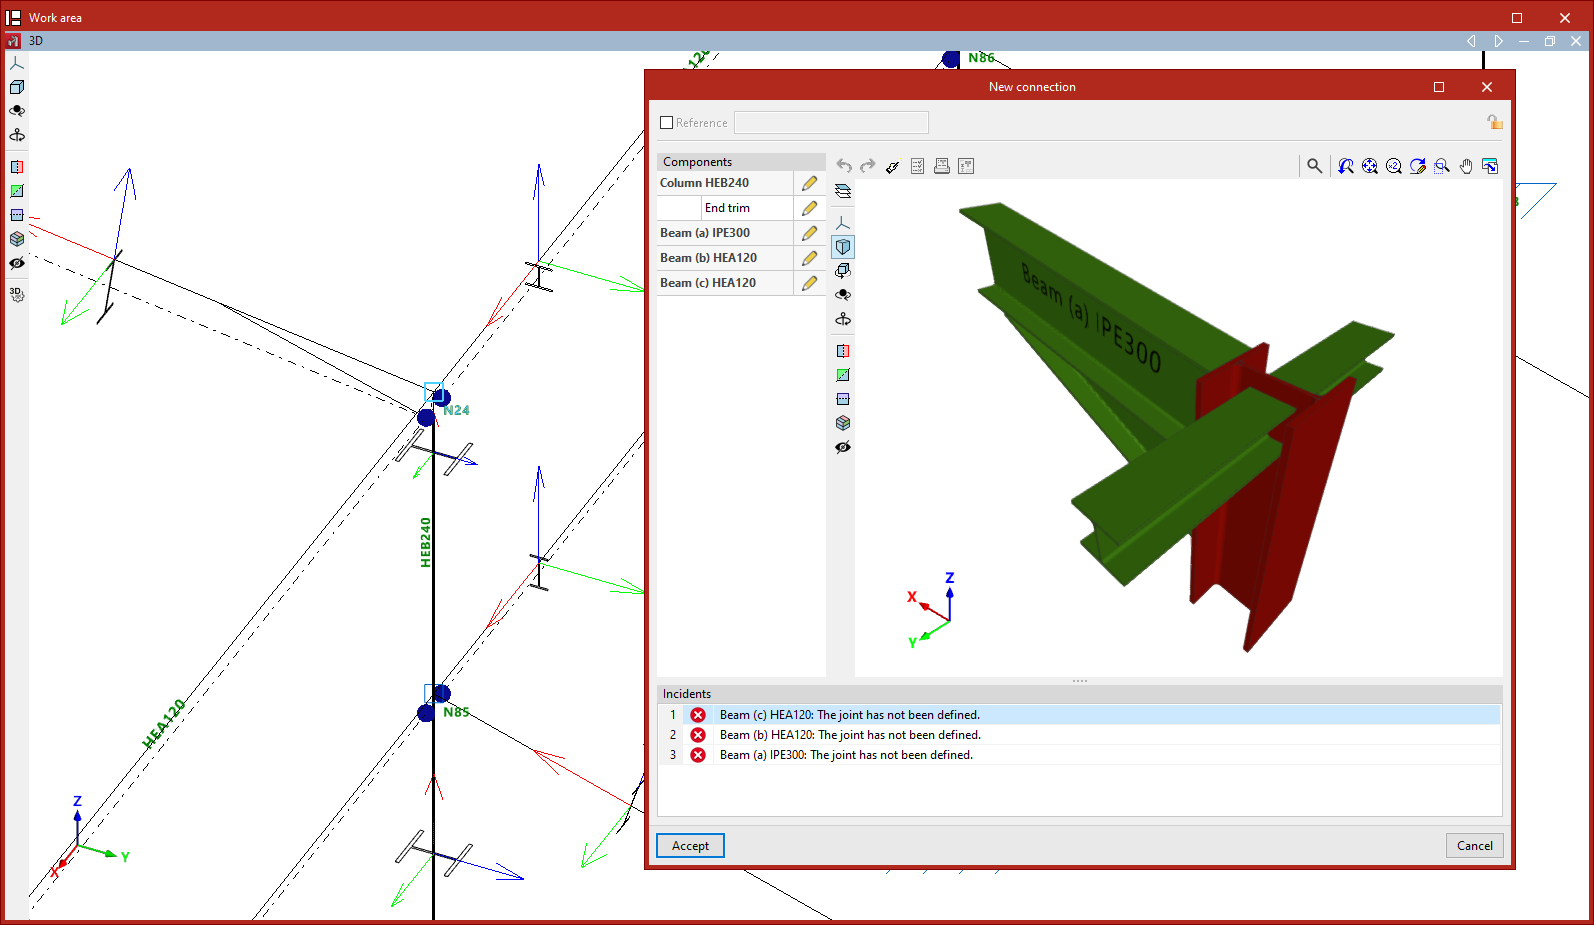
The "New" option can be used to enter a joint manually in the model:
- To create a joint that considers all the bars in a node, select the node with the left mouse button. The joint editing window will open, where you can adjust the components of the joint. Then click on "Accept".
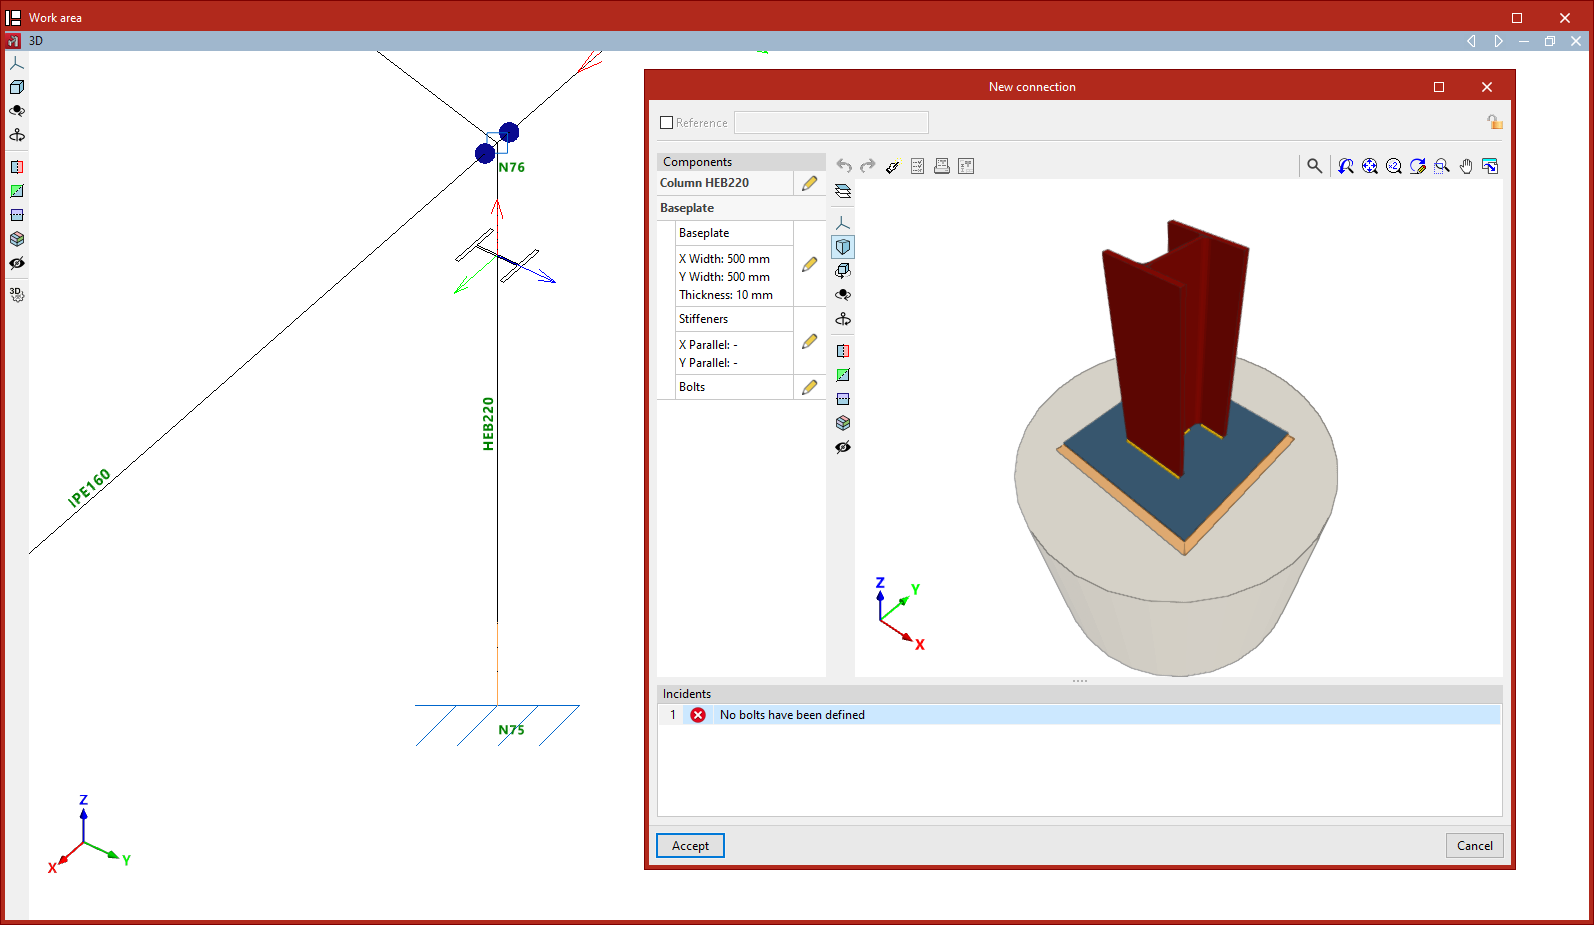
- To create a joint at the end of an element, e.g. a baseplate, select the end of the element with the left mouse button and click the right mouse button. You can also select the end node with the left mouse button if it is the only part that uses it. Similarly, the joint editing window is then accepted.
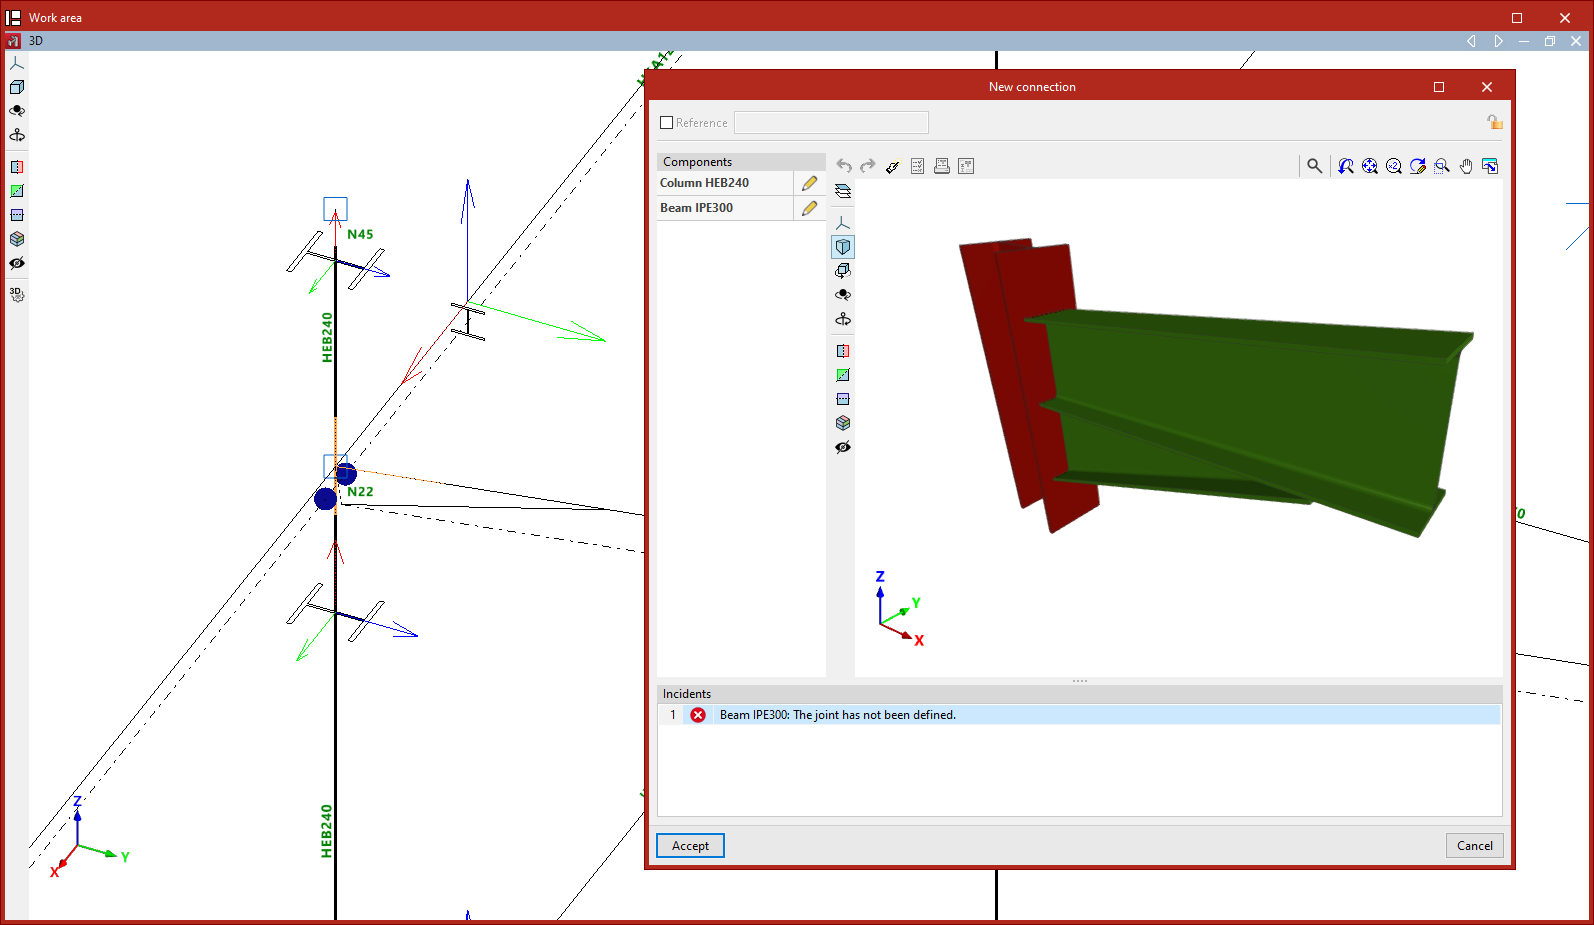
- To create a joint between a group of elements, select the elements with the left mouse button by clicking on an area close to the node where you want to create the joint and then press the right mouse button. The joint editing window is then accepted. More than one joint can be defined in the same node by selecting different groups of elements.
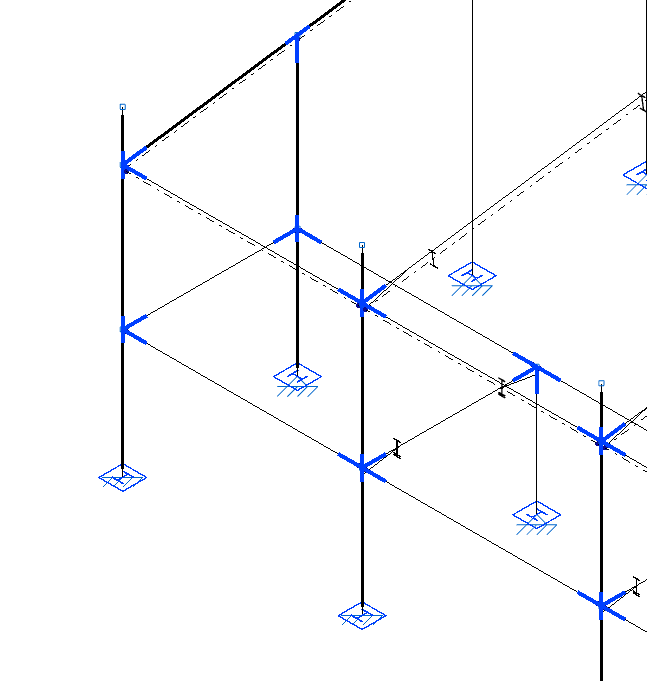
The created joint are shown in blue in the model viewer.
Delete
Once the joints have been entered in the project, the rest of the options are available in the "Joints" tab.
The "Delete" option can be used to delete the created joints by selecting them one by one with the left button or by using the crossing method to select several at the same time. Afterwards, right-click to confirm the removal.