Entering levels
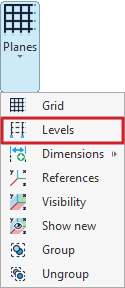
Levels are defined in the model using the "Levels" tool, available in the "Plans" menu of the group with the same name in the top toolbar, within the "Geometry" tab (under the "Structure" tab).

Levels
Levels are horizontal planes parallel to the global XY plane, located at a specific elevation, and serve as a base for inserting structural elements and defining level-based views. Dividing a structure into levels is characteristic of building models.
After clicking on the "Levels" option, a window opens where levels can be defined manually or generated automatically.
Manually inserting levels
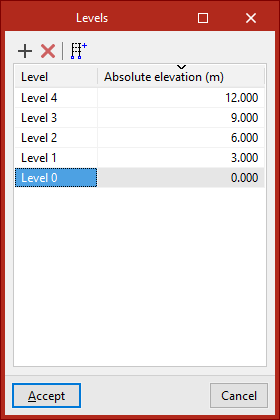
The tools at the top of the levels list allow you to "Add" and "Delete" levels manually. To "Add" a level, click on the first option. Then, enter the "Reference" and the "Absolute level" relative to the global coordinate origin, which can be either positive or negative.
When more levels are added, the program automatically sorts them in the table by elevation.
Generating levels
Levels can also be "Generated" automatically using the button on the right side of the top toolbar in the levels list.
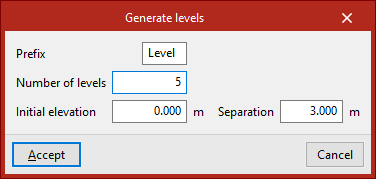
To do this, enter a "Prefix" for the level references, the "Number of levels" to generate, the "Initial level" from which they are generated, and the "Spacing" between each level.
After clicking "Accept", the program will delete any previously defined levels and replace them with the automatically generated ones.
| Note: |
|---|
| The "Reference" or "Absolute level" of an automatically generated level can be edited directly by clicking on the corresponding cells in the levels list. |
To finish, click "Accept".
Assigning elements to levels
The program assigns model elements to the different levels automatically—both existing elements and those inserted from this point onwards.
To check the level of a shell, open the "Geometry" tab and select the "Information" option from the "Shell" group. Then, hover the pointer over the elements.
If an element is located at a level's elevation, it is assigned to that level. Elements positioned between two levels (such as columns) are assigned to the lower level.
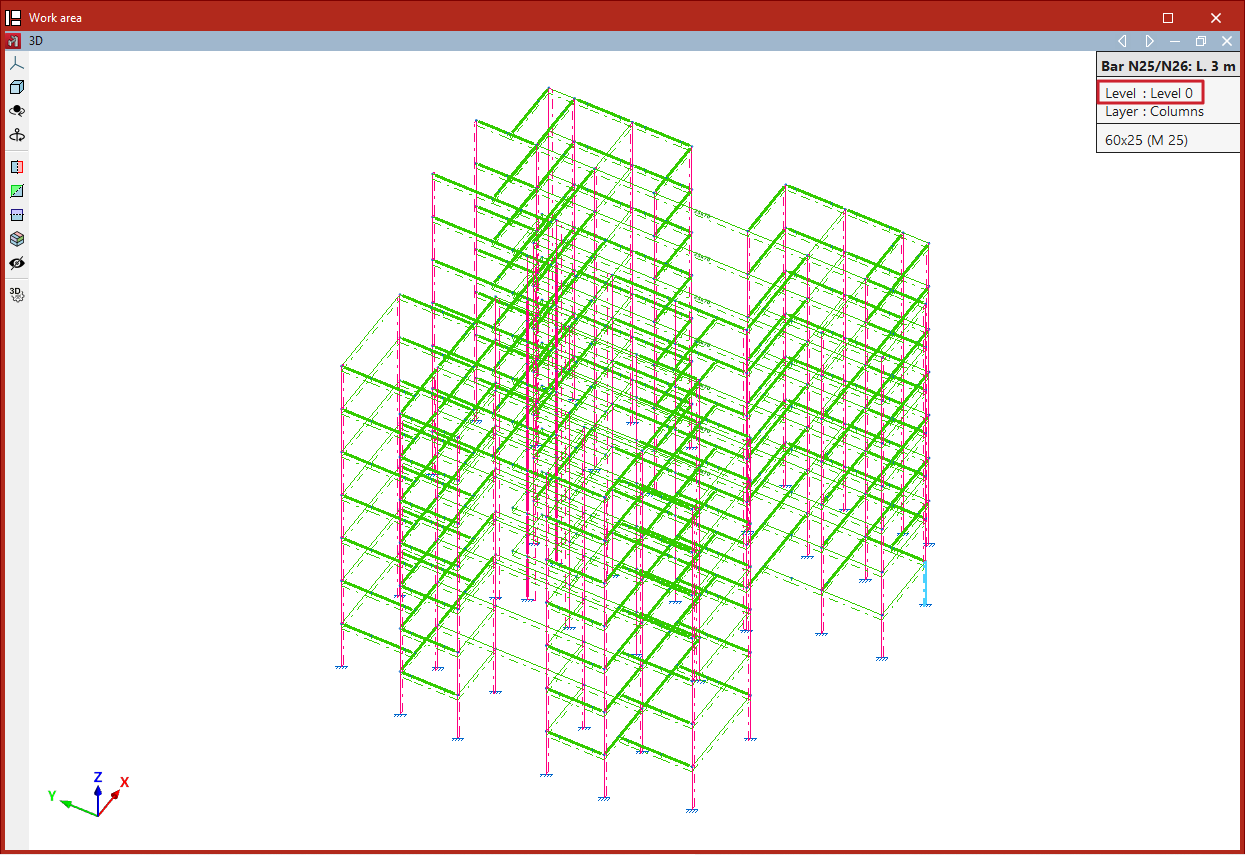
Selecting levels in columns
Defining levels is useful in models that include "Column" and "Beam" type elements.
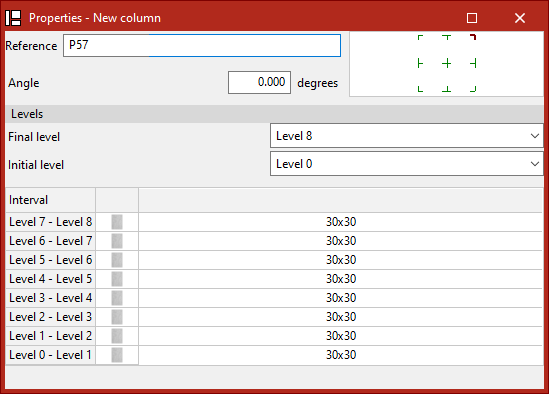
When inserting columns, at least two levels must be defined in advance. To select them, open the "Geometry" tab and select "Column" within the "Bar" group. Then, in the "Levels" section of the pop-up window, choose the "Final level" and the "Initial level" of the column from the dropdown menus. Additionally, specify the section of the column for each interval defined between levels.
On the other hand, defining levels is not required to insert beams, but doing so can make the task easier.