Entering and editing loads on bars
The following options are used to enter and edit loads on the bars of the structure, which are available in the "Bars" group of the upper toolbar, in the "Load" tab (in the "Structure" tab):

New
The "New" option enters new loads on bars.
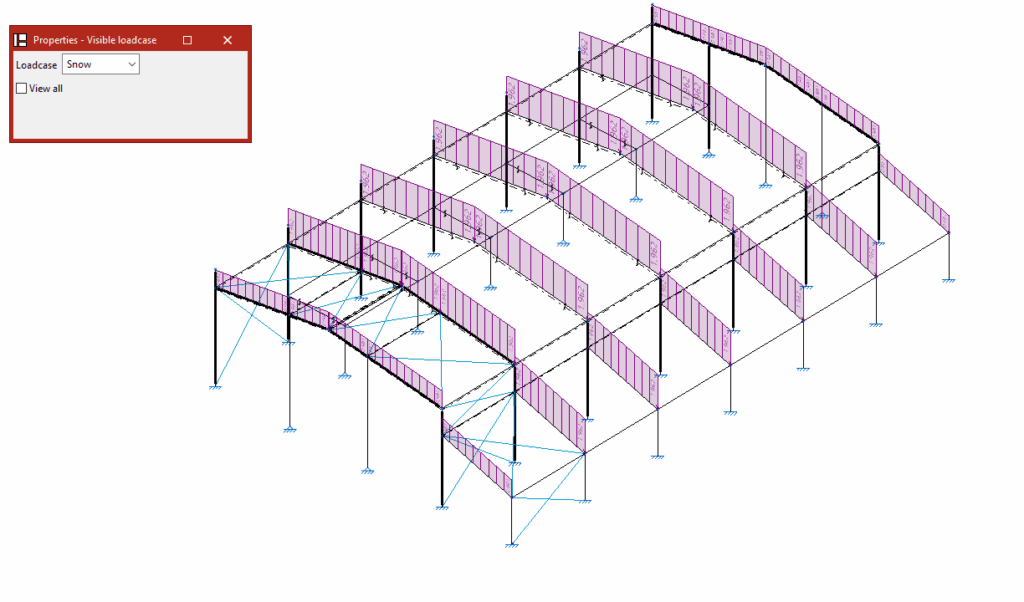
When selecting the "New" option, the "Properties - Visible loadcase" window appears, where users can choose the "Loadcase" to be displayed. Alternatively, users can "View all" loadcases by checking the corresponding box.
Then, click on the bar one by one or use the crossing method to select several nodes simultaneously.
Entering loads on bars
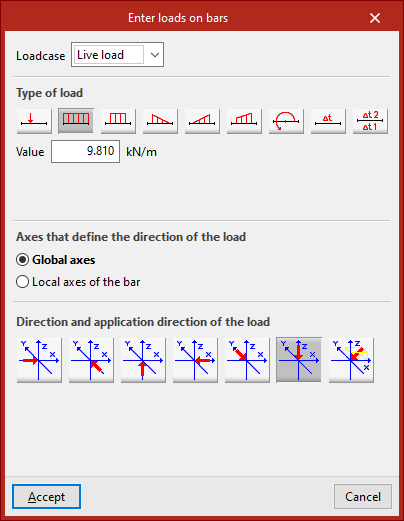
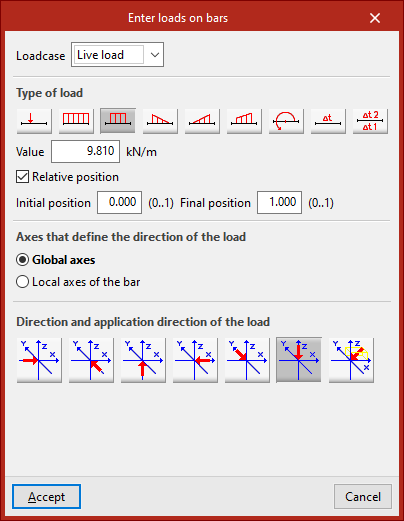
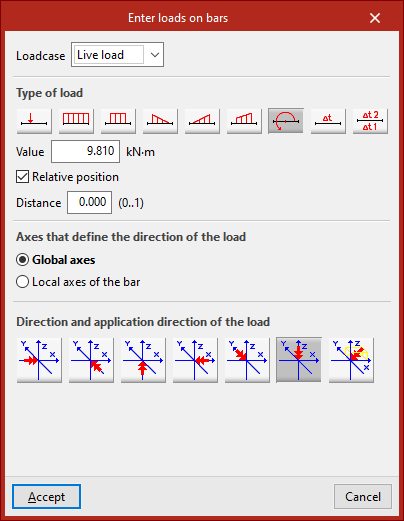
Right-click to open the "Enter loads on bars" window. Here, the "Loadcase" to which the new loads are to be assigned is selected. Then its "Value" is typed in.
Type of load
Among the options available for the "Type of load" are the following:
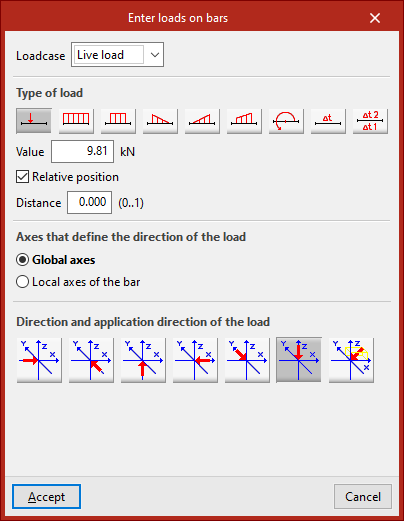
- Point load
- Uniform load
- Strip load
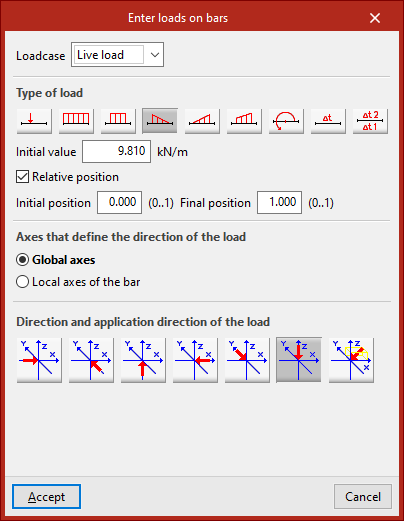
- Left triangular load
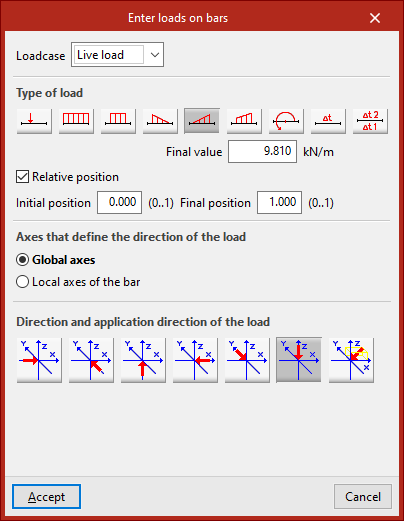
- Right triangular load
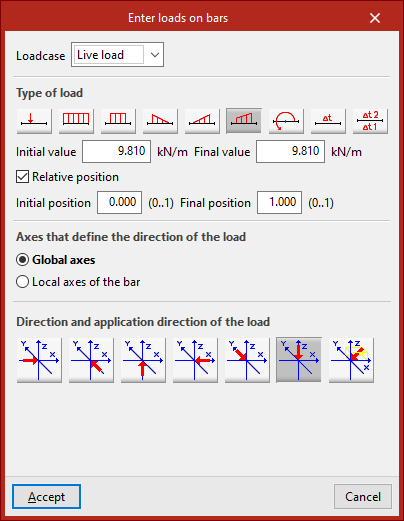
- Trapezoidal load
- Applied moment
To place some of these loads on the bar, the program requires a "Distance" to be defined or a "Start position" and an "End position" to be specified in the selected units of measurement. By activating the "Relative position" box, the position of the load can be specified using a value from 0 to 1. A "Uniform load" is applied over the entire length of the bar.
Defining the direction and sense of application of the load
In the central part, the "Axes that define the direction of the load" are specified. These may be the "Global axes" or the "Local axes of the bar".
The "Direction and application direction of the load" is indicated at the bottom. Here you can take the directions of the global axes in both directions or freely define one direction. By default, the program selects the most common case, which is a load in "Direction, according to the Z axis, in the negative direction".
After clicking on "Accept", the program will apply the load on the selected bars.
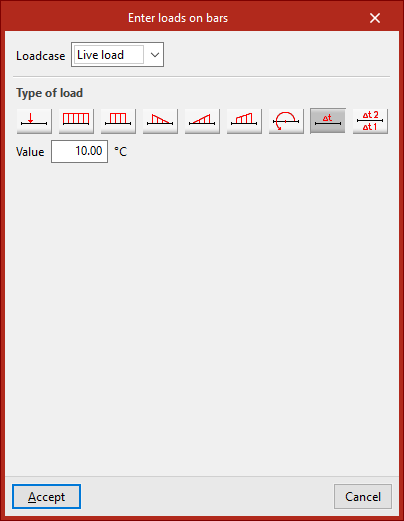
Temperature rise loads
An "Increase in uniform temperature" or an "Increase in variable temperature" between two temperature values can also be entered. In the latter case, the "Temperature increase gradient and direction" is also defined.

The other options in the "Bars" menu are activated when loads on bars have been previously entered:
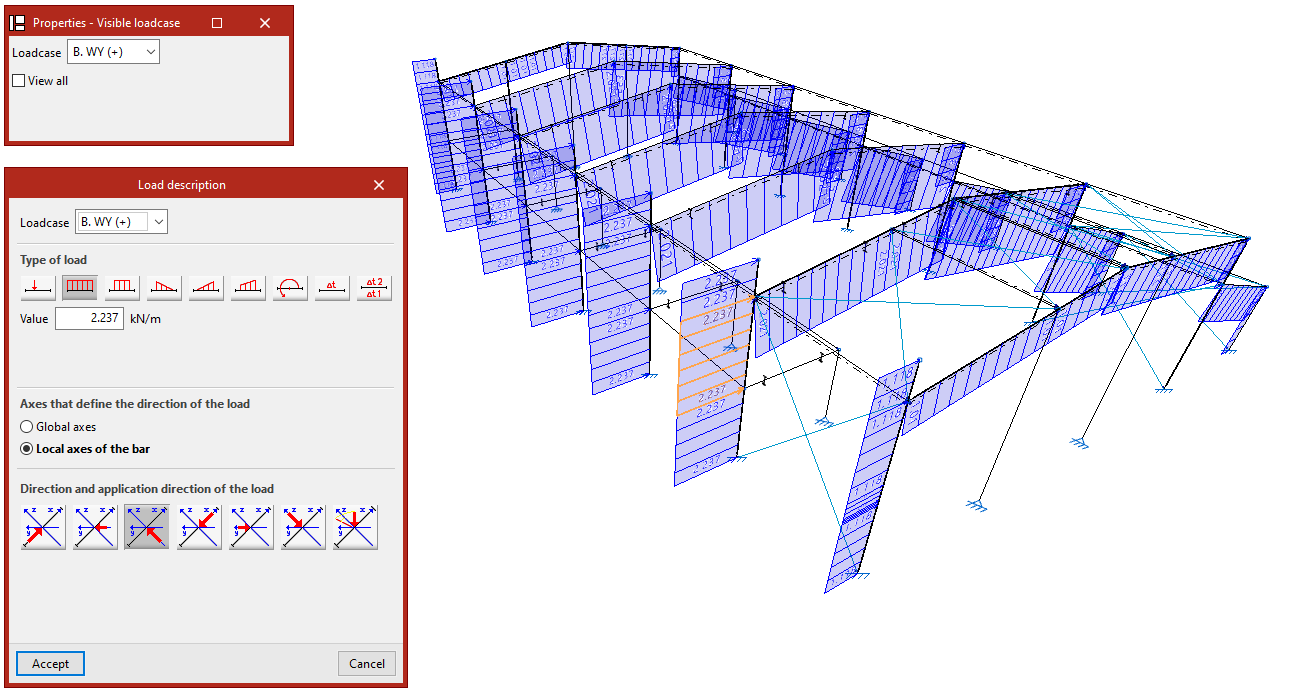
Edit
The "Edit" option is used to modify the loads on bars that have already been entered.
In the "Properties - Visible loadcase" window that appears, select the "Loadcase" to which the loads to be edited are assigned so that they are visible in the model. The loads are then selected by clicking on them one by one or via a selection window.
By right-clicking, the "Load description" window appears, where the load data can be modified. The same options are offered here that appear when entering the loads. Finally, click on "Accept".
Delete
The "Delete" option is used to remove the selected loads on bars from the model. In the same way, left-click on the loads to select them one by one or use the crossing method to select them all at once and then right-click to delete them.
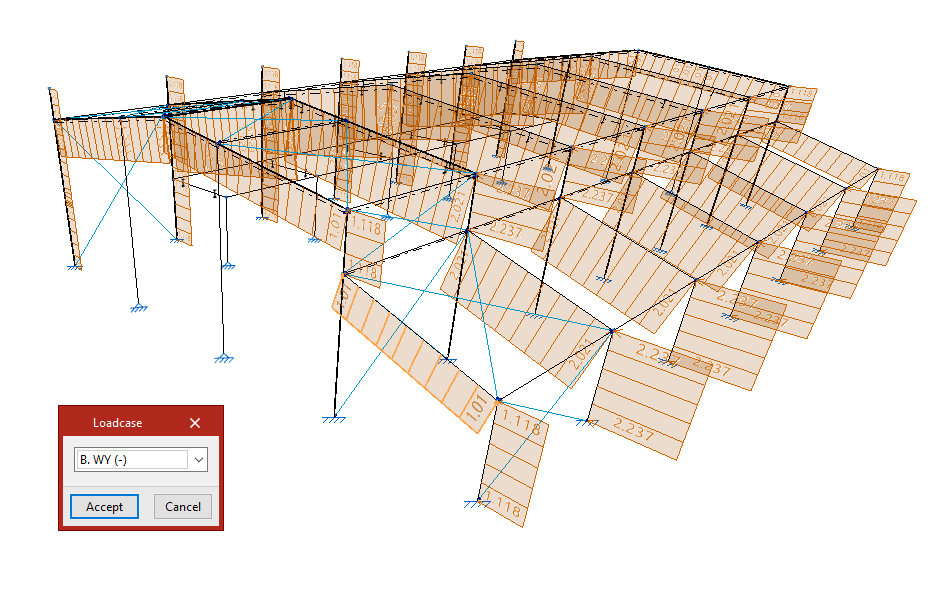
Loadcase
If only the loadcase of the loads needs to be modified, the "Loadcase" option is used.
To do this, select the loads to be modified and click on the right button.
In the "Loadcase" window, choose the loadcase in the drop-down menu to which the loads will be assigned, and then click on "Accept".
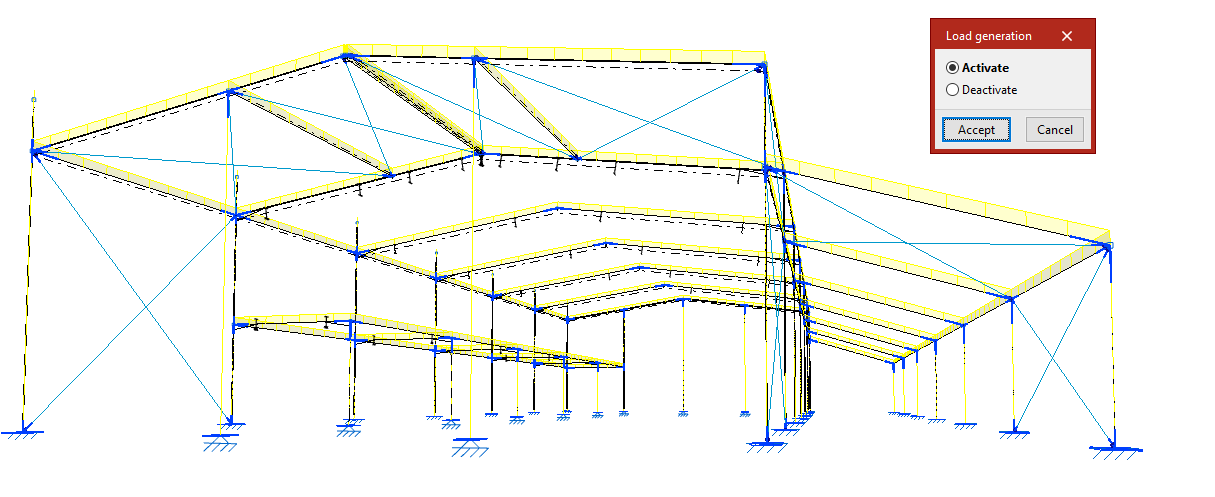
Self weight
The "Self weight" option activates or deactivates the automatic generation of the own weight loads of the bars.
When clicking on it, the "Load generation" dialogue box appears, where you can choose "Activate" or "Deactivate".
By default, the program generates the self-weight loads of the bars and displays them on the screen.
If an action is chosen, the bars must be selected after clicking "Accept". If "Deactivate" is chosen, pressing the right button removes the self-weight loads associated with the selected bars. If "Activate" is chosen, they are regenerated.
Pressing the right button again brings up the "Load generation" box to change the action to be carried out.