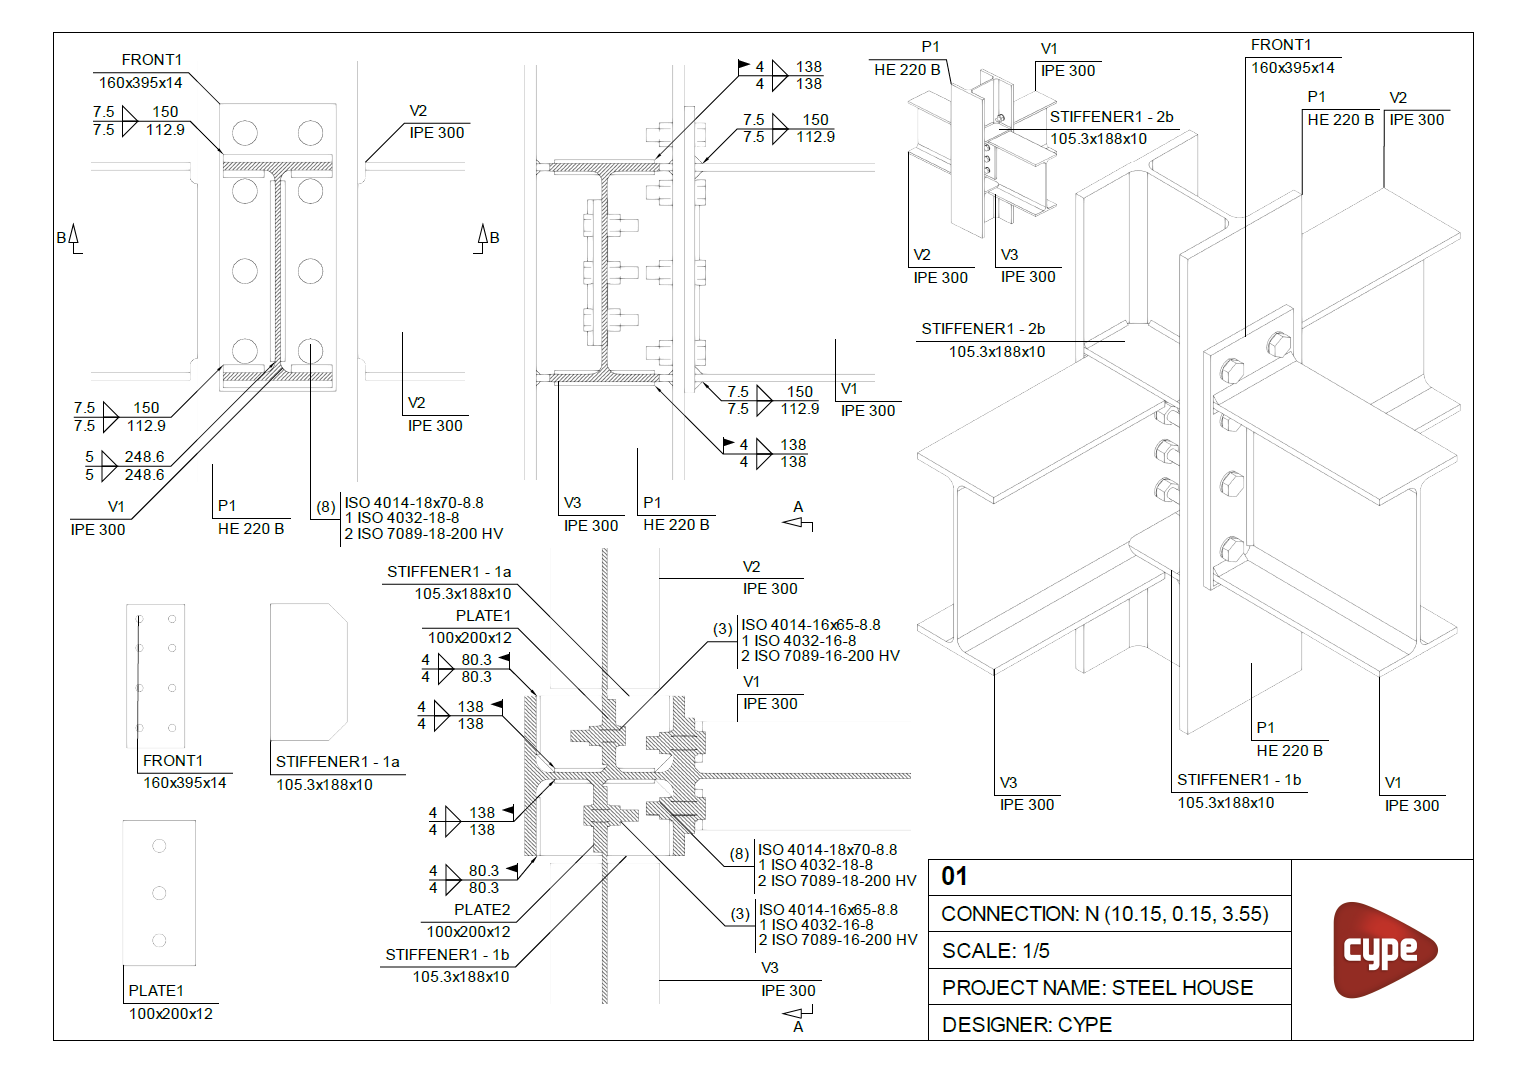
Data input and output sequence (sheet editor)
Graphical documentation of the structure or parts of it can be carried out in the sheet editor using the following basic sequence of data input and output:
- Access the sheet editor (options in the "Documents" tab or the "Sheets" tab of the joint editor).
- Review sheet formats and other styles (the "Styles" panel), as well as the available variables ("Replace texts").
- Create sheets (the "Sheets" panel on the left-hand side).
- Create layers (the "Layers" panel on the left-hand side).
- Insert the template ("Templates" group, "Insert"). If no template is available, you must first draw one by entering its constituent elements (using the options in the "Drawing elements" group) and then create the template ("Templates" group, "Create").
- Insert model views (the "3D Scenes" menu):
- Prepare 3D scenes ("3D Scenes" menu, "Library").
- Insert 3D scenes (the "3D Scenes" menu, "Insert").
- Insert graphic elements (the "Drawing elements" group):
- Add tags and dimensions to the elements depicted in the scenes.
- Insert other graphic elements to complete each sheet: lines, text, tables, etc.
- Insert sections and links to other sheets (optional).
- Print sheets (the "Print" option in the "Sheets" panel).