

Joint libraries
To view the user's joint library, from the "Model" tab on the program's main interface, open the "Libraries" menu on the top toolbar, which is located within the "Project" section.

Next, select "Joints".
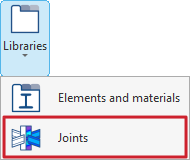
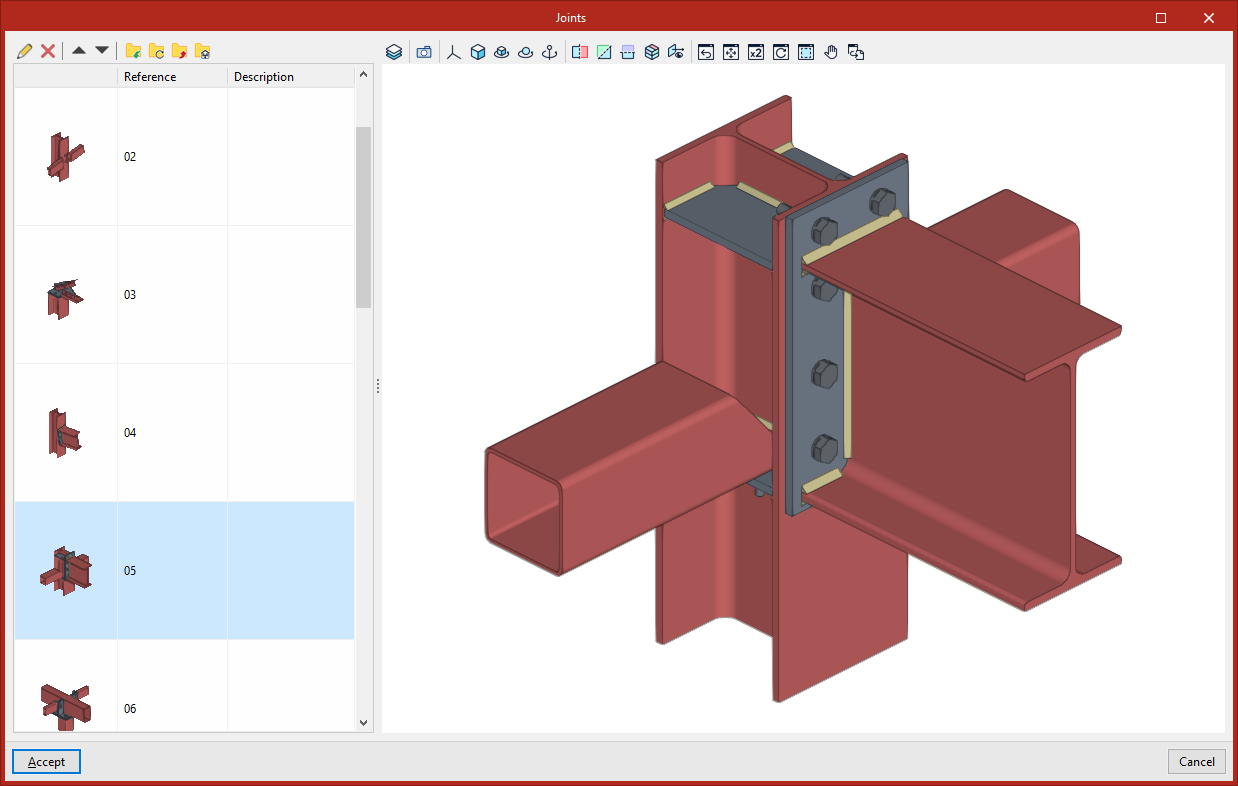
The window that appears displays a list of the joints created by the user and saved in the project currently open in the program.
The following is shown for each connection:
- Thumbnail view of the joint
- Reference
- Description
On the right is a 3D view in which you can move, zoom and rotate the joint selected from the list.
At the top of the list, you will find the options for managing this user joint library.
- Edit
Modify the details of the selected joint. - Delete
Remove the selected joint from the library. - Import the elements saved in the drive to the project
Import the joints contained in the selected .bibgen file into the project library. - Update the elements used in the project
Update the information for the selected joints based on the information contained in the associated .bibgen files. - Export the item to a file
Export the selected references to a .bibgen file on the hard drive. - Selecting a file with initial values for creating a new
project
Select a .bibgen file from your hard drive. The information contained in this file will be used to automatically create the user's joint library when creating a new project.
| Note: |
|---|
| The information displayed in this window is similar to that shown via the "User joints" option within the edit panel for each joint. The user joint library can be populated by exporting the data for a specific joint from that joint's edit window (using the "Export" option within the "Library" section of the "Model" tab). Joints from the user joint library can be used when defining joints (using the "Import" or "Auto" option within the "Library" section of the "Model" tab in each joint's editing panel, or via the "Generate" option in the "Enter" section of the "Model" tab on the program's main interface). |
