Creating a new job, linking to a project and importing data
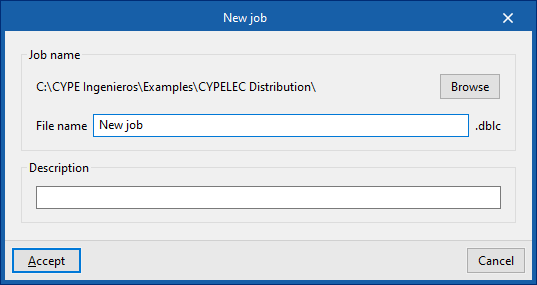
When you launch the app and click on "New", you are given the option to create a "New project". After entering the "File name" and "Description", the project can then be added to an existing project on BIMserver.center.
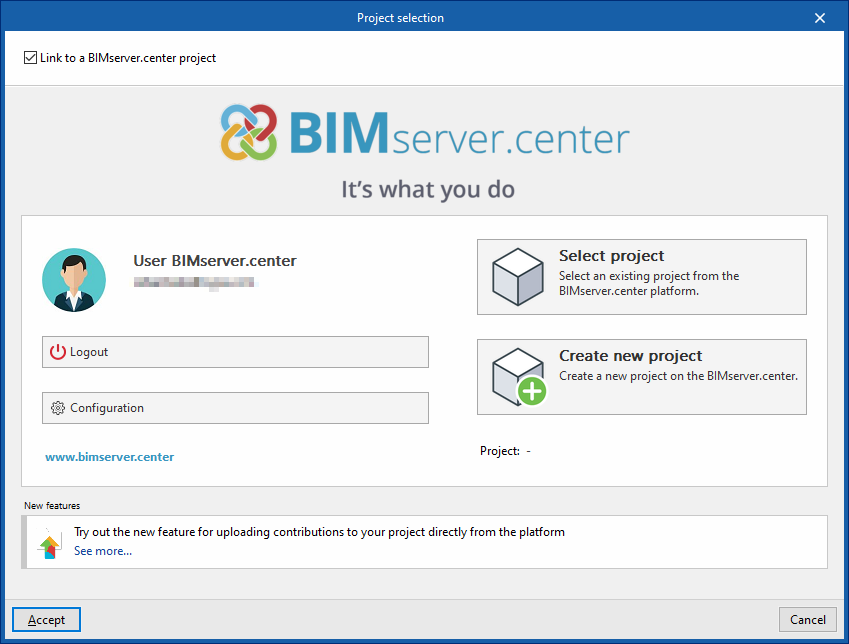
This is done in the "Project selection" window, which offers the following options:
- On the left-hand side, you can sign in using a BIMserver.center account.
- On the right, use the "Select project" option to choose an existing project. You also have the option to "Create a new project". In that case, the project you create will be visible on BIMserver.center from that point onwards.
- You have the option to start the project without linking it to the BIMserver.center platform. To do this, simply uncheck the box labelled "Link to a BIMserver.center project", which is located in the top-left corner.
Once the new project has been created, you will be taken to the program’s main interface. At any stage of the project, you can share or import project files via the "BIMserver.center" section, located at the top right of the main interface on the "Installation" tab.
Importing BIM models
When creating a new project and selecting a project hosted on the BIMserver.center platform via "Select project", the "Import BIM models" window appears, displaying the files contained in that project in IFC format.
The application allows you to include one or more of the existing models in that project. To do this, tick the "Import" box and confirm.
When you access the interface, the graphical window will display the imported models. Furthermore, if this information is available, the floor plans required for developing the plant model will be imported and created.
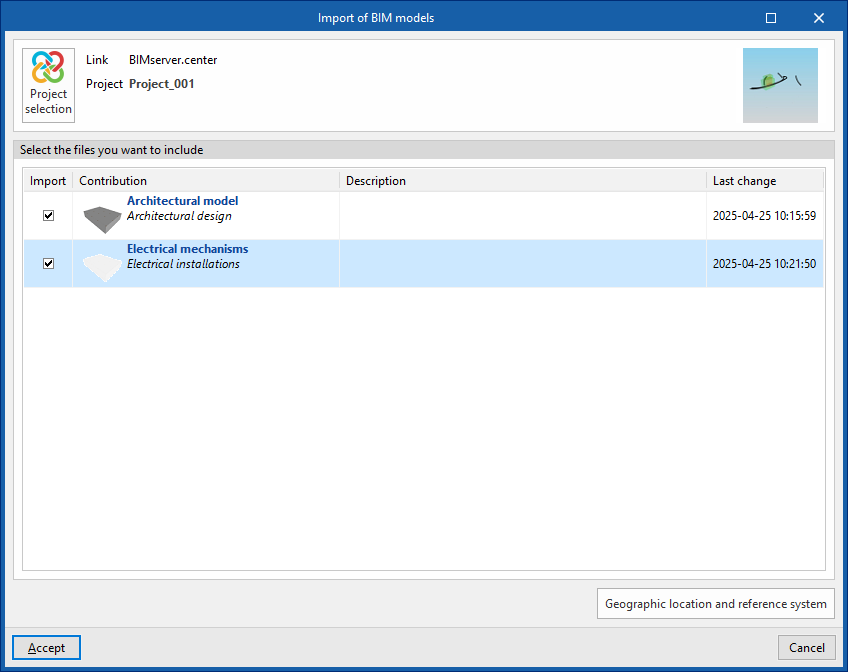
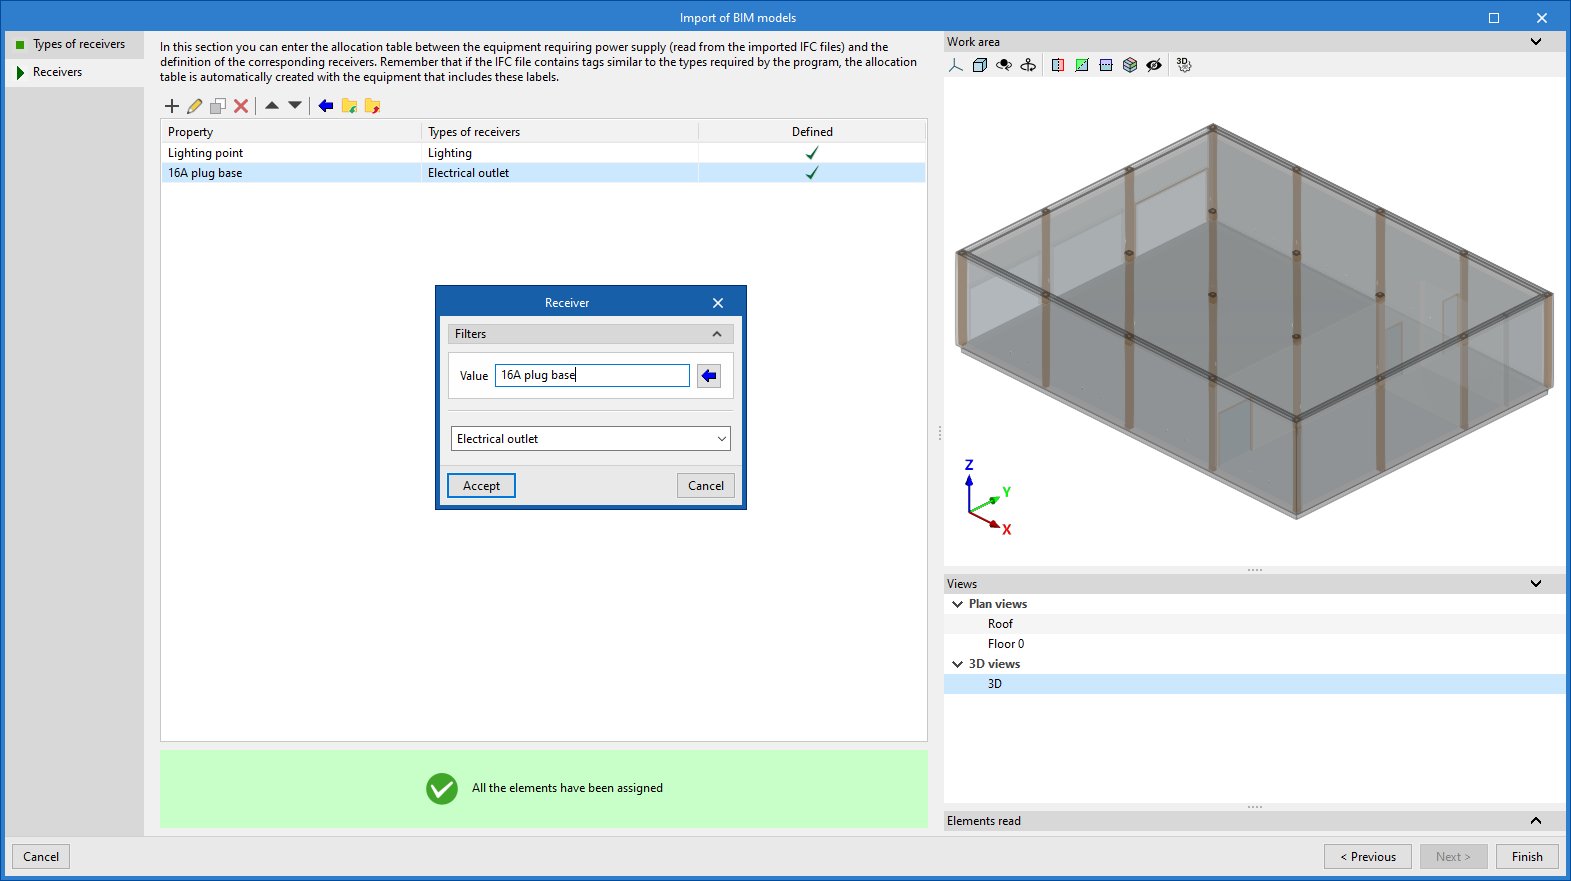
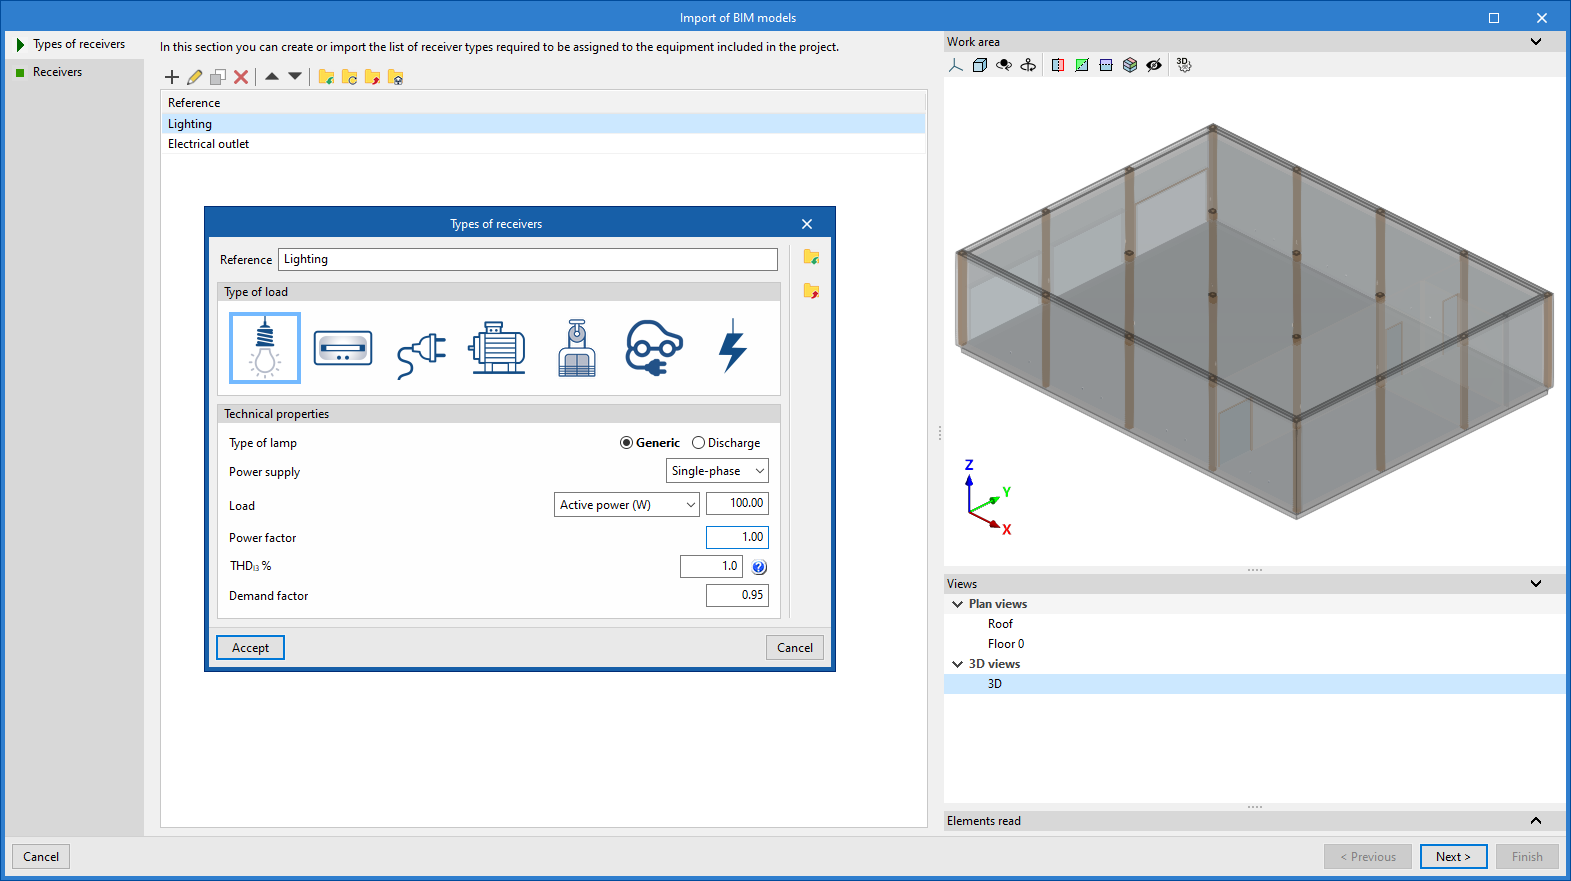
BIM model import wizard: creating receiver types and assigning them to equipment requiring a power supply, as identified in the BIM model
The program then opens the "Import BIM models" wizard, which consists of the following steps:
- In the first step, you can create or import the list of receiver types required for subsequent assignment to the equipment included in the project.
| Note: |
|---|
| If you wish to view or edit the list of available receiver types on the site at a later date, go to "Receiver types" in the "Project" section of the top toolbar. |
- In the second step, the equipment requiring a power supply—as read from the IFC file—is assigned to the receiver types created or imported in the previous step.
To do this, entries must be added to the assignment table. For each entry, the equipment to be assigned is filtered by specifying the values of its properties, and the program’s specific receiver type to be assigned to it is selected.
It is also possible to use the wizard on the top toolbar to import all equipment read from the IFC file in bulk based on the desired property, thereby generating an entry in the table for each group of equipment with the same property.
On the right, the program allows you to view the layout of the equipment in the model.
Any equipment that is not to be included must be removed from this classification table.
The program will assign the selected receiver type to all equipment read from the IFC file that has the value indicated in the displayed property, and will generate, arrange and display it in the model view.
| Note: |
|---|
| If you need to reassign the equipment read from the BIM model, you can use the "Update" option in the "BIMserver.center" group on the top toolbar. |