Groups of floors
Groups of floors make it easier to work with the program if the project presents special situations, such as the following:
- The project consists of several separate buildings or blocks that have different floor levels.
- The installation consists of several independent parts located at different heights.
In these cases, the differences in level between floors may be very small or insignificant, which could affect the height or level information for one part of the installation due to the proximity of floors belonging to other areas of the project.
To avoid these problems, groups of floors are defined and assigned so that the elements in one group ignore the floors in other groups. Thanks to floor groupings, you can continue to enter all the necessary floors at the appropriate heights and enter the elements of the installation on the corresponding floor.
Defining groups of floors
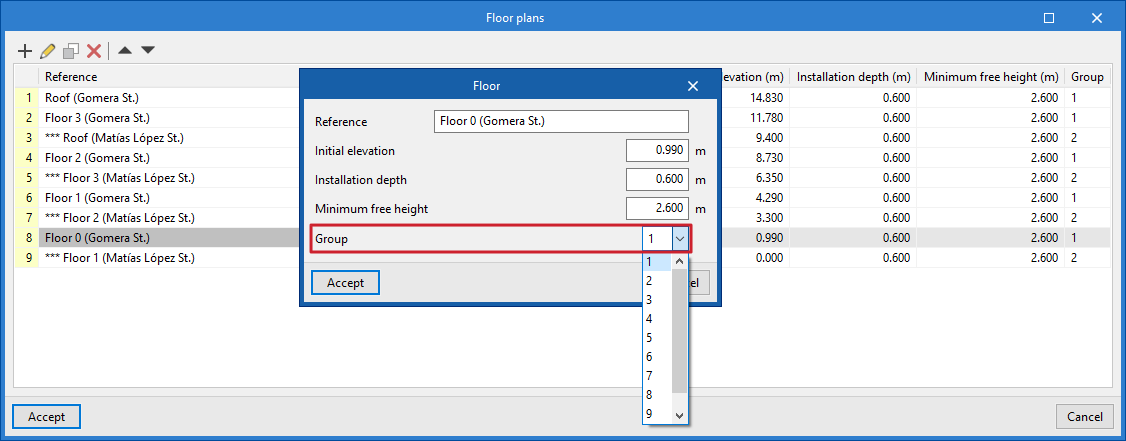
Groups of floors are defined from the "Floor plans" option in the "Project" group.
When entering or editing each floor, you must select the floor "Group" to which it belongs from the drop-down menu.
Assigning groups of floors
Groups can be assigned to system elements in several ways:
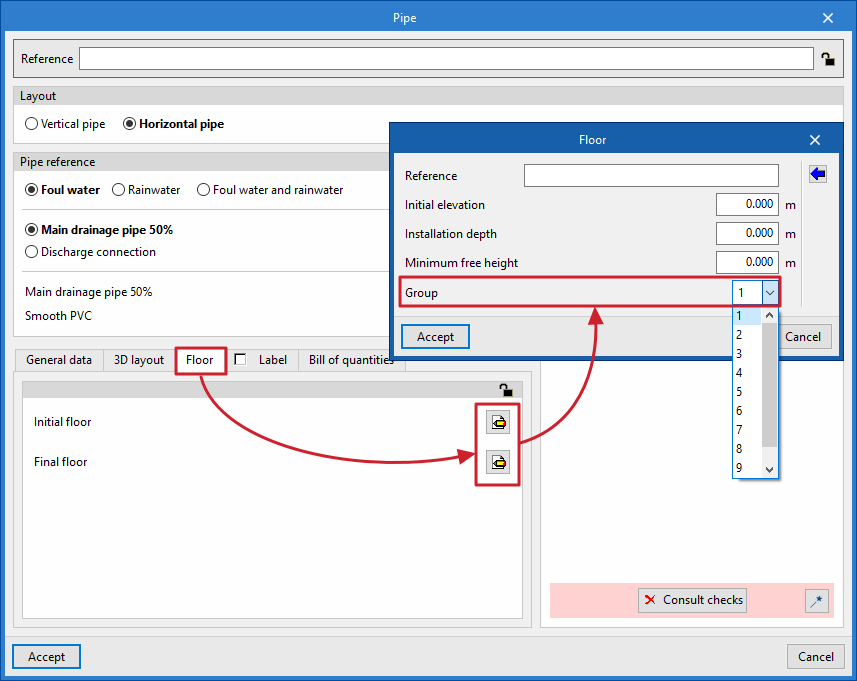
- When entering an element into the model, the program will assign it to a floor and automatically to the group to which that floor belongs.
- The floor group to which an element is assigned can be viewed or edited by using the "Edit" option and accessing the "Floor" tab in its editing panel.
- Finally, the "Assign" option in the "Edit" group can be used and the "Group" box can be ticked to modify the group assigned to the set of elements selected in the work area.
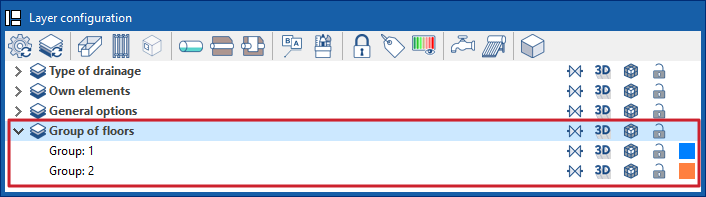
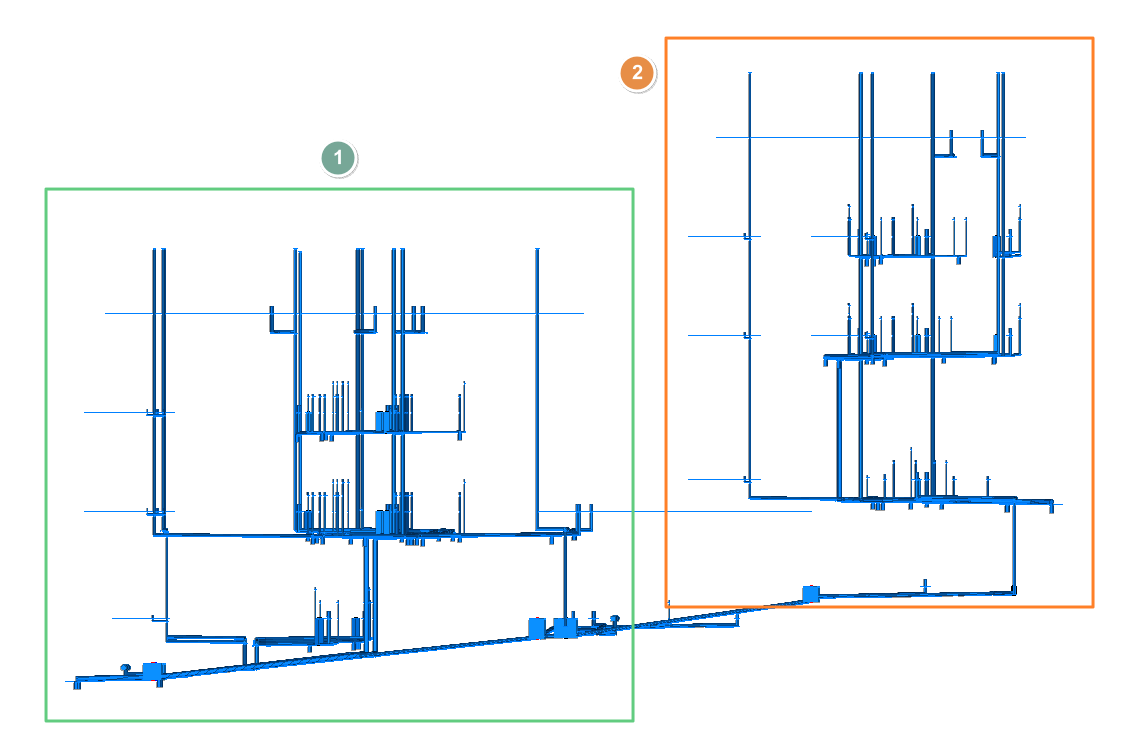
Viewing groups of floors
The parts of the installation corresponding to the different groups of floors can be viewed by colour from the corresponding options in the "Layer settings" panel.