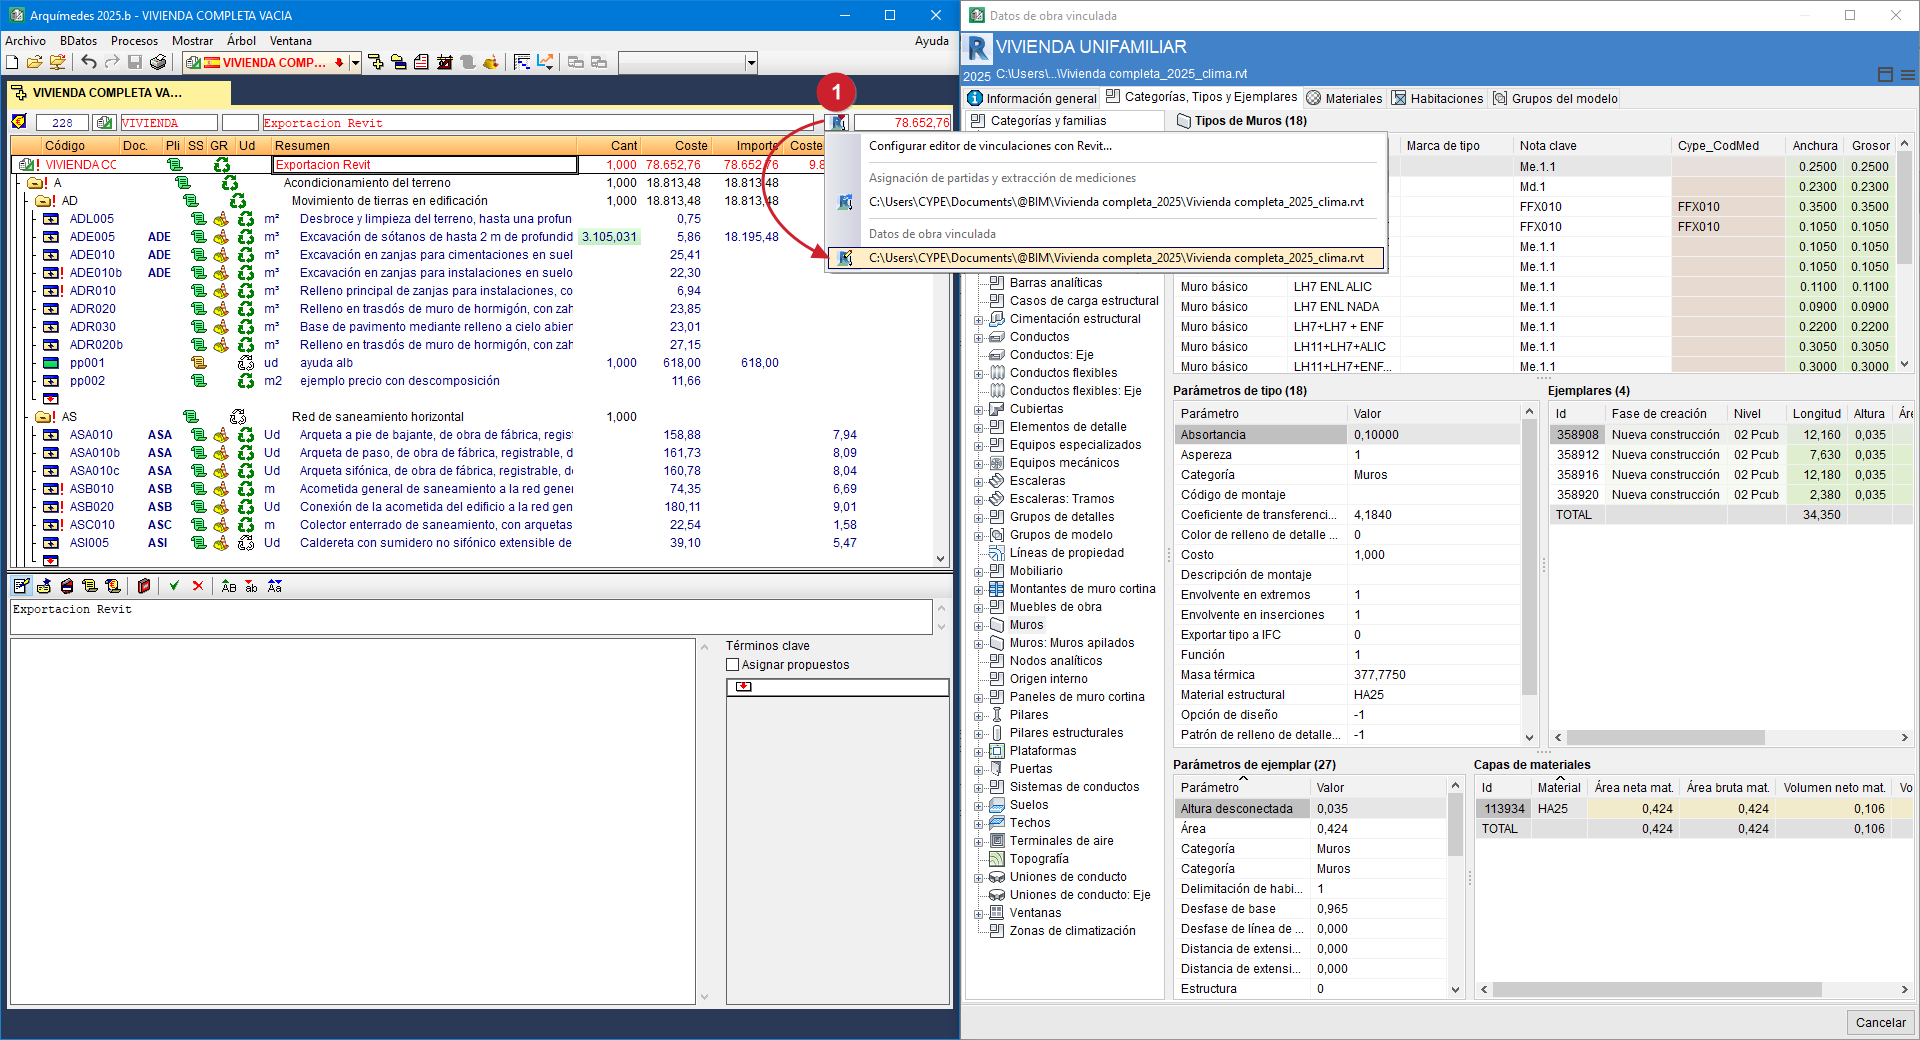
"Linked job data" dialogue box
The "Linked job data" dialogue box allows you to view information about the Revit model. The information is organised into tabs and tables to help you locate the entities in the Revit model linked to the bill of quantities.
This dialogue box is displayed from Arquimedes by right-clicking on the icon (marked with the red number "1" in the image on the side) in the "Cost breakdown structure" window, in a project that has a linked Revit model, and selecting the "Linked job data" option. This dialogue is also displayed via the dialogue toggle button from the "Assign items and quantity extraction" dialogue.
At the top of the dialogue, the name and path of the Revit project from which the model information is to be obtained are displayed. To the right of this is the options button, from which you can access the "Search instance by Id" option.
Contents of the tabs
The "Linked job data" dialogue box consists of five tabs containing the Revit elements and data required to obtain the quantities for the items.
General information
This tab shows the Revit project details:
- Parameters, with their respective values.
- Phases defined in the Revit model.
- Units, including name, symbol and the number of decimal places used.
- Levels, indicating the elevation associated with each floor of the project.

Categories, types and examples
This tab is divided into two parts: on the left are the Revit elements, organised into a tree structure with categories and families. The first level represents the categories; the second level, the families. When you hover over the root section "Categories and families", a table appears showing the number of families, types and instances contained in each category of the Revit model. This information provides an overview of the size of the Revit project in terms of the BIM elements it contains.
When you hover the mouse over a category in the Revit element tree, all the types and instances of all the families comprising that category are displayed.
However, when you hover the mouse over a family in the Revit element tree, only the parameters (properties) of the types and instances of the selected family are displayed on the right-hand side of the dialogue box.
The types are located at the top of this area. Here you can view the type parameter values. Type parameter values or calculated values obtained using other system parameters are highlighted in green for simplicity. The remaining parameters contain data entered by the user. The CYPE_CodMed parameter, shown in red, is a parameter specific to the MedBIM - Revit Plugin, used to display the item codes associated with a type for quantities.
For each type selected in the type table, various tables appear below the type table:
- The first table on the left contains the "Type parameters".
- To the right of that table is another table containing the "Materials".
- And the last table in that row shows the "Instances" of each type.
- The first of the tables below contains the "Instance parameters", which may be system or user parameters.
- The second table is displayed if the selected type contains "Holes".
- And the third and final table shows the "Material layers" of which the various instances are composed. Materials may be common to a type. The parameters for each material are displayed. The yellow colour indicates that these are material parameters.
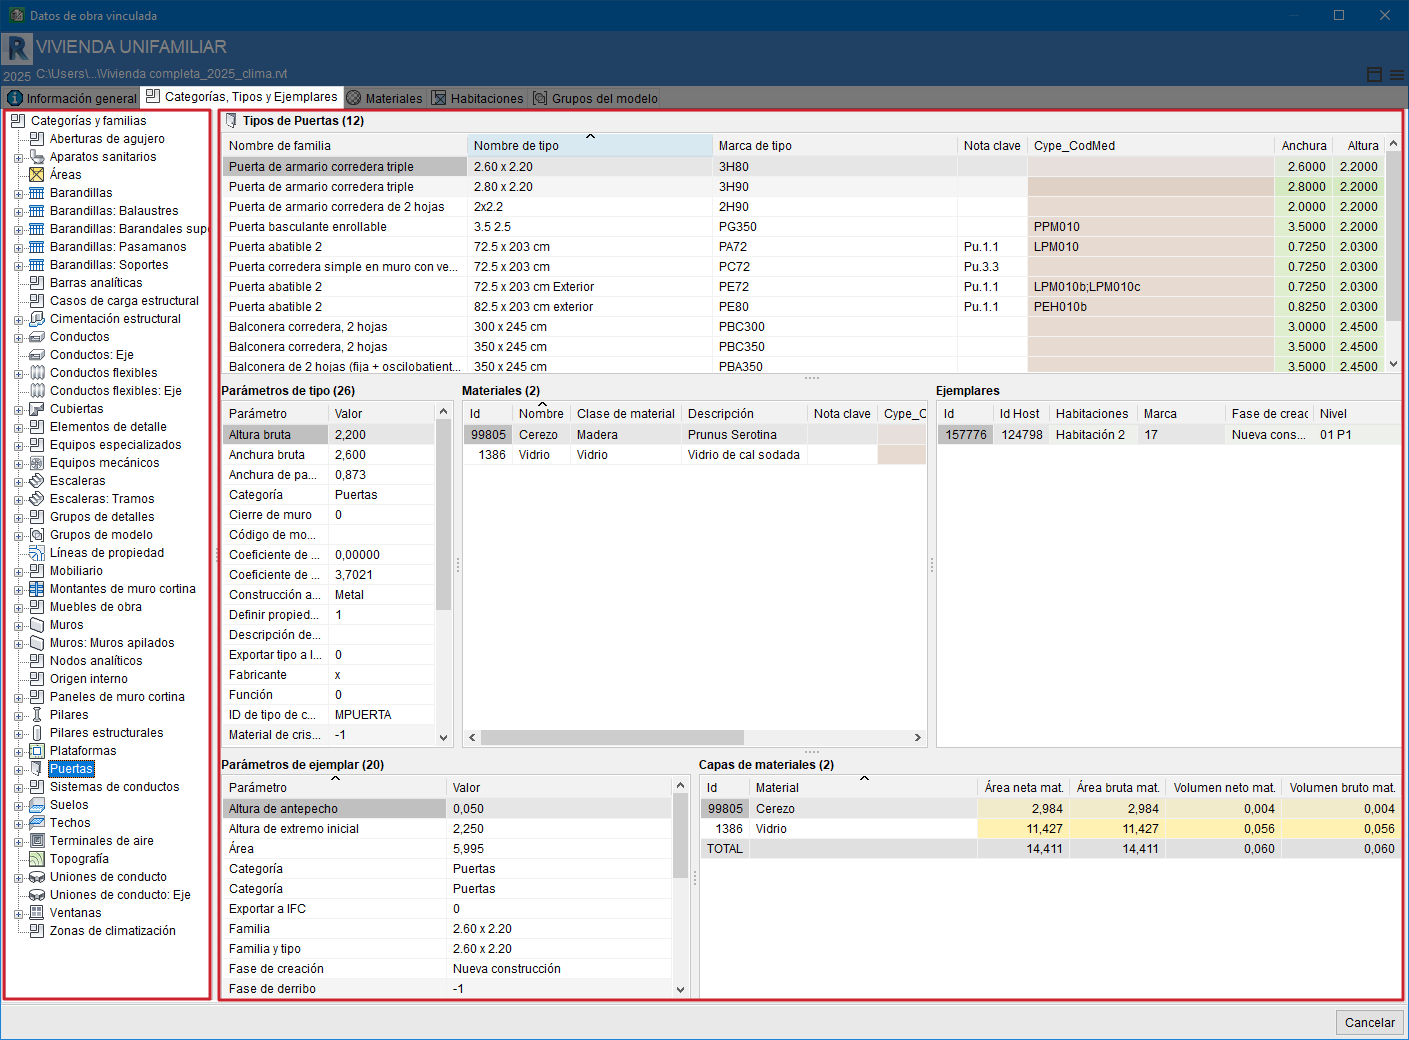
Materials
This tab is divided into two sections. The top table lists the materials in the Revit model, categorised and sorted by their ID. This section contains the material parameters. The bottom section of the "Materials" tab displays the table "Instances using the selected material". The table lists, sorted by their ID, the instances that are assigned to a material along with its various parameters.
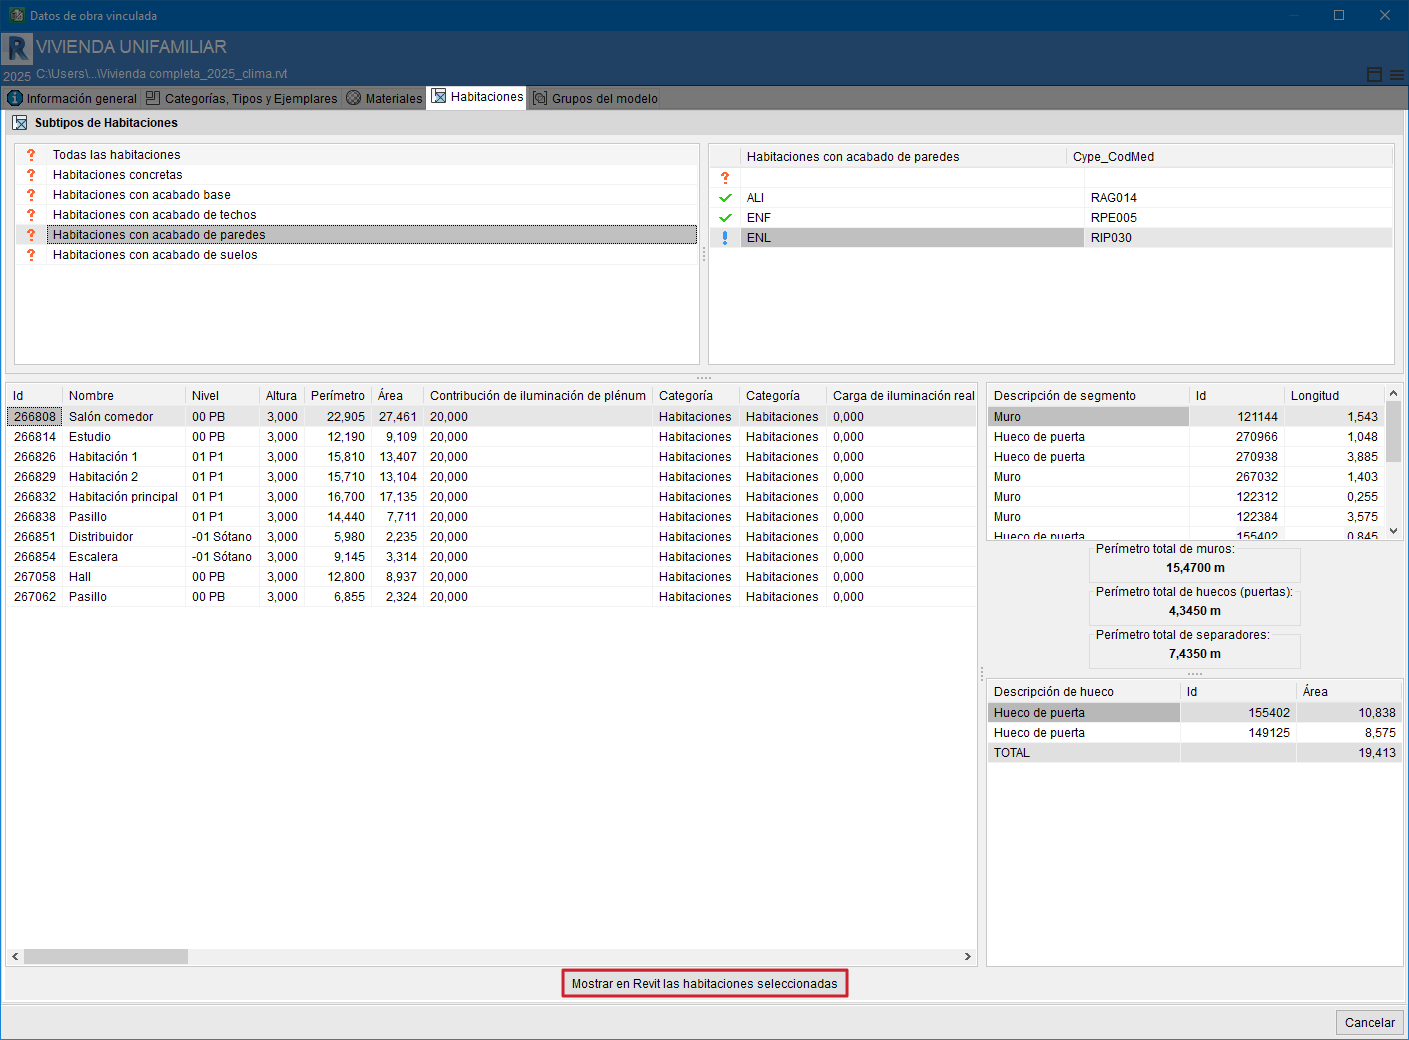
Habitaciones
This tab is divided into three sections. The top section allows you to select the room group to view any links between items and rooms via the Cype_CodMed field. The bottom section contains two tables with the rooms’ parameter data. In the table on the left, the rooms are listed by their ID and their respective parameters. The table on the right shows the walls, openings and partitions that form part of the selected room, along with their ID and respective parameters.
From this tab, you can obtain a report of rooms with their areas and perimeters to view the finishes for floors, ceilings and walls.
The "Display selected rooms in Revit" button allows you to identify the selected room in Revit.
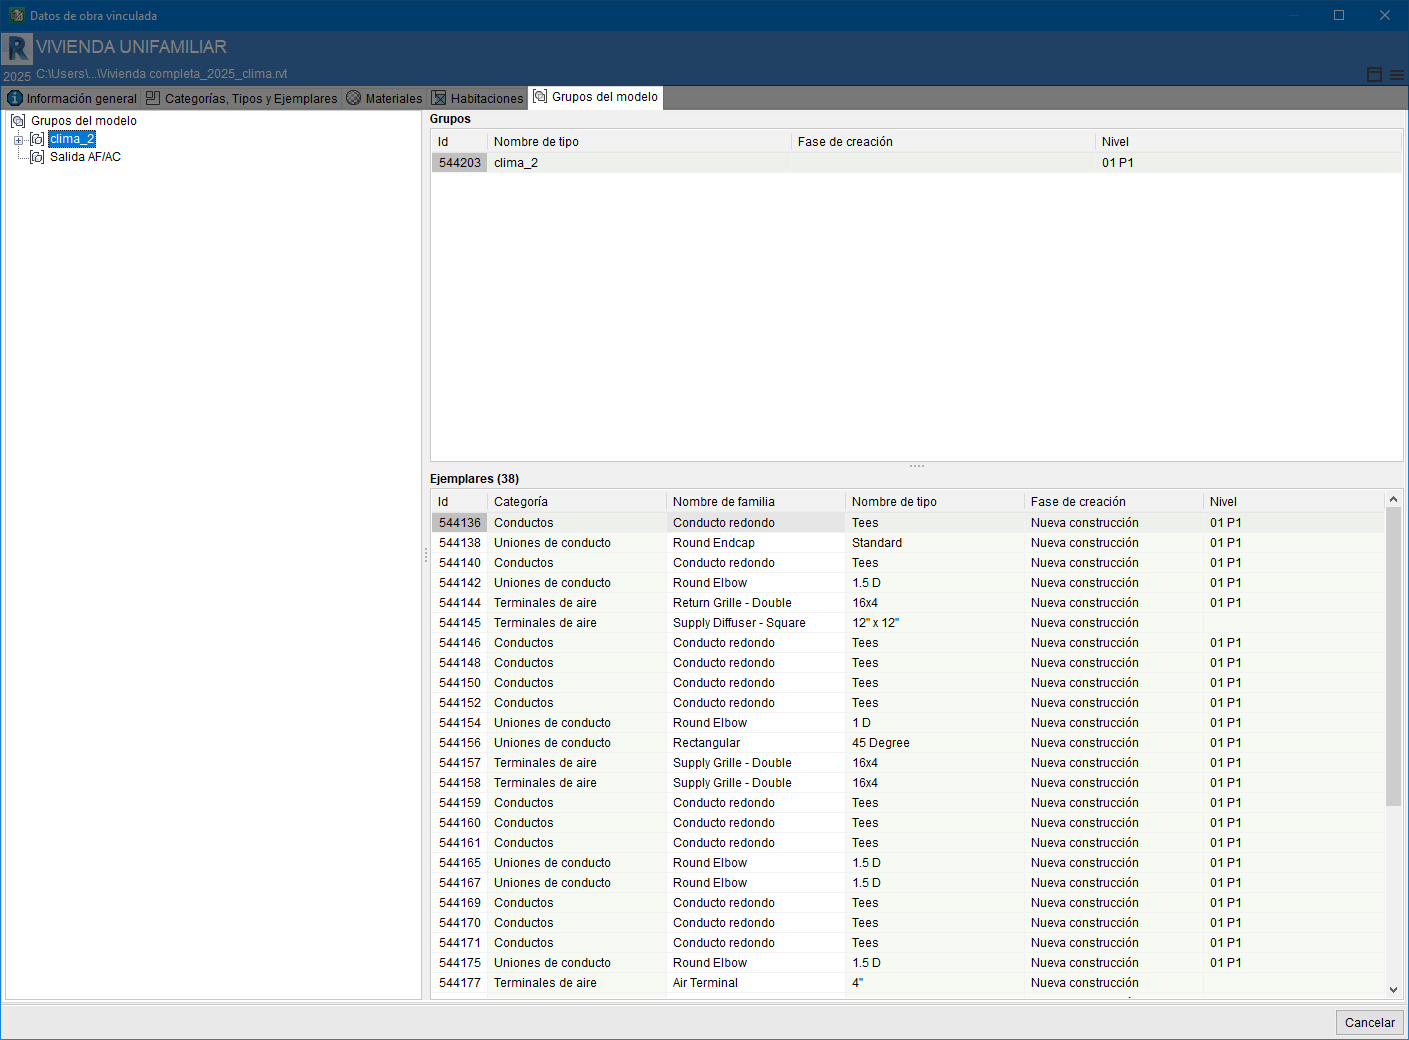
Model groups
This tab is divided into two sections: on the left are the Revit groups, organised in a tree structure. In the top right-hand corner, you will find information about the "Groups" created in Revit, sorted by their ID. At the bottom, the "Instances" and other details for the selected group are displayed.
Display in Revit
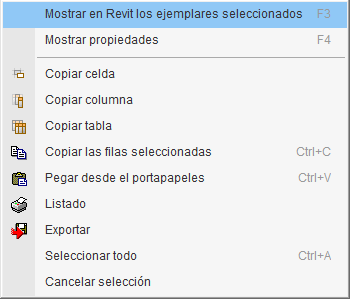
When you right-click on any of the rows in the type and item tables, a context menu appears with the options shown in the image on the right.
If Revit is open and the project linked to the Arquimedes bill of quantities is open, clicking on the "Display the instances of the selected types in Revit" or "Display the selected instances in Revit" options, respectively, will locate and display the selected instance or instances in Revit for checking and review.
More information:
You can find more information about this option in the section "Display the selected instances in Revit".