Intersection solutions allow all the intersections in the job to be easily solved (walls with walls and walls with floor slabs), either manually or automatically.
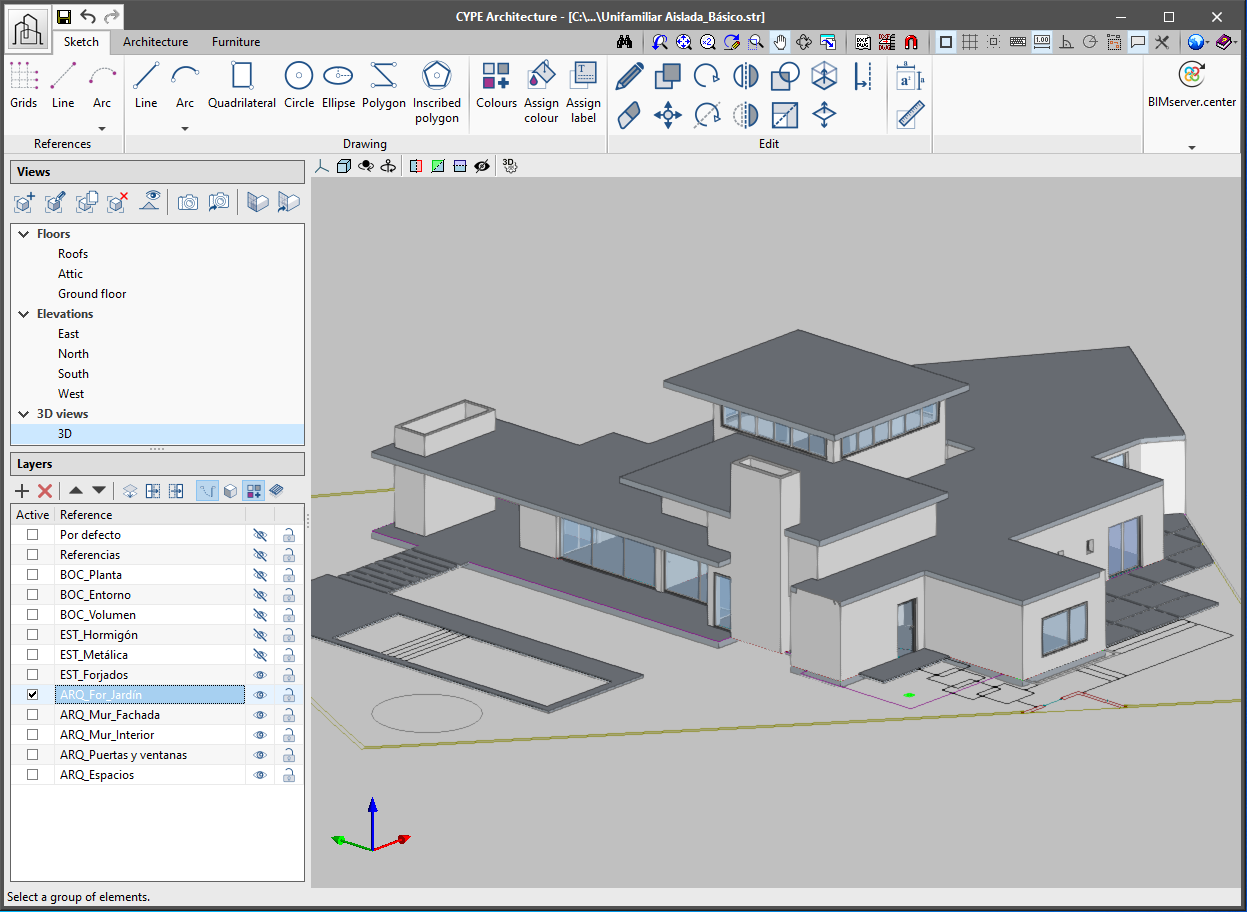
When modelling walls and floor slabs in CYPE Architecture, the intersections are not solved at the same moment as they are inserted. It is later on, when the building model has been introduced, that these intersections can be solved, either automatically or manually. To do this, there is a section for intersection solutions in the "Edit" group of the toolbar:
- Automatic intersection solutions
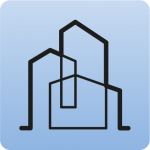
Allows all the intersections in the job to be automatically solved. If clicking on the "Intersection solutions" button, a panel appears that allows users to choose between "Solve intersections of all elements of the project" or "Solve intersections of unmodified elements".
If it is the first time that the user is dealing with intersection solutions in a certain project, the "Solve intersections of all elements of the project" option must be chosen. If users have previously solved some intersections before and they do not wish for these intersections to be lost, the "Solve intersections of unmodified elements" option must be chosen.
- Manual intersection solutions
The tools for manually solving intersections allow the user to solve intersections that have not been automatically generated. These tools are:- Cut by plane
Allow walls, floor slabs, columns and beams to be cut by a certain plane in order to solve an intersection. To do this, a section plane must be defined and the elements on which it will act must be selected:- Click on the "Cut by plane" button.
- Define the section plane. A plane from one of the faces of the architectural elements can be chosen, or drawn manually.
- The defined plane will be drawn on the screen with a green arrow. The direction of the arrow indicates the part of the element that will be cut by the plane and that will remain, whilst the opposite side of the arrow indicates the part of the element that will be cut and deleted.
- Finally, choose the element or elements to be cut using the defined plane.
- Extend face
Allows the face of a particular element to be extended in order to solve an intersection. The steps to follow are:- Click on the "Extend face" button.
- Choose the face of the element to be extended.
- Extend it to the other element or a fixed distance using the "allows for dimensions to be defined upon introducing each element" button.
- Subtract
Allows two elements to be subtracted whilst maintaining both parts. For example, an intersection in the meeting of two walls in which one of them is uninterrupted. The steps to follow are:- Click on the "Subtract" button.
- Choose the element that will be cut.
- Choose the element that will be continuous.
- Delete
Allows users to delete part of an element that has been divided in two by subtraction. - Regenerate
Allows an element to be regenerated and returned to its original state.
- Cut by plane