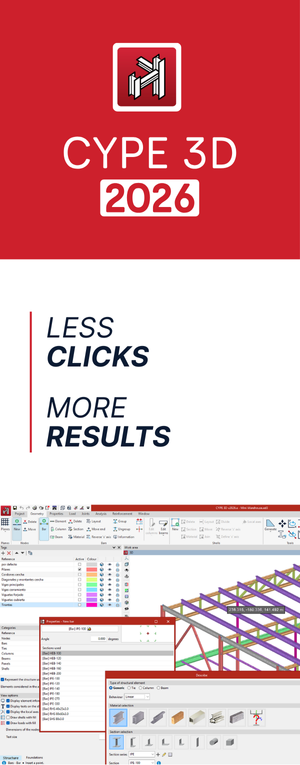
As of version 2025.d of CYPE Connect, the import wizard incorporates a new step that selects the bars to be imported according to the assigned tags.
This option is available exclusively for models created in CYPE 3D.

As of version 2025.d of CYPE Connect, the import wizard incorporates a new step that selects the bars to be imported according to the assigned tags.
This option is available exclusively for models created in CYPE 3D.
As of version 2025.d, when clicking the "Share" option of the apps (before starting the generation of the contribution files), a check is made to ensure that the user is part of the BIMserver.center project team. If the user does not have the appropriate permissions, a warning message is displayed. This prevents the generation of unnecessary files when the user does not have editing rights.

As of version 2025.d, the "Project selection" window in the apps connected to BIMserver.center incorporates a new notification system to inform users about the latest new features on the platform.
This space displays relevant messages about new features, enhancements and recommendations related to BIMserver.center. In addition, direct links to documents, tutorials and additional resources will be included to facilitate the adoption of these new features.

It is now possible to select the type of steel for bolt layout checks.
This feature is available when using the Eurocode, its national annexes or the Spanish structural code "Código Estructural" as the steel standard.

Up until version 2025.d, when the Eurocode, its national annexes or the Spanish structural code "Código Estructural" were selected as the steel standard, the separation between the axis of a bolt and the plate edges of all bolts in an operation was verified.
However, from this version onwards, this verification shall not be carried out when the bolts are located inside a group of bolts.

As of version 2025.d, the representation colours of the different elements are configurable.
This customisation is carried out from the "Project > Settings" menu, where the colours can be edited according to the user's preferences.
This feature is made even more relevant by the new tools, incorporated in this version, to include images in the connection reports.

As of version 2025.d, the contour plot result views include a new option to show or hide the finite element mesh.

Up until version 2025.d, the shear check of the bolts was carried out considering the worst-case scenario: the shear plane passing through the threaded zone of the thread.
As of version 2025.d, depending on the plates to be joined and the length of the shear plane, the program evaluates whether the cutting plane is on the threaded or non-threaded part of the thread.
When the thicknesses of the plates to be joined are different, the cutting plane may vary according to the direction in which the bolt is placed, passing through one area or the other. In these cases, the bolt shall be evaluated in both directions and, if in any of them the cutting plane passes through the threaded area, this condition shall be considered in the check.

The length of the shear plane is included in the bolt library. The series of bolts available in the program have been updated to incorporate this information. In projects created with previous versions, the bolt libraries will assign the threaded area a length equal to the length of the thread, as was previously the case.
The libraries can be updated via the library management to include the length of the shear plane. To do this, simply click on the blue arrow icon and select the series to be imported. If you have a customised user library, the same procedure must be followed to update the bolt libraries and then save the customised library again.

In version 2025.d, the import of the nodes defined in the structural model has been implemented.
This task can be carried out in the import of structures from CYPE 3D, ETABS® or SAP 2000®. A node will be created with the same reference as the node in the structural model and with the same bars.
In previous versions, geometric detection was carried out based on the ends of the bars.

As of version 2025.d, a small diagram with the layout of the bolts for each operation will be included in the section on the definition of the bolts in the summary report.

The index drawing of each bolt, anchor or timber fastener has been implemented in the 3D view of the connection.
The options to show or hide these indices are enabled under "View options".

In StruBIM Steel version 2025.d, a new total element weight variable has been included so that it can be added to the assembly sheets.
