Editing connections
Connections in the model are edited with the following option, available in the upper toolbar of the "Connections" tab (in the "Structure" tab).

Edit
After clicking on the "Edit" option, a joint or a group of joints is selected by left-clicking on them.
The program opens the corresponding editing window, with the sections listed below.
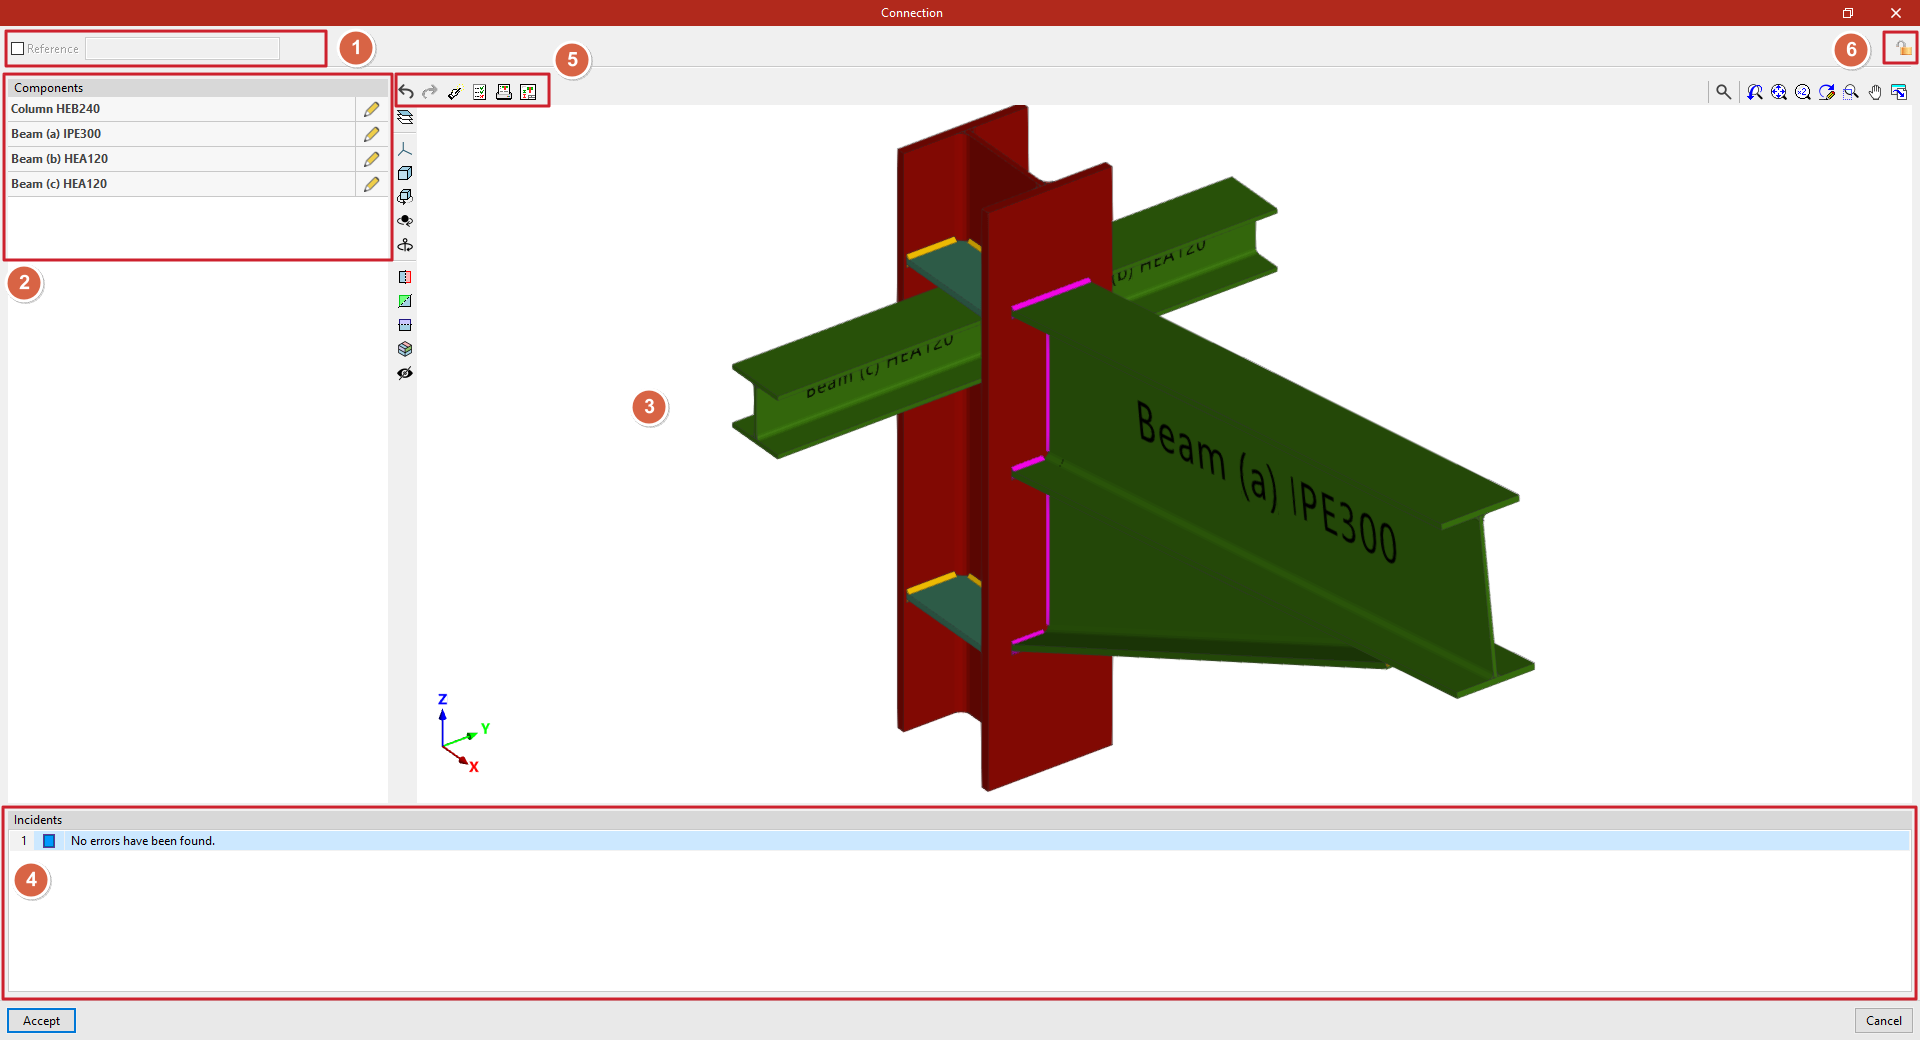
Reference (1)
First, the top box can be activated to assign a "Reference" to the selected connection.
Components (2)
On the left-hand side, the list of "Components" involved in the connection is presented, together with the "Edit" option to make modifications to each of them.
3D viewer (3)
In the central area, the connection is displayed in 3D. Each component shows its reference and section for easy identification.
To the left of the 3D view, there are visibility controls for the "Elements" of the connection. You can also modify the "Projection", the "Projection type" and use tools to rotate or cut the view.
Issues (4)
In the lower part, the list of "Issues" detected in the connection is displayed.
Possible warnings include: "The joint has not been defined", component definition errors, "No errors have been found" or "The project is not analysed".
Tools at the top(5)
At the top of the viewer, there are options for designing, checking and obtaining detailed information about the connection.
To the left of this area, there are options to "Undo" and "Redo" any changes applied to the components.
Lock (6)
If you wish to prevent the program from automatically modifying a joint when using the "Design" option, you can lock the connection by clicking on the corresponding button at the top right. To unlock it, simply click on the padlock icon again.
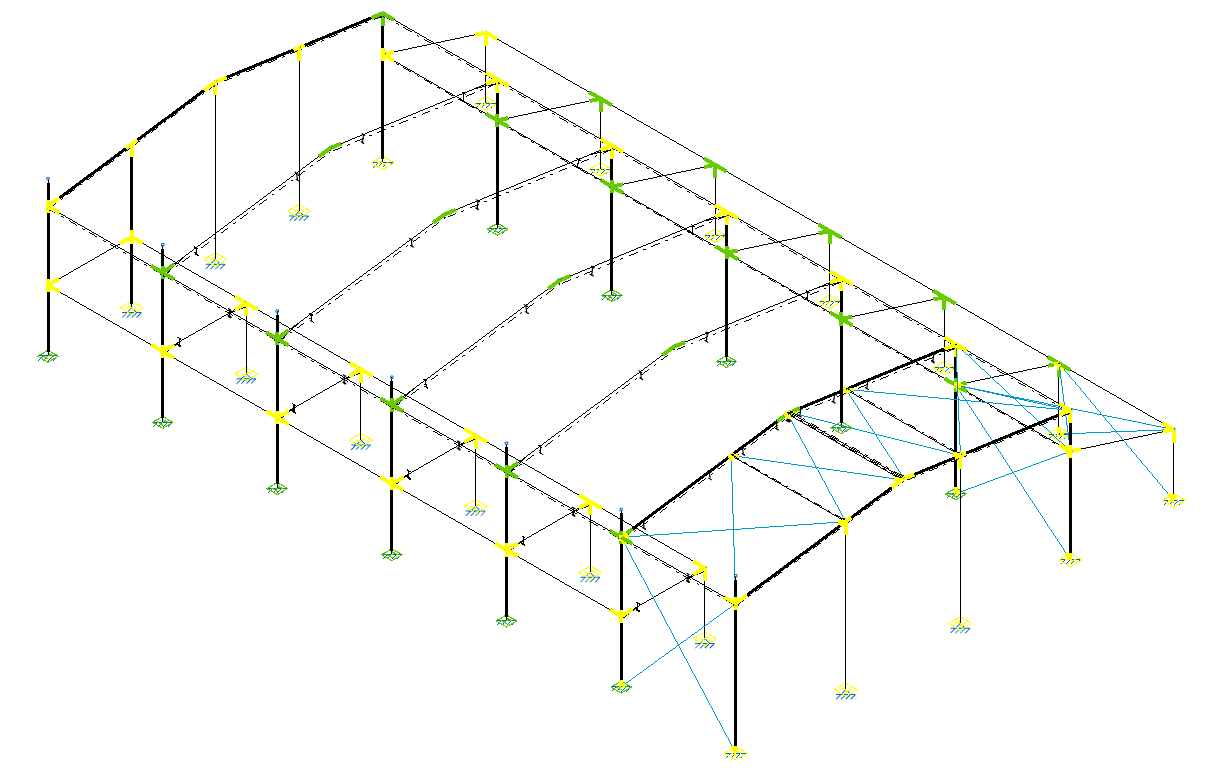
Finally, after clicking "Accept", you return to the general program interface. The connections will be displayed in different colours depending on whether or not all the checks have been verified.