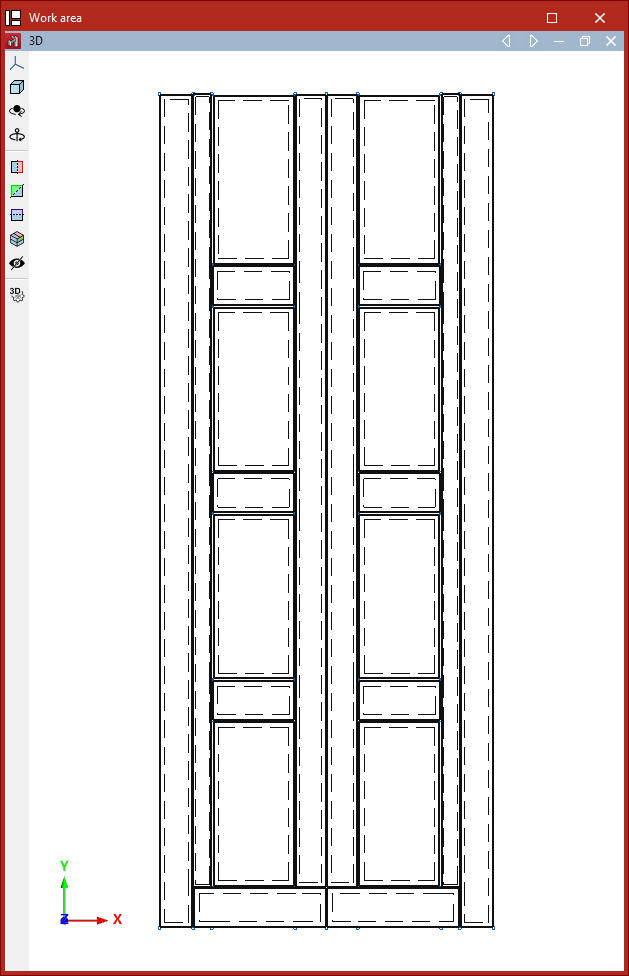
Editing shells ("Geometry" tab)
The options to delete, move, join, split, and edit the geometry, section, and material of shells are found in the "Shells" group of the top toolbar, within the "Geometry" tab (under the "Structure" section).

These options are only activated if shells have already been entered in the model.
Delete
The "Delete" option allows you to delete a group of shells.
To do so, select the shells you wish to delete using the left mouse button or a selection window, then right-click.
Section
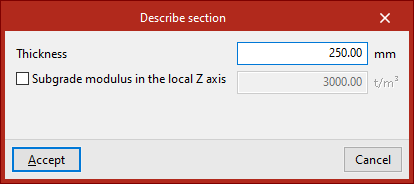
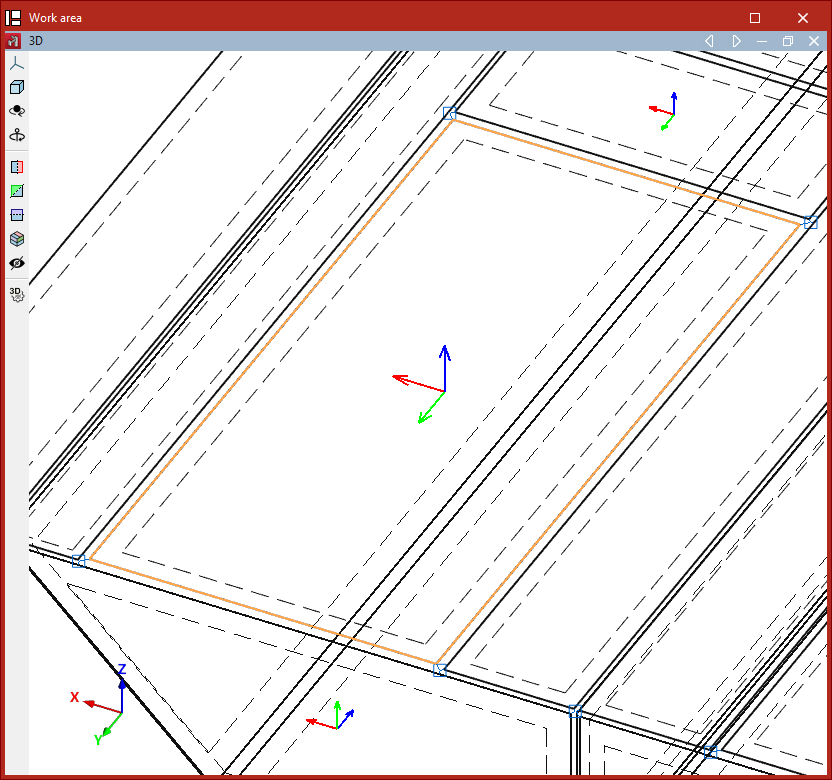
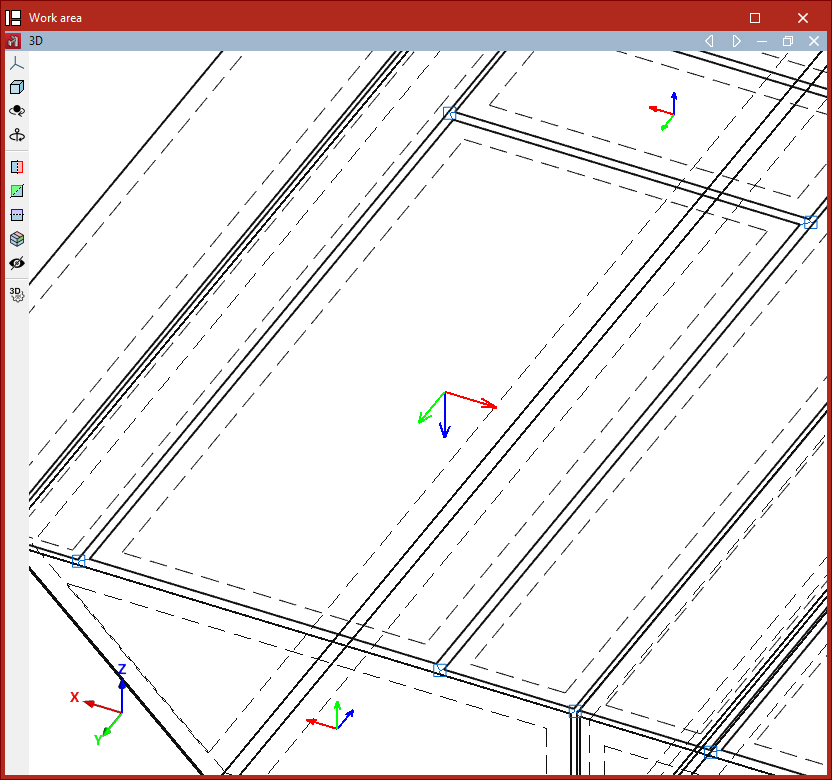
The "Describe section" option allows you to edit the geometry of a group of shells.
Select the shells with the left mouse button or by drawing a selection window, then right-click.
In the pop-up window, you can modify the "Thickness" of the shell using the selected units and specify the "Subgrade modulus in the local Z axis", if desired.
Click "Accept" to apply the changes.
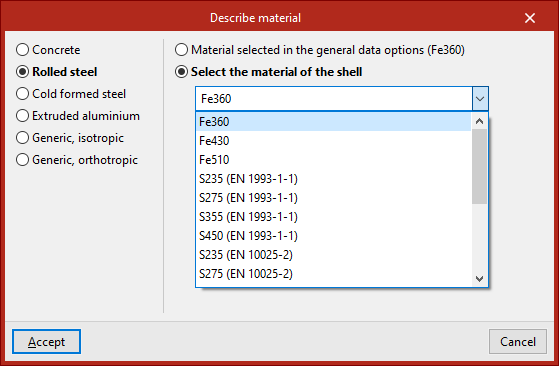
Material
The "Material" option allows you to edit the material of a group of shells.
Select the shells with the left mouse button and right-click to confirm. In the window that appears, choose the material you wish to assign.
Then click "Accept".
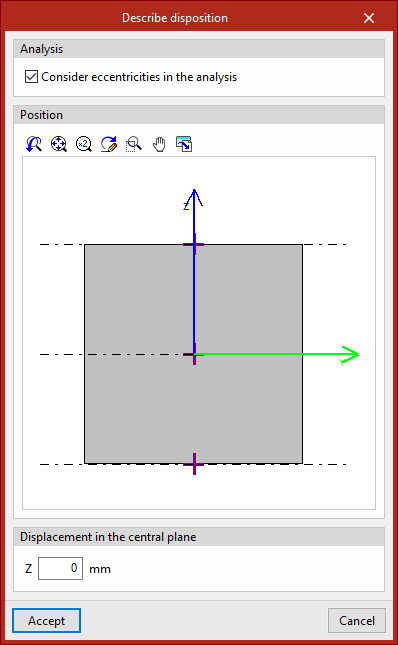
Disposition
Using the "Disposition" option, you can adjust the location of shells relative to their reference plane.
Select the shells with the left mouse button, then right-click.
In the "Position" section of the pop-up window, click on one of the crosses in the viewer to position the shell in relation to its reference plane.
At the bottom, you can add a "Displacement from the central plane" by entering its value.
Move
The "Move" option lets you move the nodes along the perimeter of a shell to a new position.
After selecting the option, first select the shell to move using the left mouse button. Then, select the nodes of the shell you want to move using the left mouse button again. Confirm the selection by right-clicking.
Now, use the left mouse button to define two points that determine the direction and distance of the movement.
Join
The "Join" option allows you to merge multiple shells that share a common edge and lie on the same plane. Select the shells with the left mouse button or by drawing a selection area, then right-click.
If grouped planes have been defined, the programme will also join the corresponding shells in those planes.
Divide
The "Divide" option lets you divide shells. After selecting the option, use the left mouse button to select two points that define the cutting segment. The shells will be completely divided, even if the segment only partially intersects them.
If grouped planes have been defined, the program will also divide the corresponding shells in those planes.
Invert z-axis
To reverse the direction of the local Z-axis of shells, select the "Invert z-axis" option and then a group of shells using the left mouse button.
Clicking the right button will reverse the direction of the local Z axis of the selected sheets.
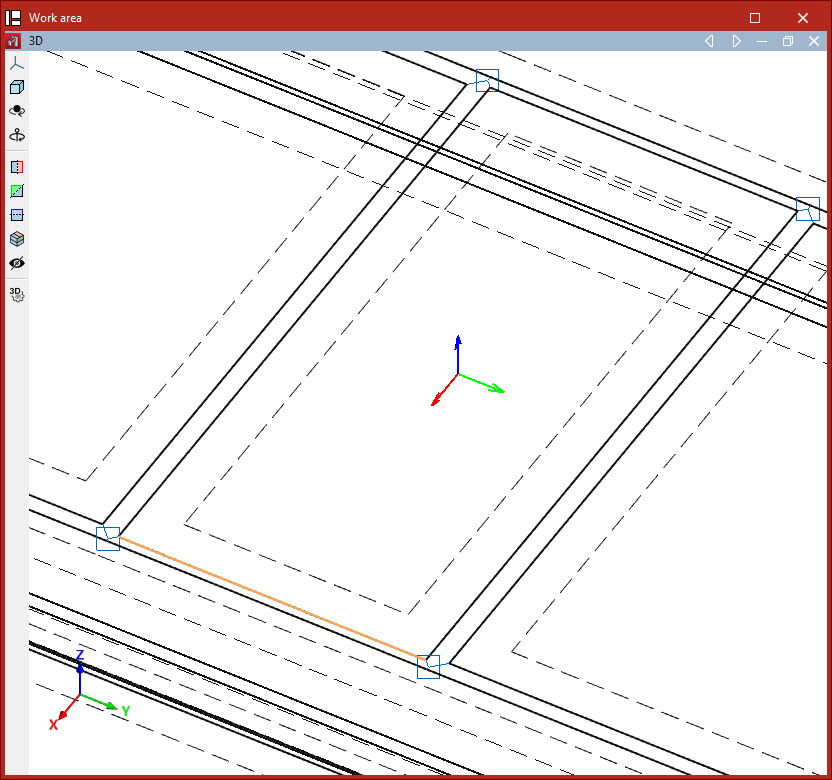
Define x-axis
The "Define x-axis" option lets you change the direction of the local X-axis of a shell.
To do this, with the left mouse button, select the edge of the shell that you want to use to define the local X-axis direction, then right-click to confirm.
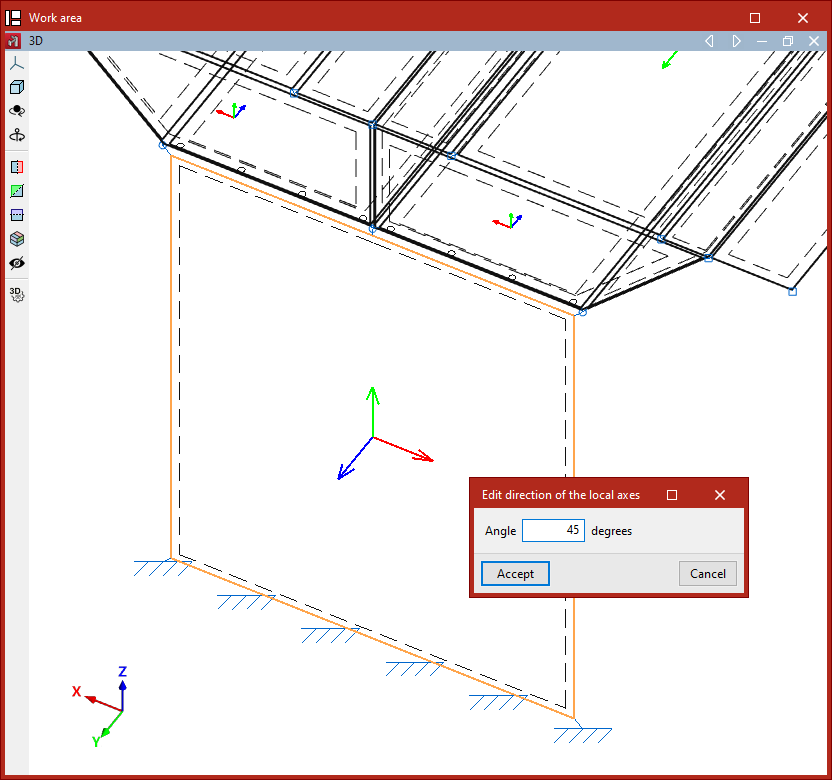
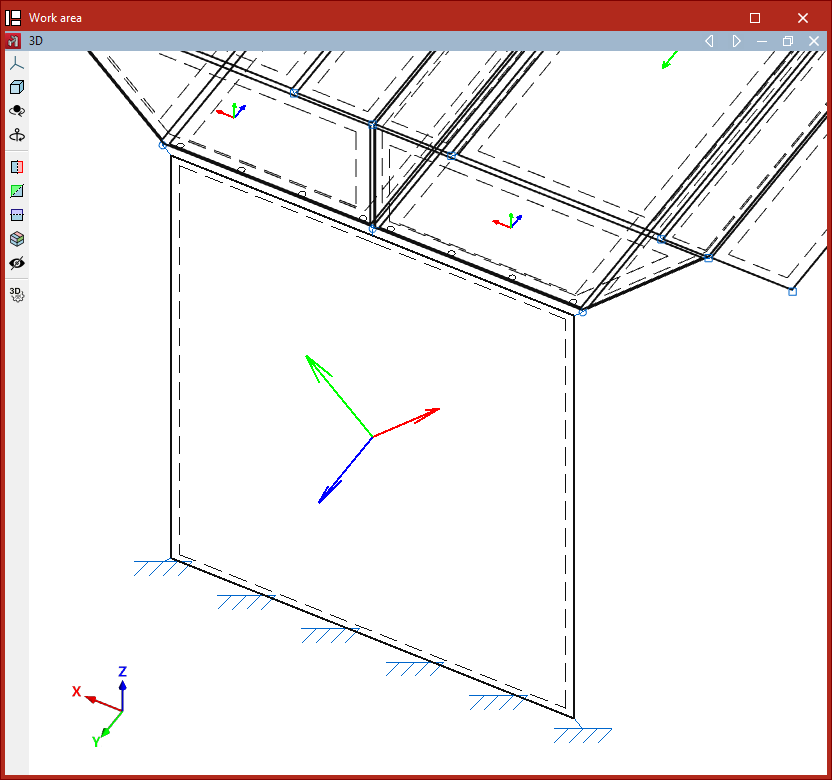
Local axes
The "Local axes" option allows you to edit the direction of the local axes of a group of shells.
After selecting the shells and right-clicking, a window will open where you can enter the "Angle" between the local axes and the orientation defined by the edge that sets the X-axis direction.