Creating a new job
To start using the program and create a new job, follow these steps:
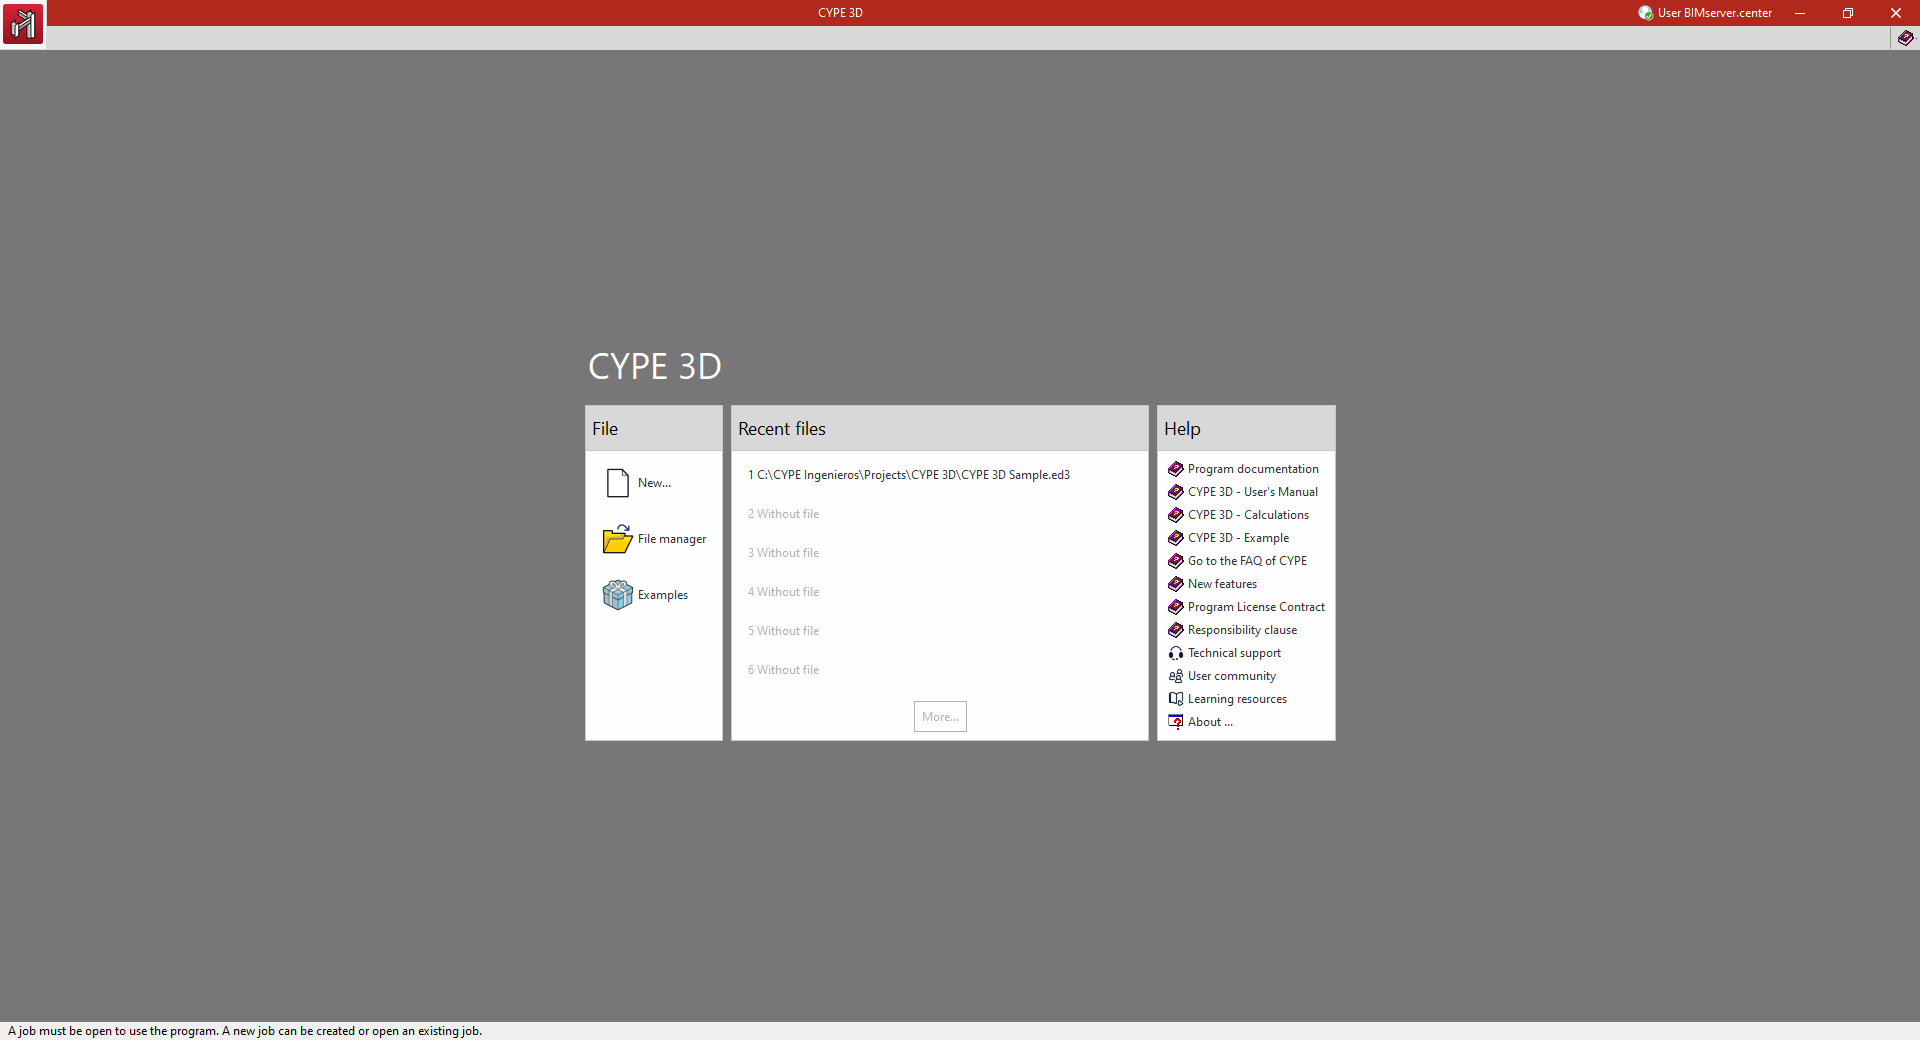
Initial interface
When the program is opened, a window is displayed with the following sections: "File", "Latest files" and "Help".
- On the left, in the "File" section, the following options can be found:
- New
Creates a new job. - File management
Accesses the program's file manager, where it is possible to search for jobs in any folder on the local disk or in the network environment, copy them, delete them, share them via web links or compress them in CYP format, among other options. - Examples
- Installs and opens any of the sample jobs that are built into the program by default, overwriting the existing ones.
- New
- In the central part, the "Recent files" section shows a report with the paths of the last jobs worked with the program. Any of them can be opened by clicking on them.
- On the right, the "Help" section offers a series of informative documents and links. From "About" the version of the program and the type and number of the licence used can be found.
The options described above can be accessed at any time from the "File" and "Help" menus at the top of the interface.
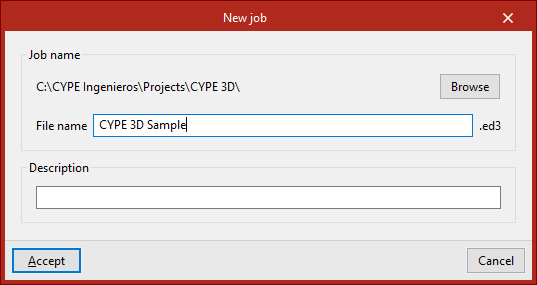
New job
To create a new job, select "New" in the initial interface.
The program opens a dialogue box where you enter the file name and description.
By default, the program hosts the files in the path shown, but this can be changed by clicking on "Browse".
| Note: |
|---|
| CYPE 3D will save the model information in a file with extension .ed3. A backup copy with the .ed$ extension will be automatically generated along with it. This file can be renamed to a file with the .ed3 extension if the information it contains is to be retrieved. In the work process, an .ed3_dat folder will also be generated in the same path with additional information about the model. |
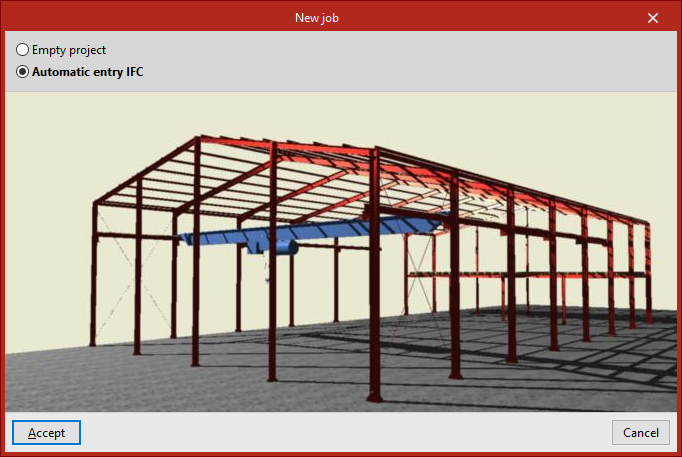
Empty job/Automatic IFC entry
When clicking "Accept", the program opens the "New job" window, which displays a choice of two options:
- The "Empty job" option is used to create a new job in which all the data for floors, groups, columns, beams, slabs and other elements must be entered manually.

- From "Automatic IFC introduction", the information can be imported from IFC files from other programs that include the definition of the analytical model, from which the links between bars and the diagram of their layout are obtained. If this option is selected, after accepting this window, a wizard opens to guide users through the import process.
General data and limit states
In the process of creating a new empty job, the window for defining the general data of the structure opens. Here, the codes and materials to be used, the loadcases and other analysis options are configured.
This information can be configured at this moment or later from the "General data" option in the "Job" tab.
When clicking on "Finish", if this has not been done previously, the information corresponding to the "Limit States" must be validated by accepting the window that appears.
Entering in the program's general interface
Finally, the program opens the general interface via the "Job" tab (in the "Structure" tab), where model data can start being entered.