Options for assigning, grouping, locking and searching for joints
The tools for assigning, grouping, locking and searching for joints are located on the top toolbar of the "Joints" tab (under the "Structure" tab).

These options become available once the joints have been created.
Assign
The "Assign" option allows you to copy data from one join to other joins of the same type that are compatible.
To do this, the joints must have:
- the same number and type of parts;
- the same relative positions in relation to one another;
- and the same connection defined at the node.
After clicking on the option, use the left mouse button to select the connection you wish to assign. This opens the connection editing window, which you must "Accept".
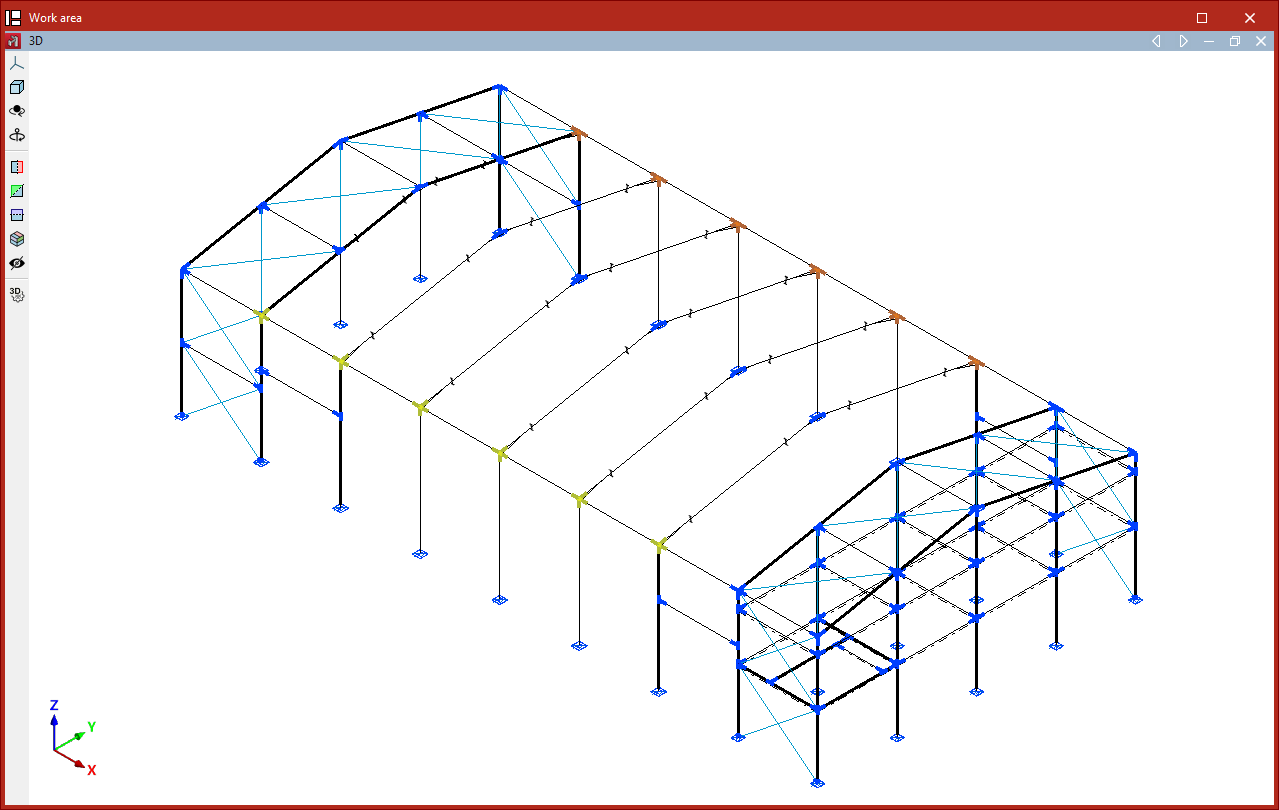
In the model view, the compatible joints detected by the program are highlighted. Joints with data different from the selected one are shown in yellow, whilst those with the same data are shown in orange.
Left-click on the joints you wish to match to the selected one, or select an area that encompasses them. To complete the operation, right-click.
Group
The "Group" option allows you to group one join with another of the same type that is compatible.
Click on the option, then select a joint or a group of joints in the model view.
Joints belonging to the group are shown in orange, and those belonging to other groups are shown in yellow. You can select the latter using the left mouse button to add them to the group, and then click the right mouse button to confirm.
The program sizes and checks grouped joints using the forces of the members in all the joints within the group. Furthermore, when the "Generate" option is used, the joints are grouped automatically.
Ungroup
The reverse operation is performed using "Ungroup". In this case, left-click on the object you wish to remove from the group. Then, confirm by right-clicking.
This option may be useful if one of the joints is subjected to stresses that are significantly greater than those on the others. By ungrouping it, you can avoid the other joints in the group being oversized.
Lock
The "Lock" option allows you to lock a joint so that it cannot be modified during the design process, thereby preserving any changes that have been made to it.
Once you have clicked on the option, locked joints are displayed in magenta and unlocked joints in blue. You can select the joints you wish to lock by left-clicking or by dragging to select an area, then confirming with a right-click.
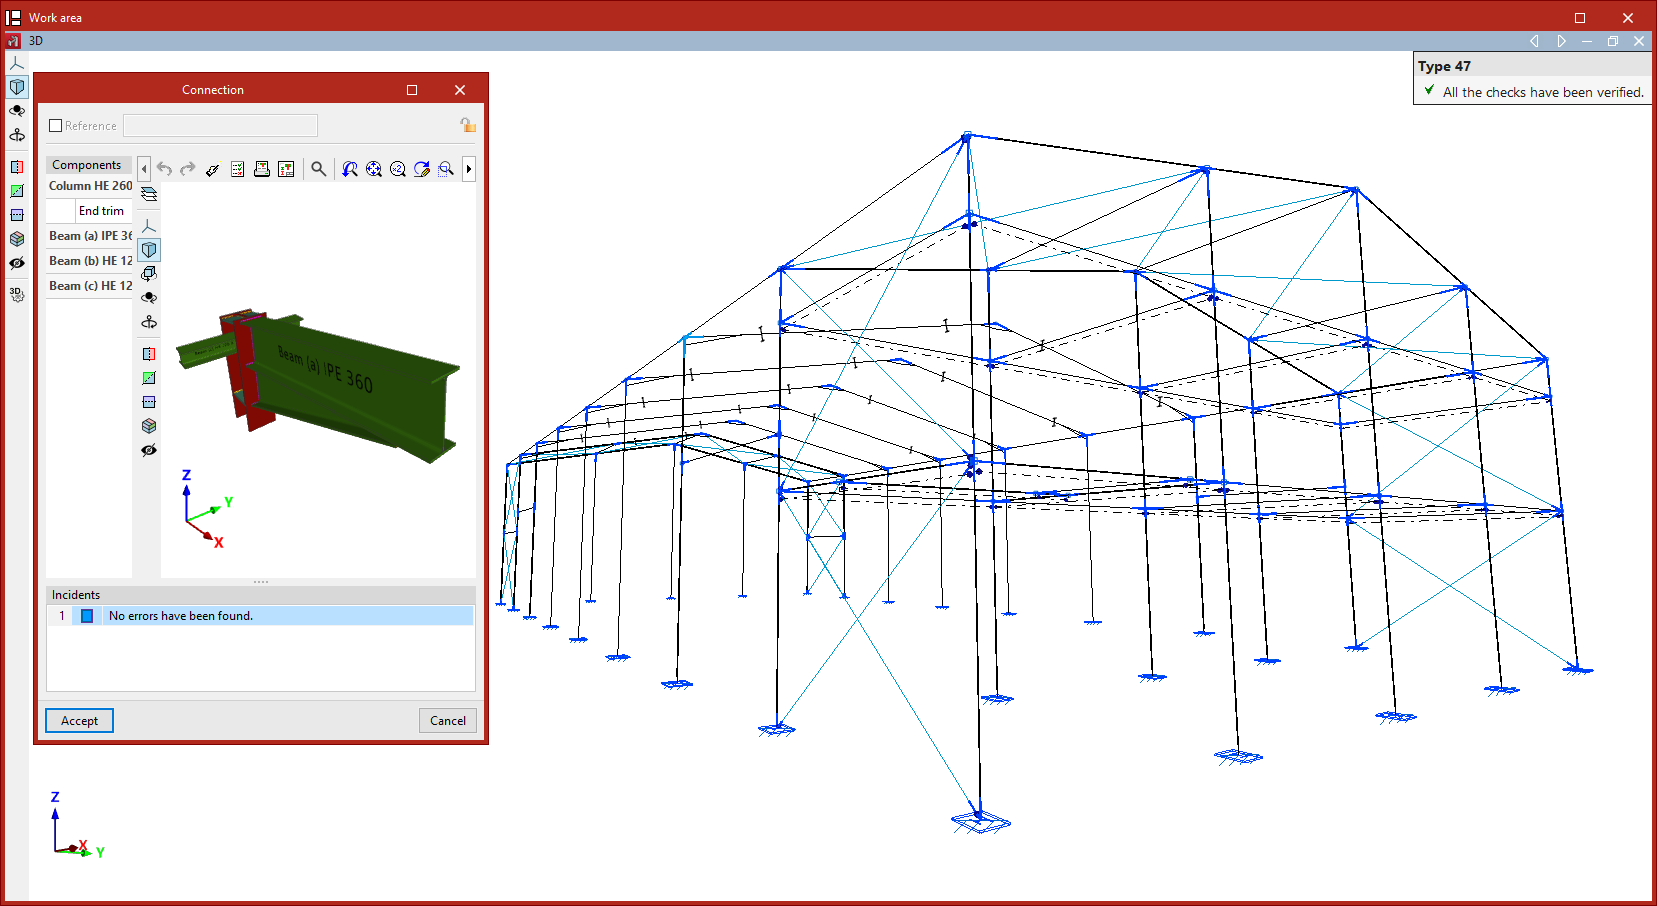
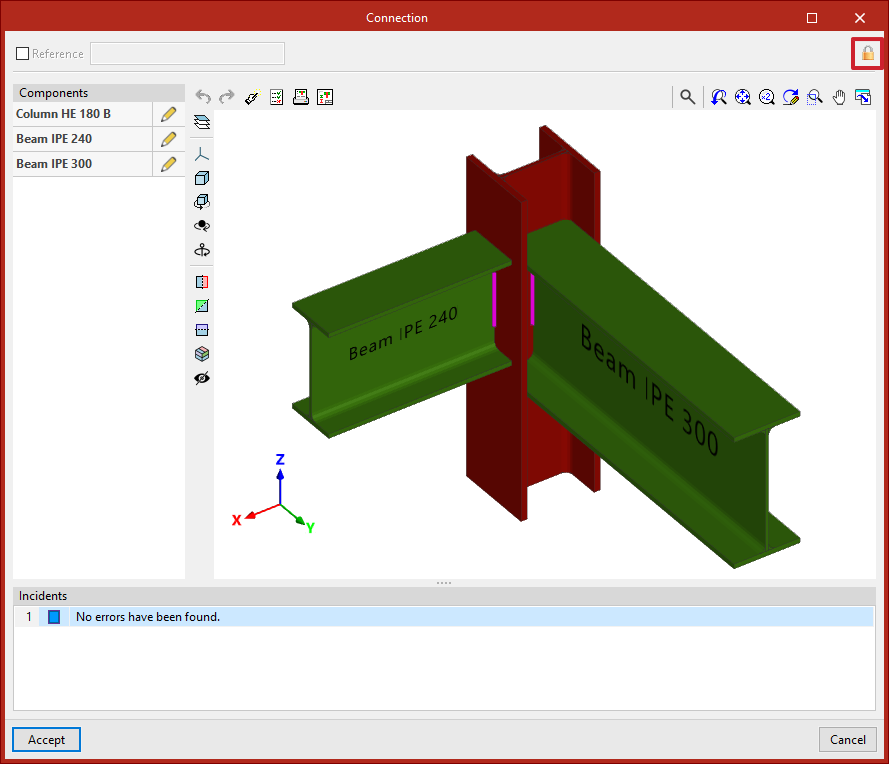
If you attempt to "Edit" a locked union, a closed padlock will appear in the tooltip that pops up when you hover over it, and also in the top-right corner of the editing window if you click on it.
Unlock
If you wish to unlock a joint, you can click on the padlock in the edit window and select "Accept", or use the "Unlock" option in the "Joints" tab.
In this case, you select the joints using the left mouse button or by dragging to select an area, and confirm your selection using the right mouse button.

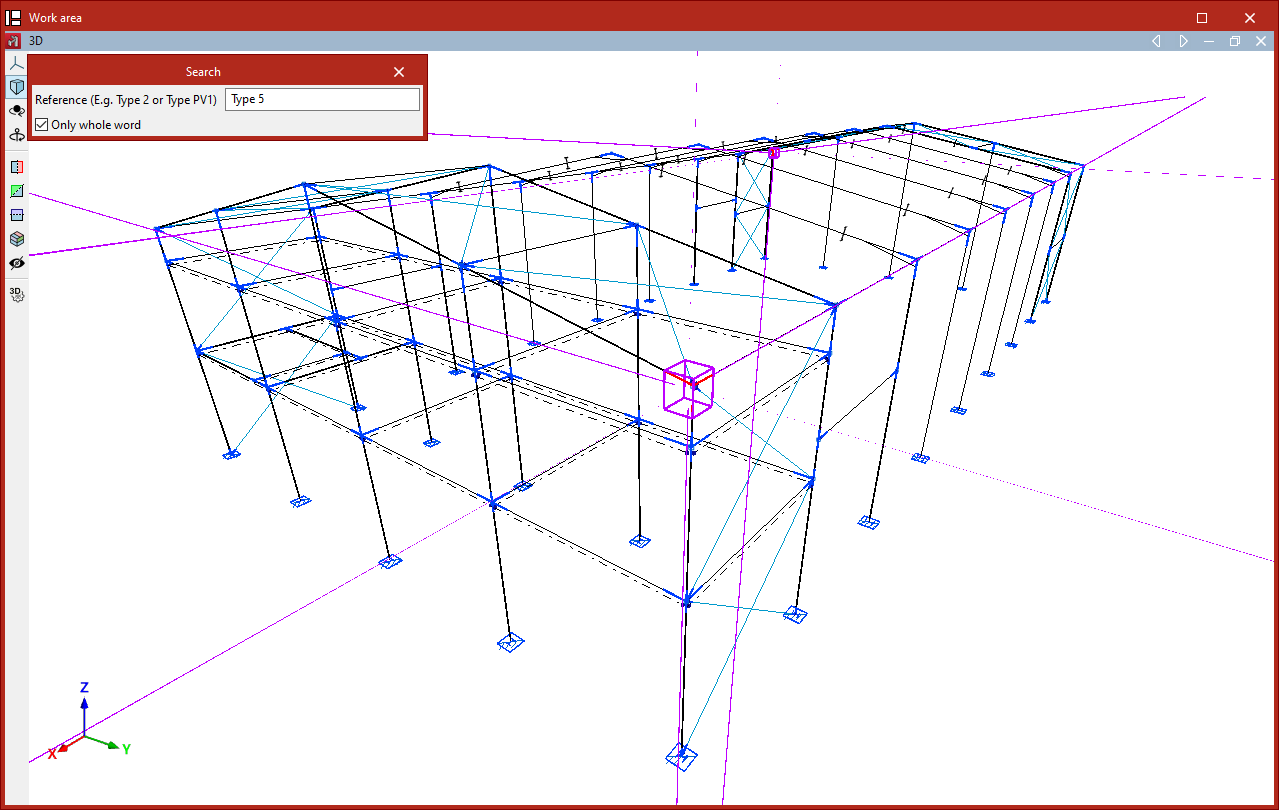
Search
To "Search" for a joint, click on the relevant option and enter its reference number.
If you wish to search for the link by entering the full text of the reference, tick the "Only whole word" box. If you untick it, you can enter part of the text of the link's reference.
The program will highlight the joints whose reference matches the text entered by surrounding them with a magenta box in the model view.