
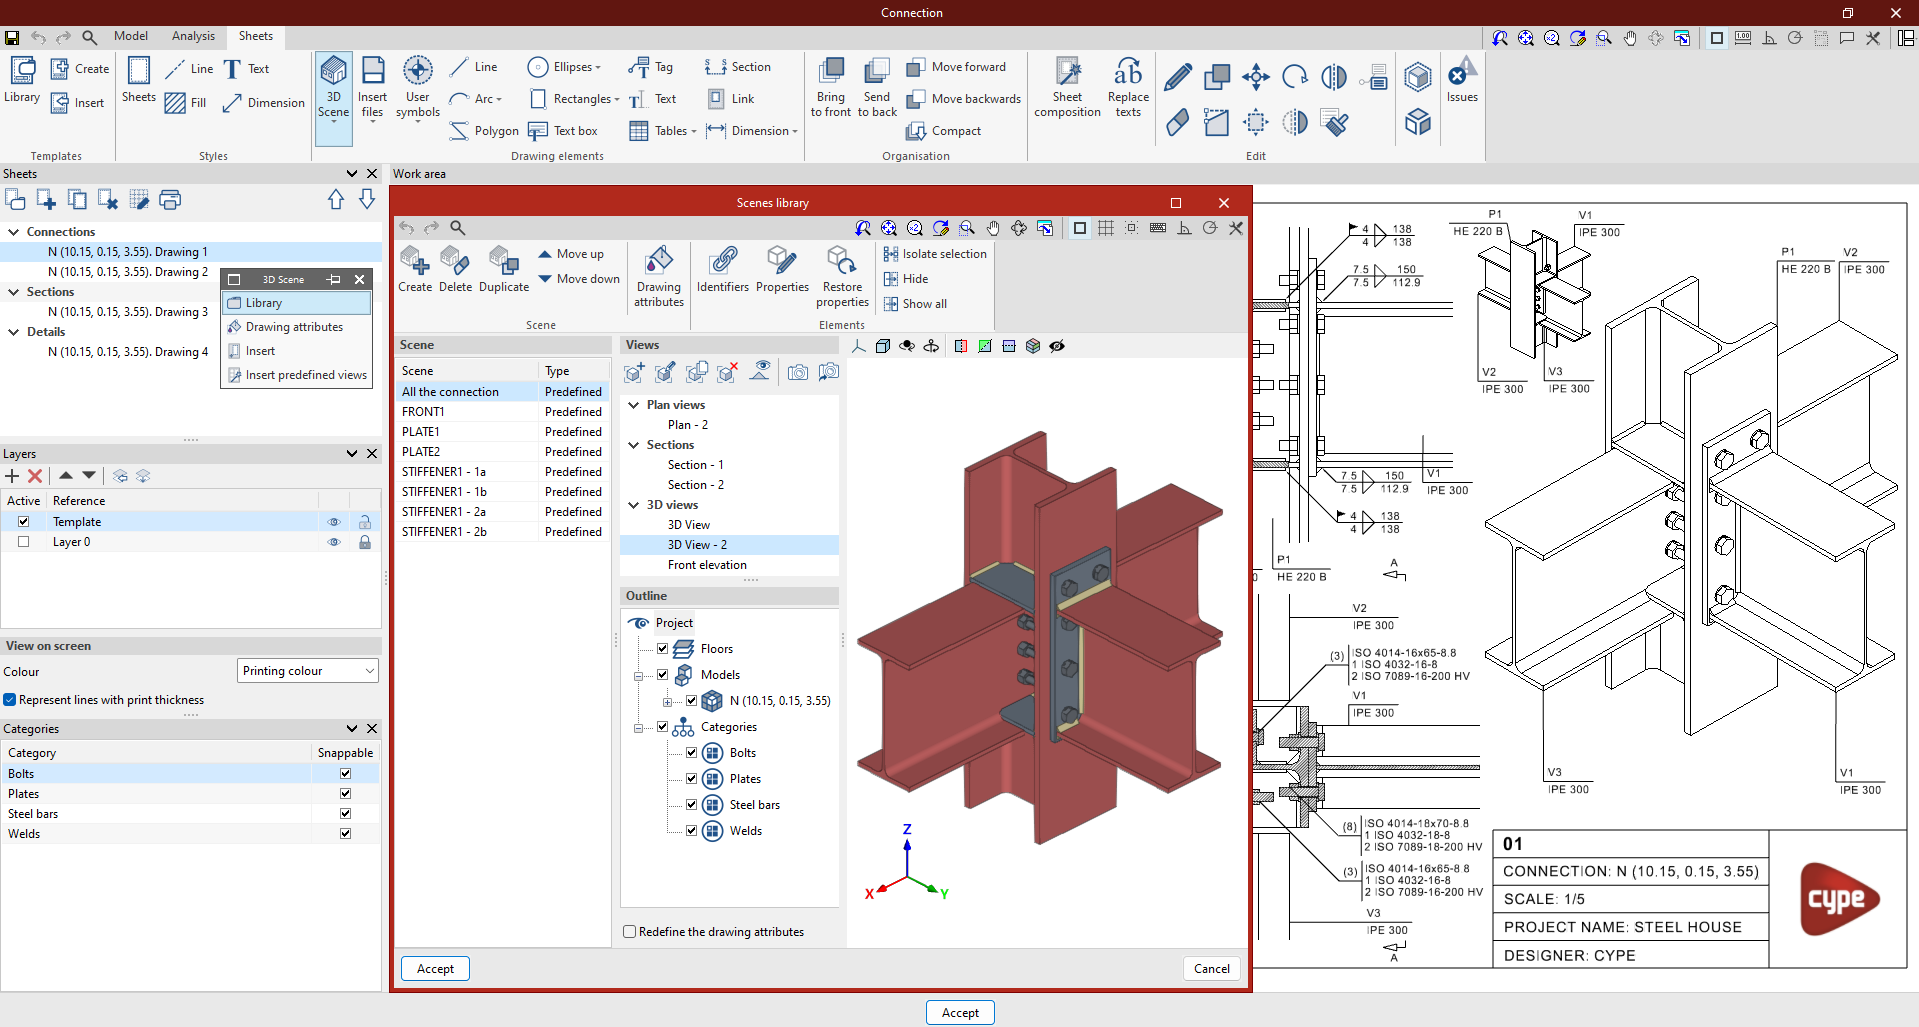
3D Scenes: Entering BIM model views

Once the sheet has been created, the next step is to enter the model to start elaborating on the plan views.
For this purpose, the 3D scene library is used, which facilitates the creation of scenes to be incorporated into the sheets.
Each scene can contain several views, and it is possible to select which elements are displayed in each of them via the "Diagram" section.
To insert a scene in the sheet, select the "Insert" button under "3D Scenes" and mark the box where the new scene is to be inserted.
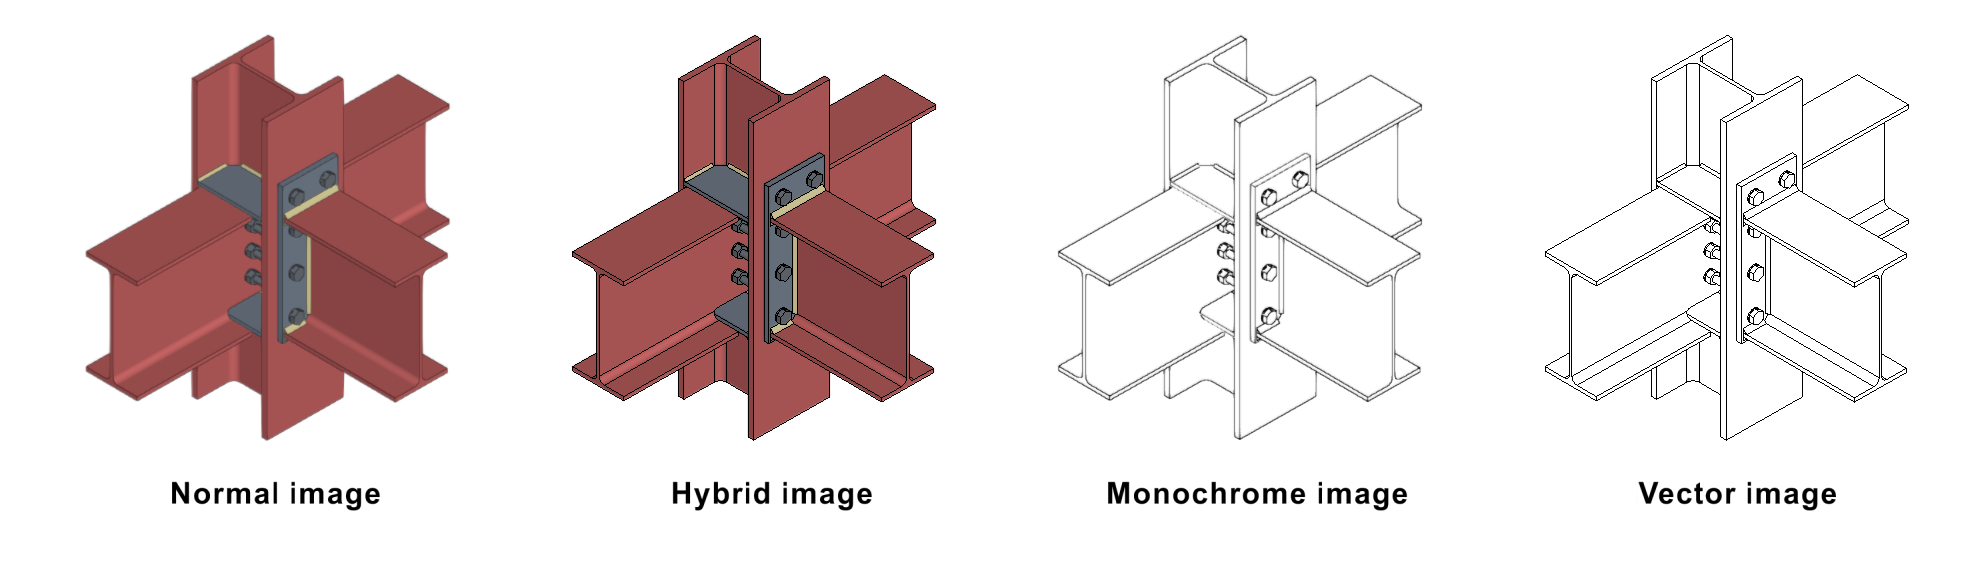
Once the frame has been inserted, the scene and the desired view can be selected, and the scale can be adjusted. In addition, different options can be chosen, such as drawing the scene in monochrome, normal, hybrid or vector. There is also the possibility of adjusting the display quality on the screen and the print quality.
Through this panel, it is possible to select another viewpoint and perform rotations, among other options.
Automatically generate connection drawings
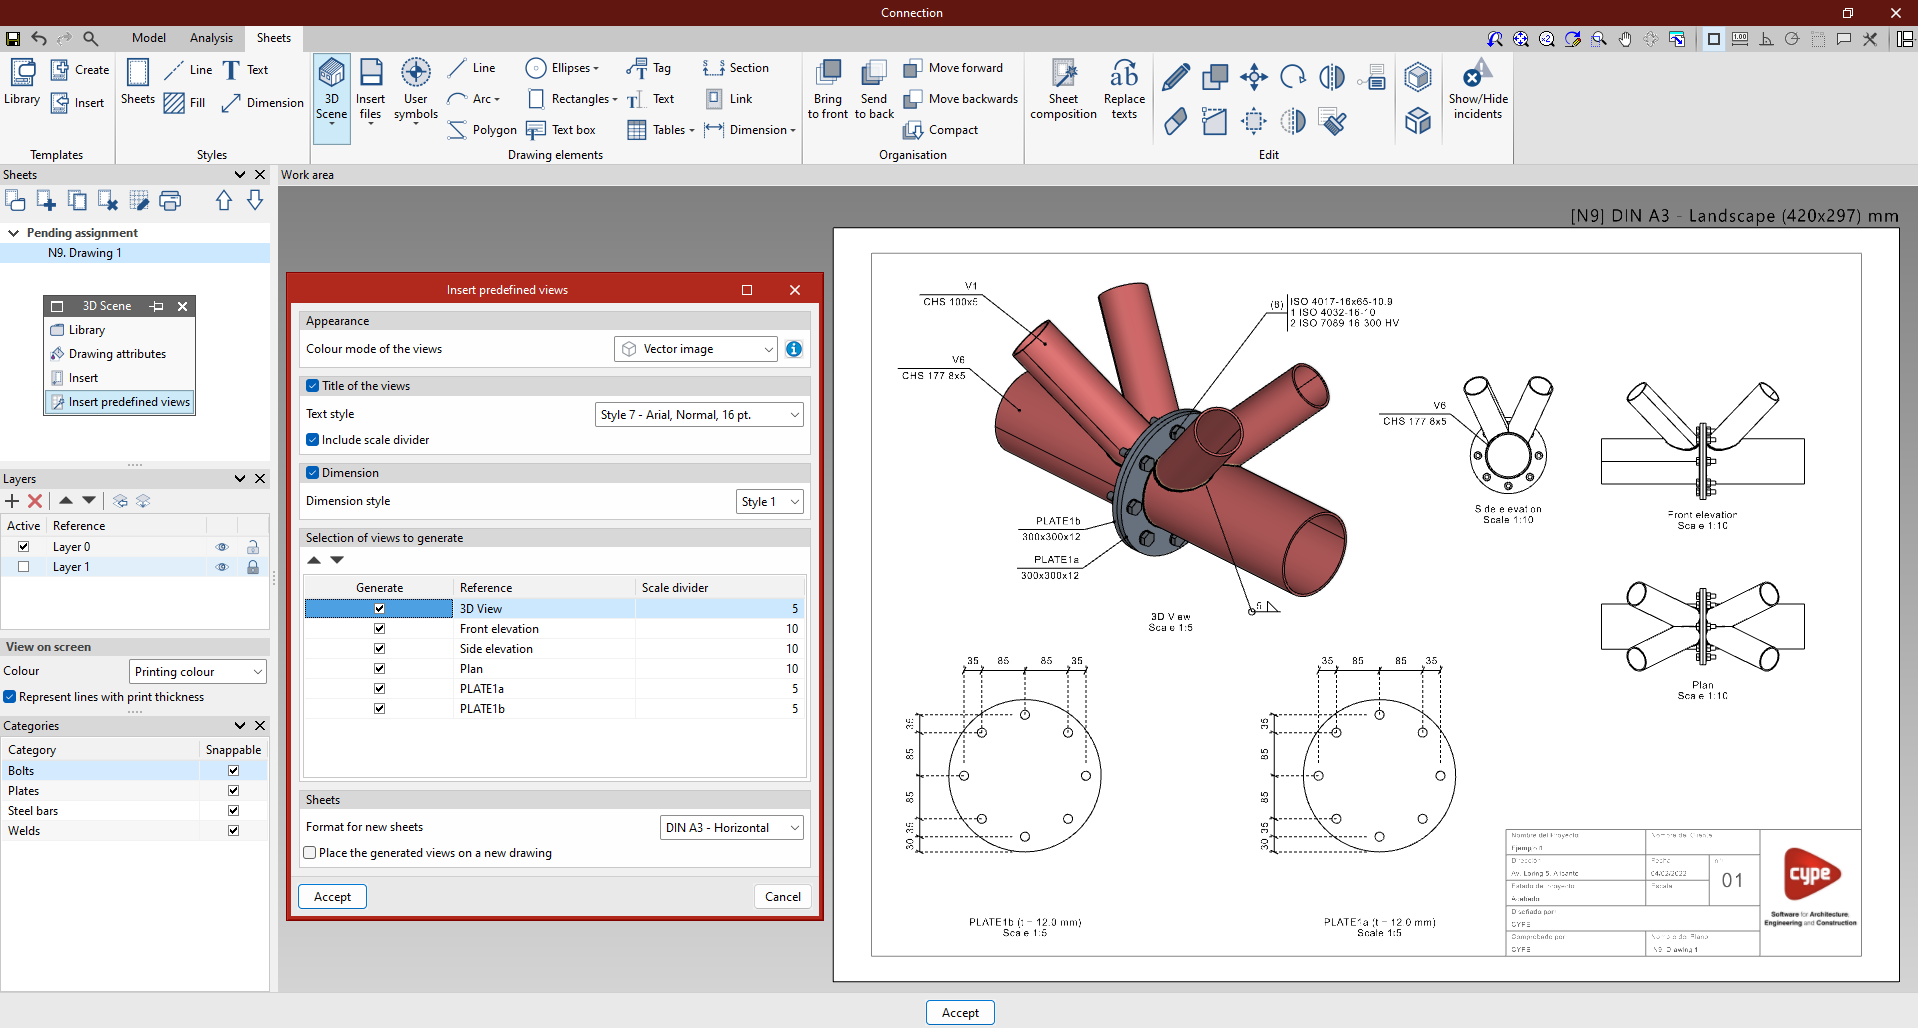
Inserting predefined views
Users can "Insert predefined views" in which the selected views can be configured.
In the pop-up panel, the selected view can be configured. The program can be used to choose the colour mode of the view, whether the view is to be dimensioned and referenced, as well as the respective styles, and to set the desired scale.
The sheet can be saved and the same process can be repeated with all the types of connections to be included in the final drawings.
Linking to the connection model
The content of the sheets is linked to the connection model, i.e. the scenes and views that have been defined as well as the element tags that have been entered will be automatically updated if changes are made to the connection model. If the connection is exported to the "Connection library", the sheets will also be exported and can be reused in future projects.