Creating a new job, linking to a project and importing data
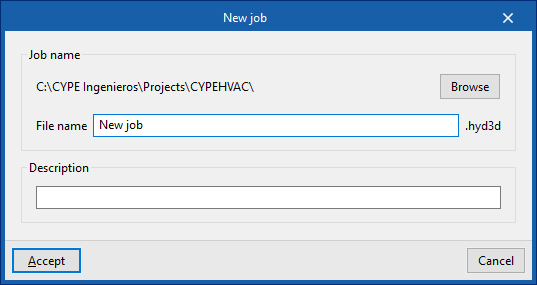
When you launch the application and click on "New", you are given the option to create a "New project". After entering the "File name" and "Description", the project can then be added to an existing project on BIMserver.center.
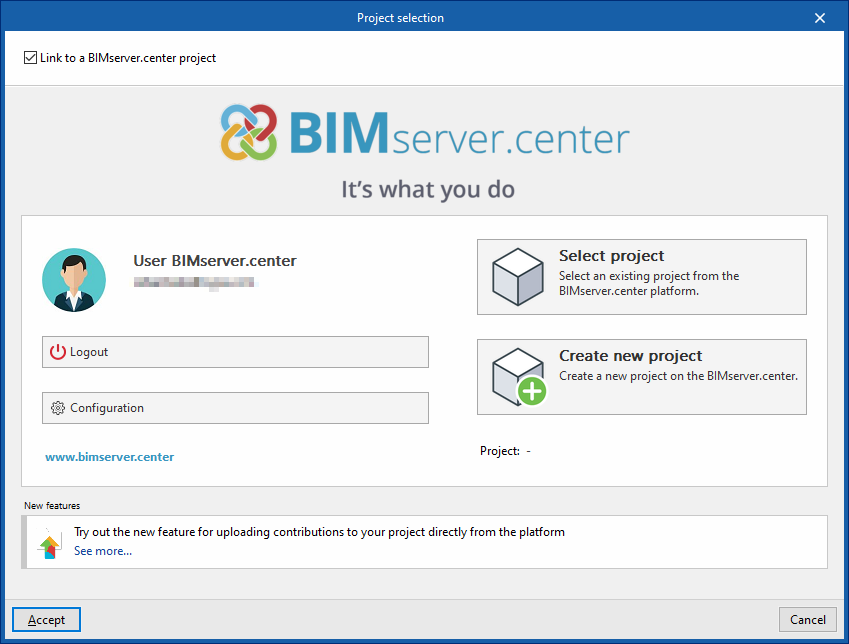
This is done in the "Project Selection" window, which offers the following options:
- On the left-hand side, you can log in using a BIMserver.center account.
- On the right, use the "Select project" option to choose an existing project. You also have the option to "Create a new project". In that case, the project you create will be visible on BIMserver.center from that point onwards.
- You have the option to start the project without linking it to the BIMserver.center platform. To do this, simply uncheck the box labelled "Link to a BIMserver.center project", which is located in the top-left corner.
Once the new project has been created, you will be taken to the program’s main interface. At any stage of the project, you can share or import project files via the “BIMserver.center” section, located at the top right of the main interface on the “Installation” tab.
Importing BIM models
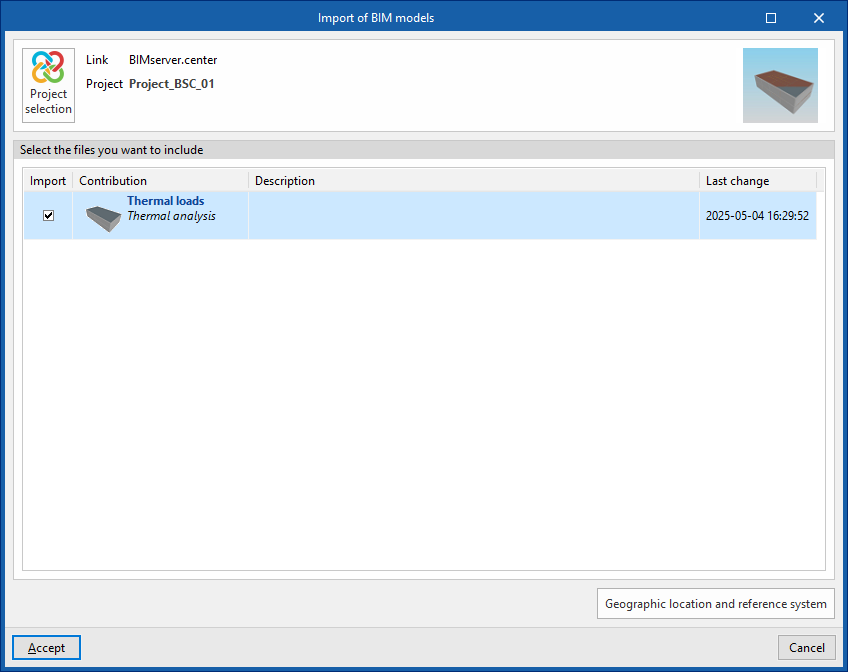
When creating a new project, if you have selected a project hosted on the BIMserver.center platform via "Select project", the "Import BIM models" window will appear, displaying the files contained in that project in IFC format.
The application allows you to include one or more of the existing models in that project. To do this, tick the "Import" box and confirm.
In addition, in this window, the program offers the following options:
- Geographical location and reference system
Opens a dialogue box to modify the model’s geographical location and reference system.
Import results
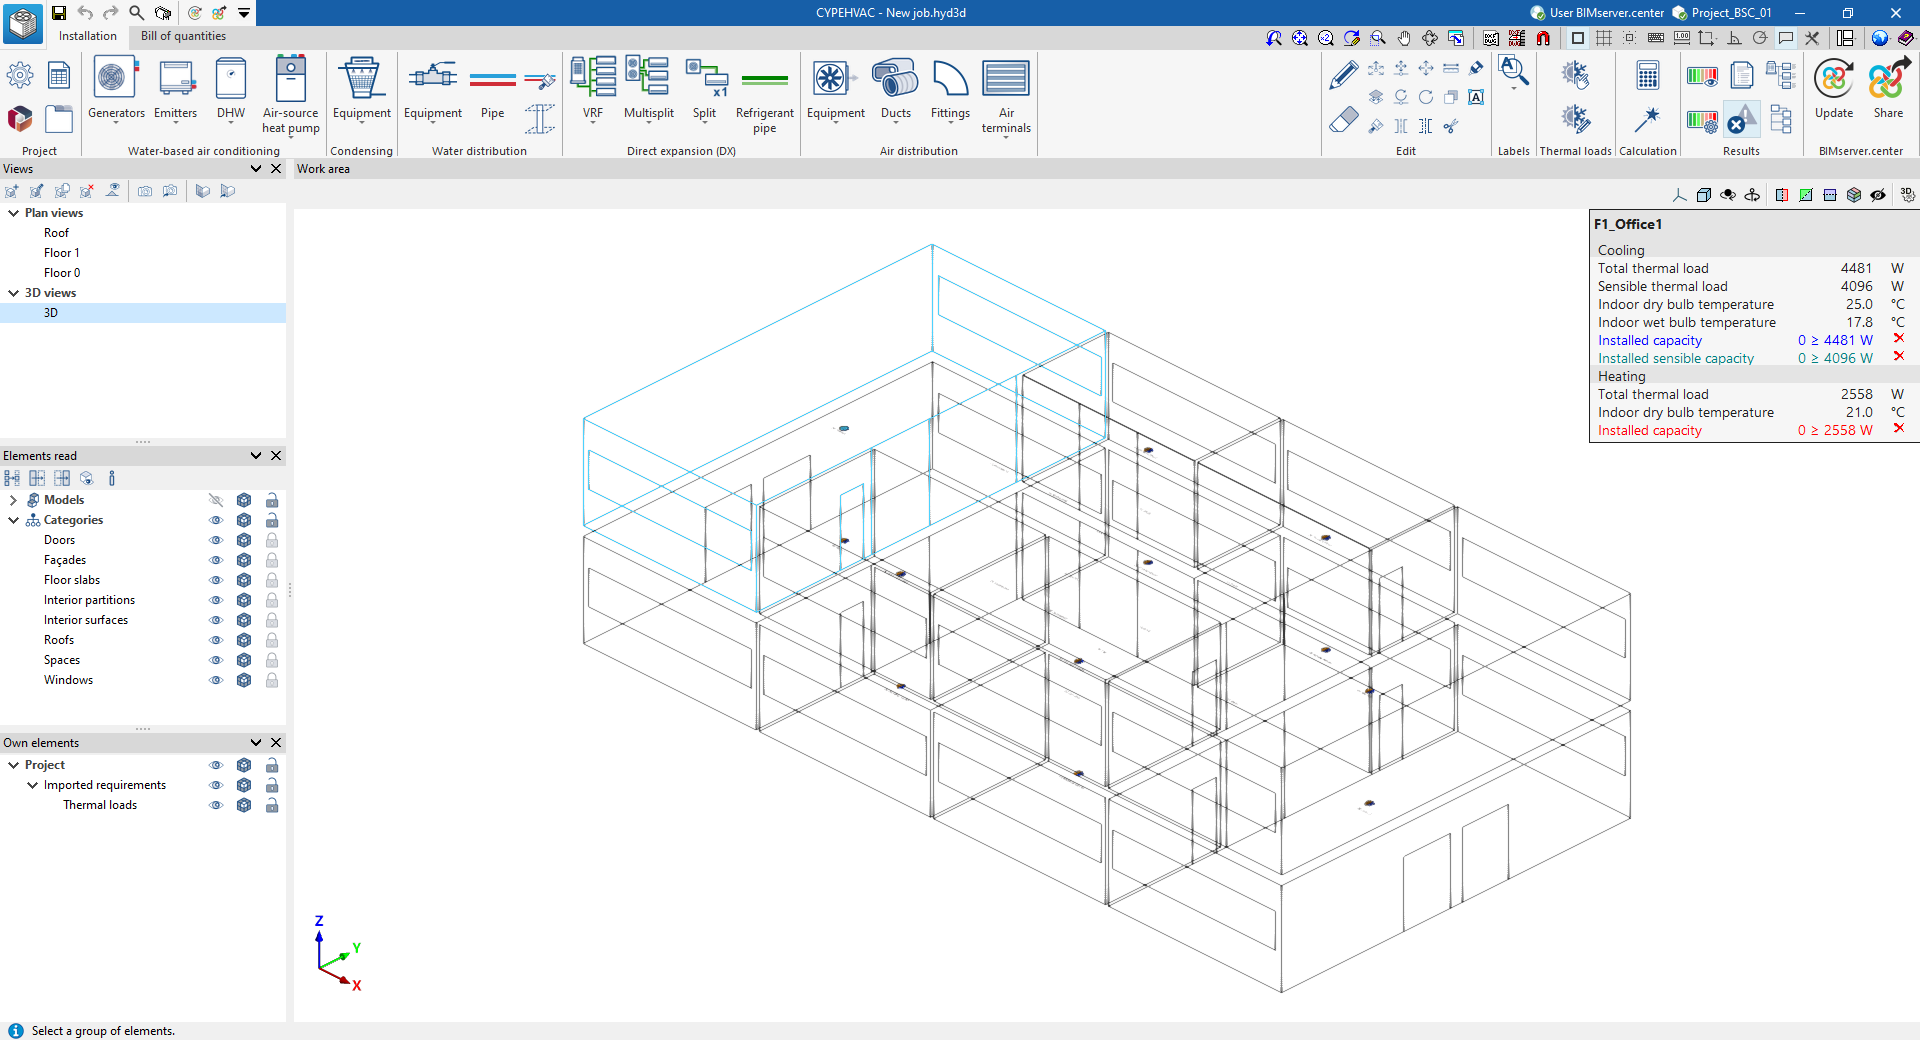
The program’s various views will then display the imported models.
In addition, the program will have imported the floor plans, the geometry of the spaces and the associated thermal loads, which are displayed as requirements following the import.
In order to import these thermal loads, they must have been included in the BIMserver.center project (for example, after being calculated using CYPETHERM LOADS).
| Note: |
|---|
| "Thermal loads" can be shown or hidden using the controls in the "Imported requirements" section of the "Custom elements" panel, which is located by default at the bottom of the left-hand side. |
Estimation of heat loads
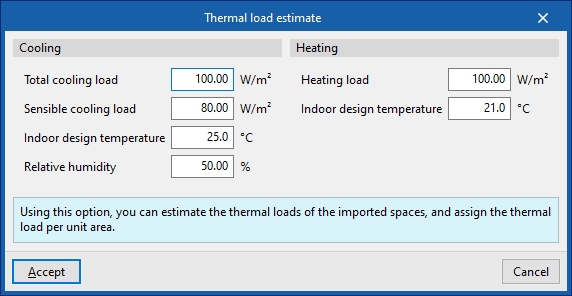
If the BIMserver.center project to which the building has been linked does not include thermal load calculation results, but does contain geometric information for the building’s rooms or spaces, the program offers the option of estimating thermal loads for the imported rooms.

In this case, after accepting the relevant prompt, the following values must be entered in the "Thermal load estimation" window, which allow the thermal load per unit area to be assigned:
- Refrigeration
- Total cooling load
- Sensible cooling load
- Indoor design temperature
- Relative humidity
- Heating
- Heating load
- Indoor design temperature
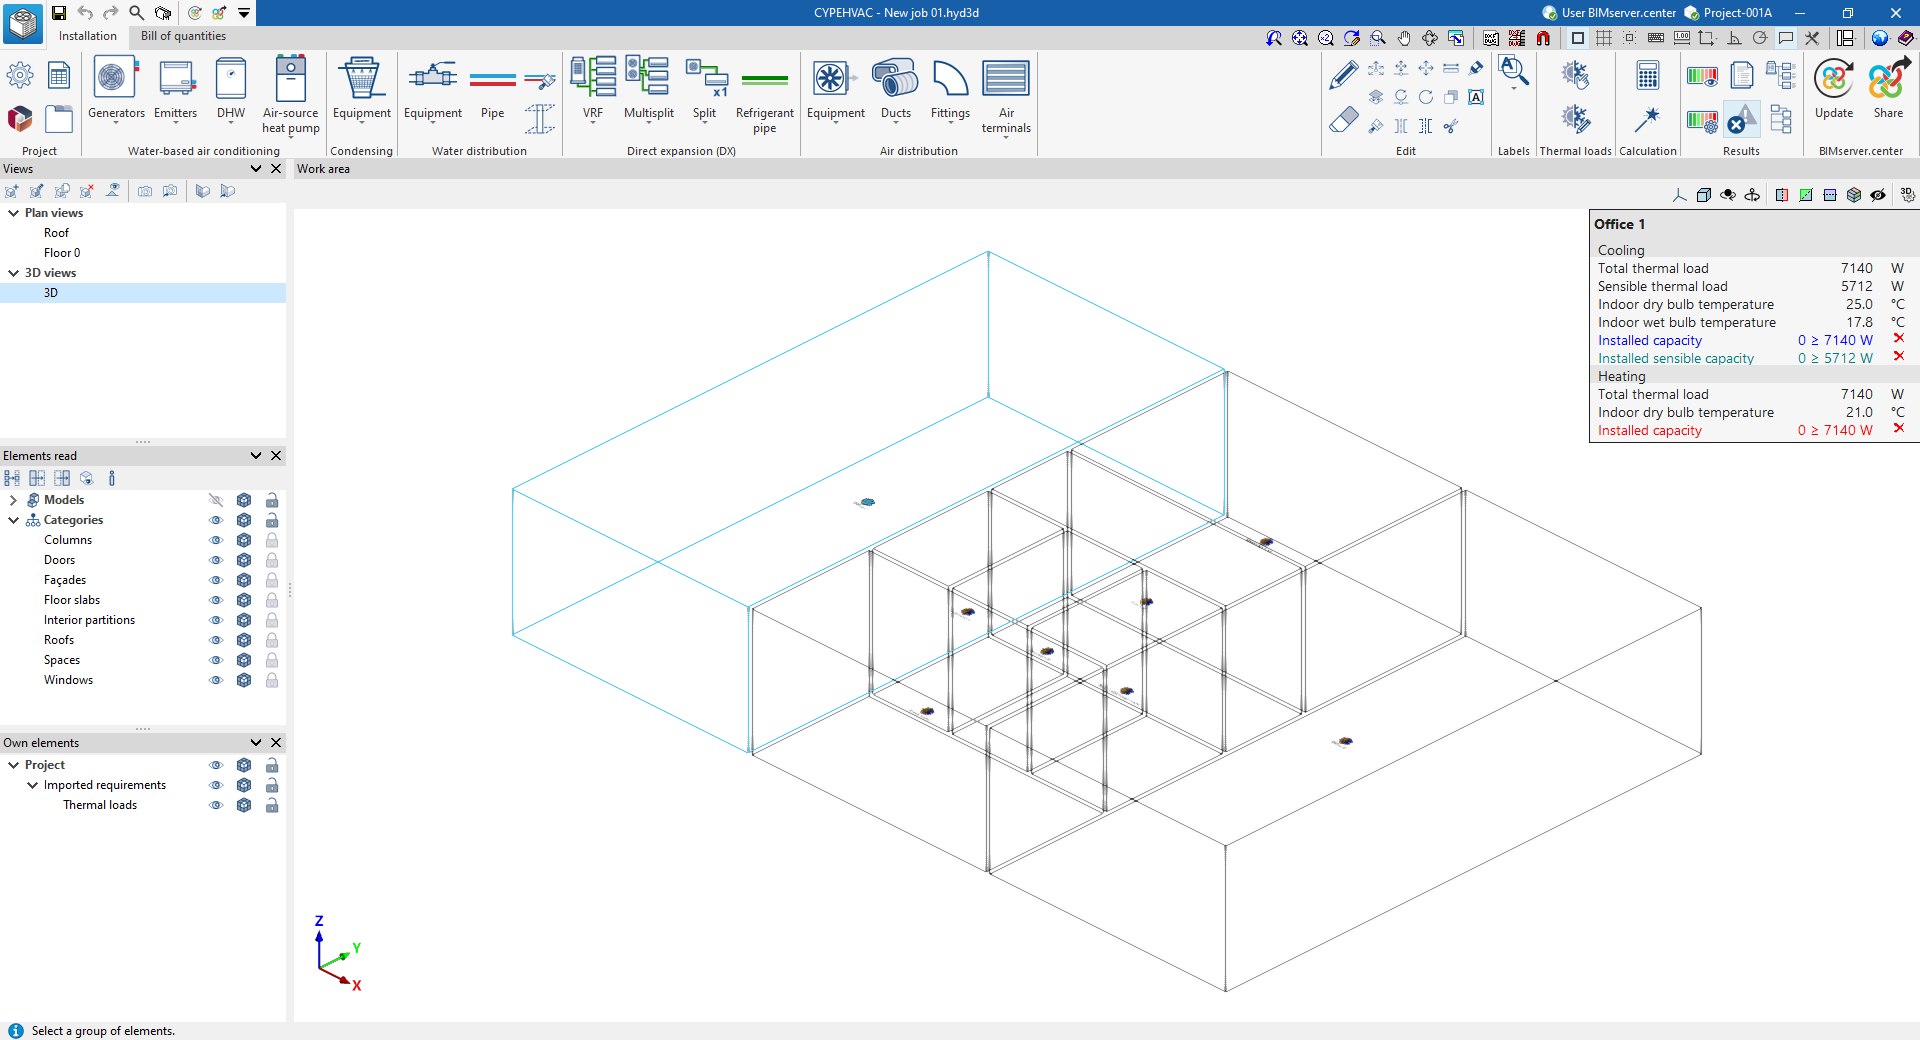
In this case, the program will also have imported the floor plans and the geometry of the rooms from the architectural model data, whilst also generating the thermal loads based on the estimate provided and displaying them as requirements following the import.
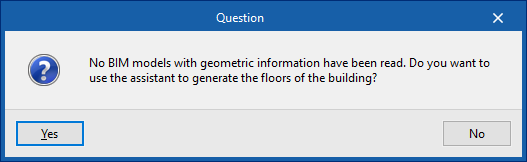
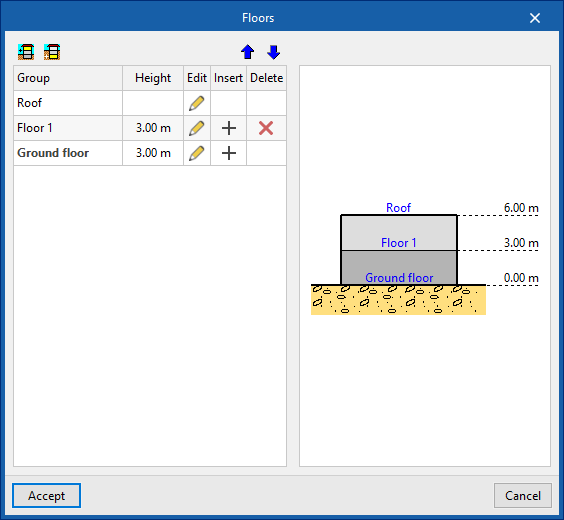
Generating floors
If no BIM model containing geometric data is imported during the process of creating a new project, the software offers the option of using a wizard to generate the building’s floor plans.
In a subsequent step, it will also allow you to import the drawing templates for each floor.