

Creating a new job, linking to a project and importing data
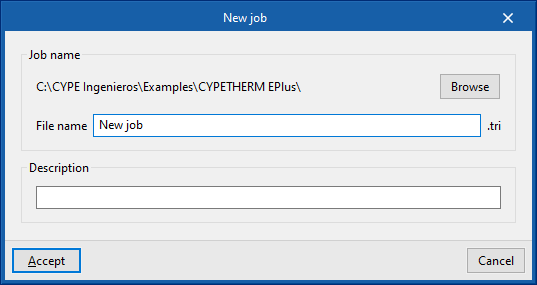
When you launch the application and click on "New", you are given the option to create a "New job". In the pop-up window, you can enter the "File name" and its "Description".
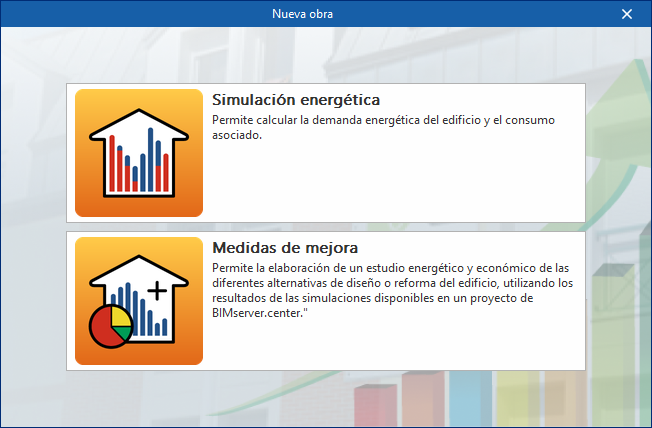
Next, you must specify whether the purpose of the project is to carry out an "Energy simulation" or to conduct a study of "Improvement measures" or alternative building designs.
You should select the first option to access the specific interface for carrying out the building’s energy simulation, which includes the option to calculate energy demand and associated consumption.
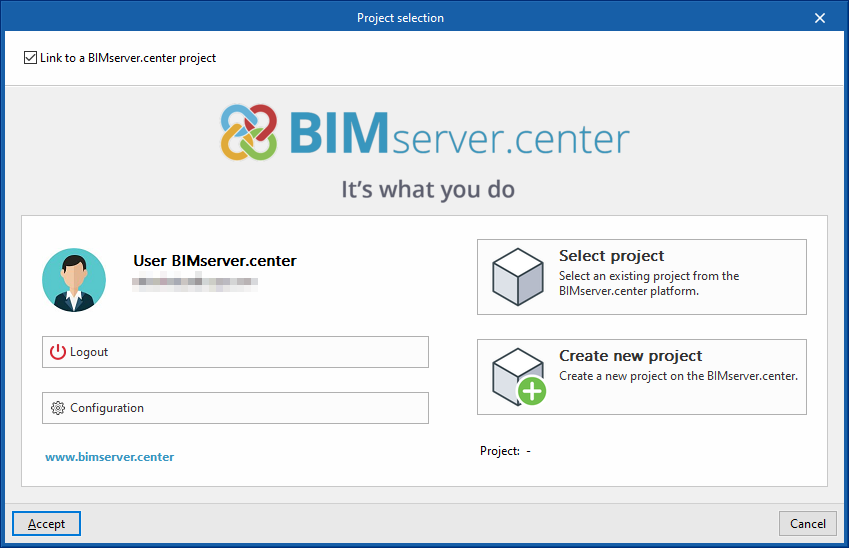
The project can subsequently be linked to a BIMserver.center project.
This is done in the "Project selection" window, which offers the following options:
- On the left-hand side, you can log in using a BIMserver.center account.
- On the right-hand side, you will find the "Select project" option to choose an existing project. You also have the option to "Create a new project". In that case, the project you create will be visible on BIMserver.center from that point onwards.
Once the new project has been created, you will be taken to the program’s main interface. At any stage of the project, you can share or import project files via the “BIMserver.center” panel, located in the top-right-hand corner of the main interface.
Importing BIM models
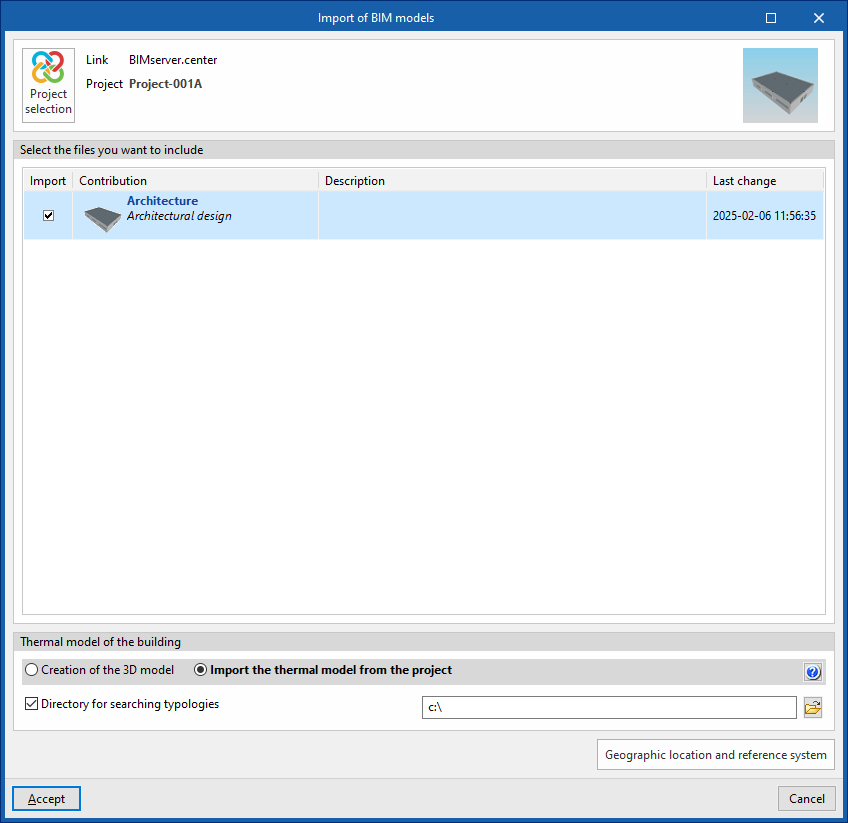
When creating a new project, after selecting or creating a project hosted on the BIMserver.center platform, the "Import BIM Models" window appears, displaying the files contained in that project in IFC format.
The app allows you to include one or more of the existing models in that project. To do this, tick the "Import" box and confirm.
At the bottom of the import window, you will see the "Building thermal model" section, which contains the following options:
- Creating the 3D model
If this option is selected, the program will open the "3D Model" tab, where you can design the building's geometry. - Importing the project's thermal model
If this option is selected, the program will import the building geometry from the information contained in the models included in the BIMserver.center project and will not enable the "3D Model" tab.
In the latter case, the program offers the following option:
- Directory for searching for types (optional)
When this option is enabled, you can select a directory on the hard drive where the type library files are stored. This allows you to import type libraries previously created in other projects and exported to that directory, and automatically assign them to the spaces, elements and openings in the imported model. To do this, the references of the types in the selected directory must match the references of the element types in the imported model.
| Note: |
|---|
| If you have started the workflow in CYPE Architecture or in software such as Revit and other modelling tools, sharing the model via the Open BIM - Revit plugin or the IFC Uploader, the model to be imported must be the one provided by Open BIM Analytical Model. |
Final import settings
The program will then open the "General parameters", "Site data" and, where applicable, the "Ventilation (Living areas)" and "Edge processing" windows, so that the relevant parameters can be configured.
The program will open on the "Building" tab and will have generated the model geometry and element libraries based on the data available in the project or in the selected directory. At this point, you can enter the necessary data to continue working on the model.
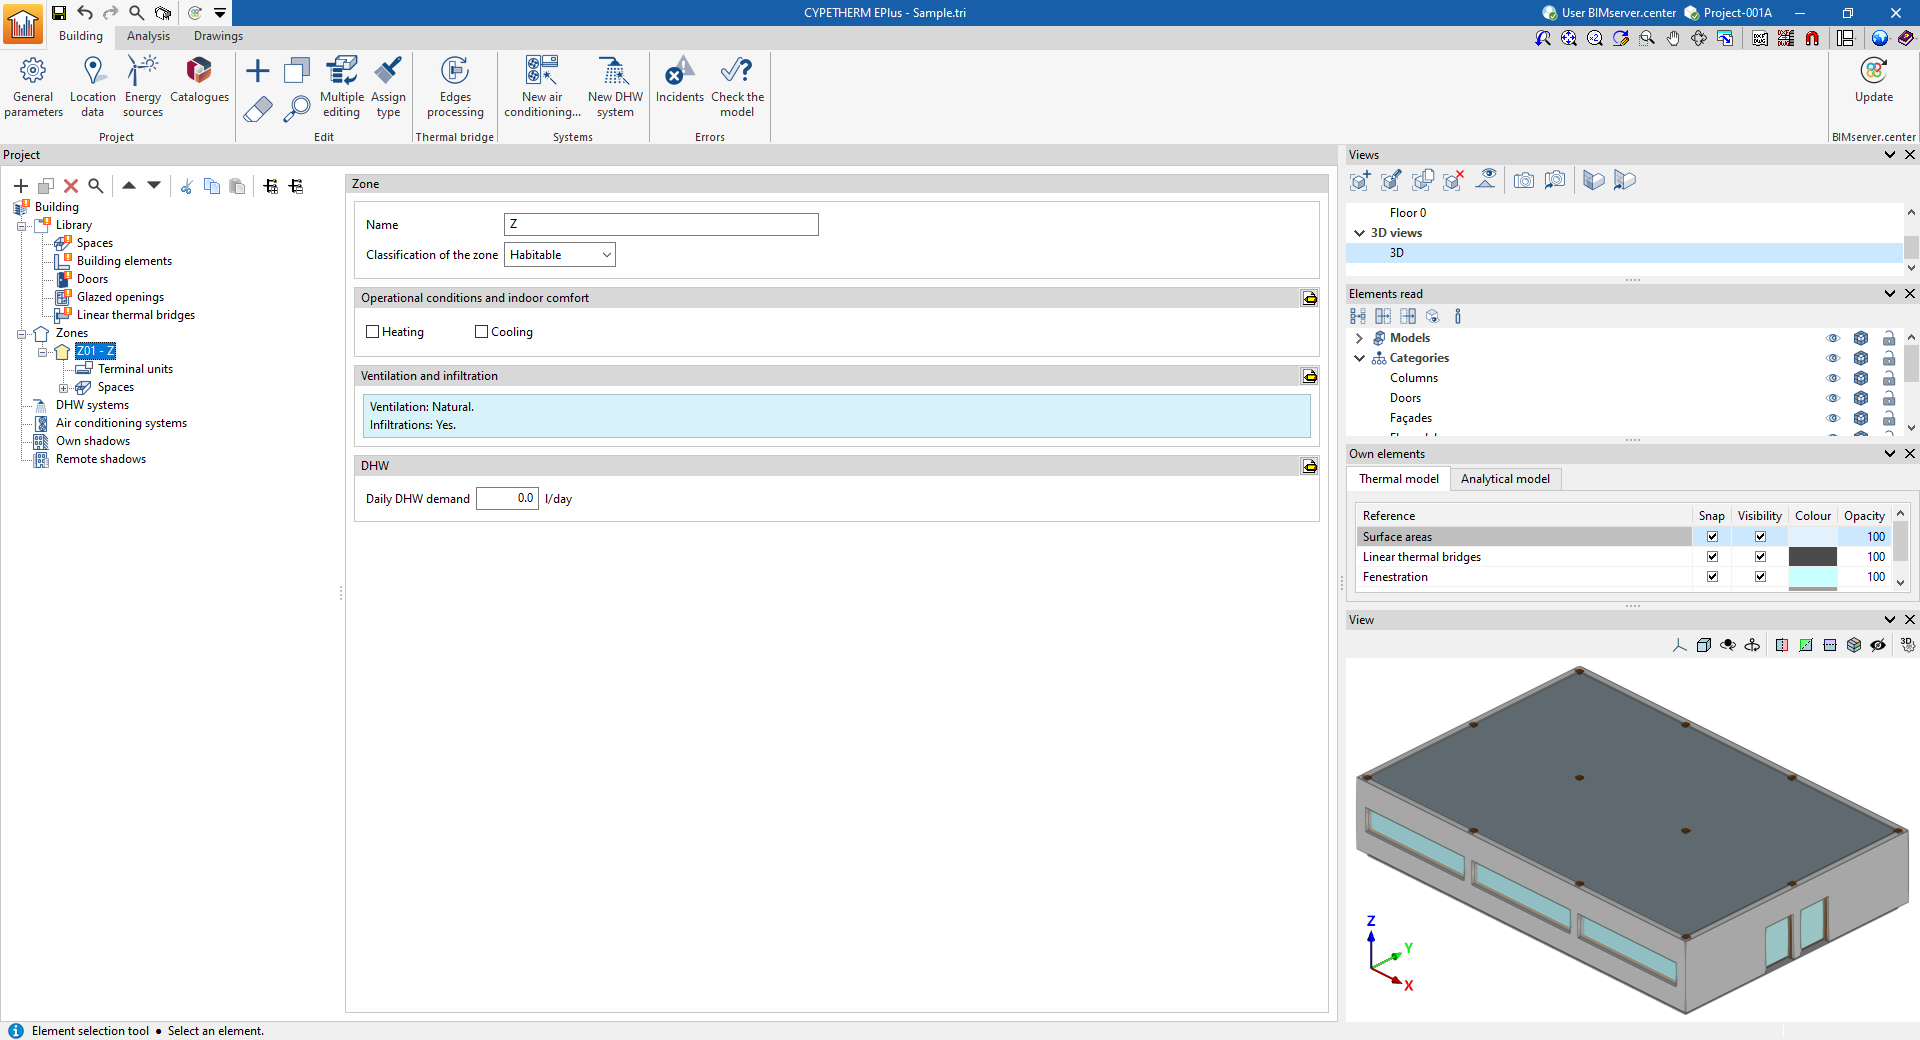
| Note: |
|---|
| In the building’s tree view, library categories that have not yet been defined will be marked with an orange icon. If "Edge processing" has not been carried out during import, and provided that the BIM model’s edges have been imported, the thermal bridge category in the library will appear as undefined. To perform automatic thermal bridge management, the rest of the model must be defined and free of errors. At that point, you can use the "Edge processing" button to automatically define linear thermal bridges. |
