Defining floors and groups
The following options can be found in the "Floors/Groups" group in the main toolbar:

Floors/Groups
Allows users to define the floors and groups of the building.
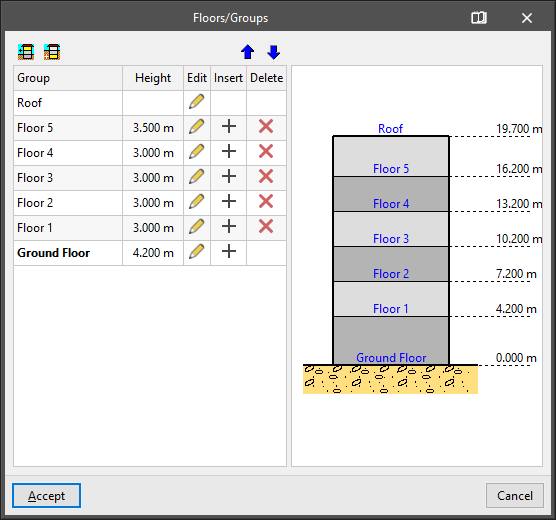
A table with the following information appears on the left side of the "Floors/Groups" window:
- Group
Reference of each group of floors. - Height
Height of the floors belonging to each group. - Edit
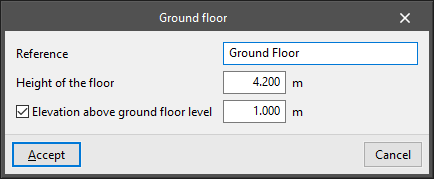
Allows the characteristics of each group of floors to be edited:- Number of floors in the group (except ground floor and roof floor)
- Height of each floor
- Reference for each floor
- Elevation above ground floor level (ground floor only)
This option allows users to specify an elevation above the ground level with respect to the base plane of the ground. This allows a semi-buried basement to be defined.
- Insert
Allows a group of floors above or below ground level to be inserted in the position immediately above. - Delete
Deletes the group of floors.
By default, the program always presents a ground floor and a roof floor.
The following tools can be found at the top:
- Floor group above ground level / Floor group below ground level
Allows a floor group to be entered above or below ground level by specifying the following parameters:- Number of floors in the group
It can be a group of one floor or a group of several floors greater than 1 if users want to define a set of several floors that are exactly the same. - Height of each floor
Corresponding to the distance between the top face of the floor slab entered on each floor and the top face of the floor slab on the floor above it. - Reference for each floor
- Number of floors in the group
- Move the building up a floor / Move the building down a floor
These options allow the building to be raised or lowered one storey by changing the position of the base plane of the ground.
On the right-hand side, there is a schematic display of the floors of the building, the ground plan and the reference and height of each floor relating to it.

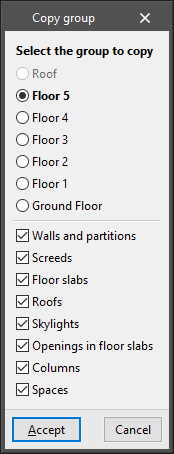
Copy to another group
Allows the elements of another floor group to be copied over the current group, i.e. the one the user is currently in. If data already exists in the group to be copied, this data will be lost.
This option is very useful when the elements of one group are almost the same or very similar to those of another group. Once the copy has been made, the appropriate modifications can be made.
The option opens the "Copy group" window, in which the following aspects are configured:
- Select the group to copy
- Activate or deactivate the types of elements to be copied:
- Walls and partitions
- Screeds
- Floor slabs
- Roofs
- Skylights
- Openings in floor slabs
- Columns
- Spaces
Up a group/Change group/Down a group

These tools allow users to modify the group of floors visible in the working area.
The options "Up a group" and "Down a group" allow users to display the group of floors immediately above or below the one visible on the screen, while from "Change group" they can directly select the group of floors they want to display.
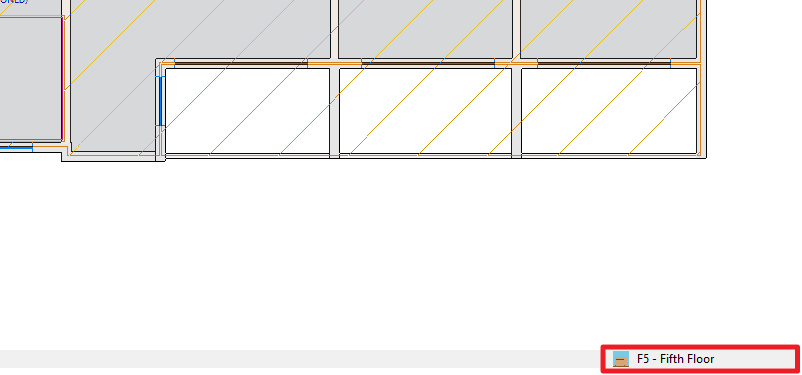
The floor group reference visible on the screen is displayed in the lower right corner of the program's general interface.