Modelling building elements

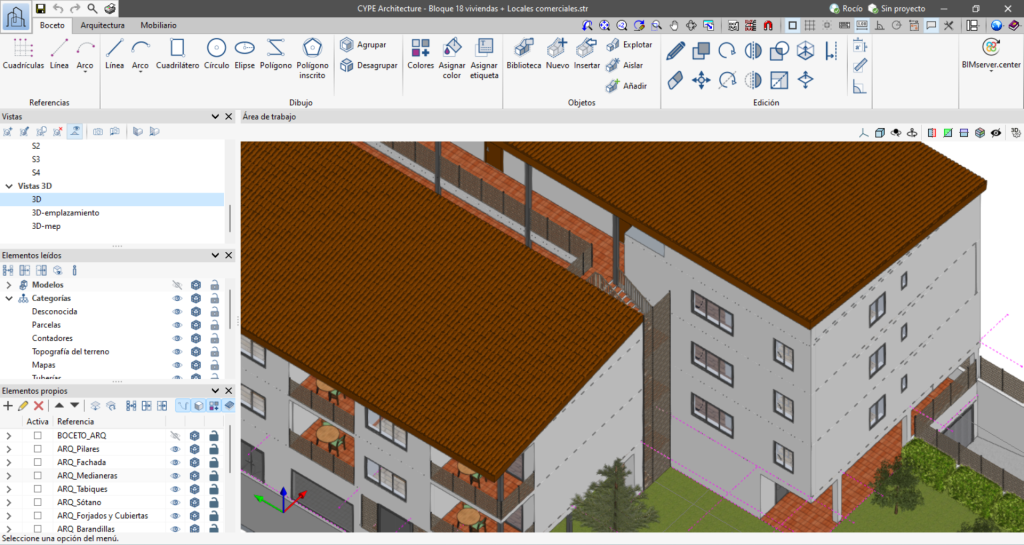
The "Architecture" tab brings together the tools needed to enter and edit the building elements of the BIM model. Optionally, after creating a sketch with grids, lines or surface areas, building elements can be added.
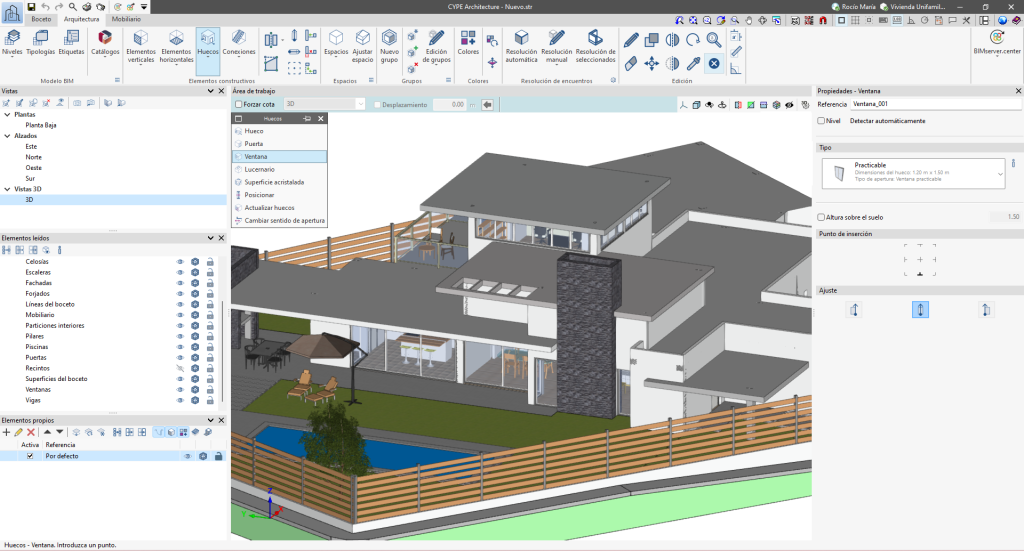
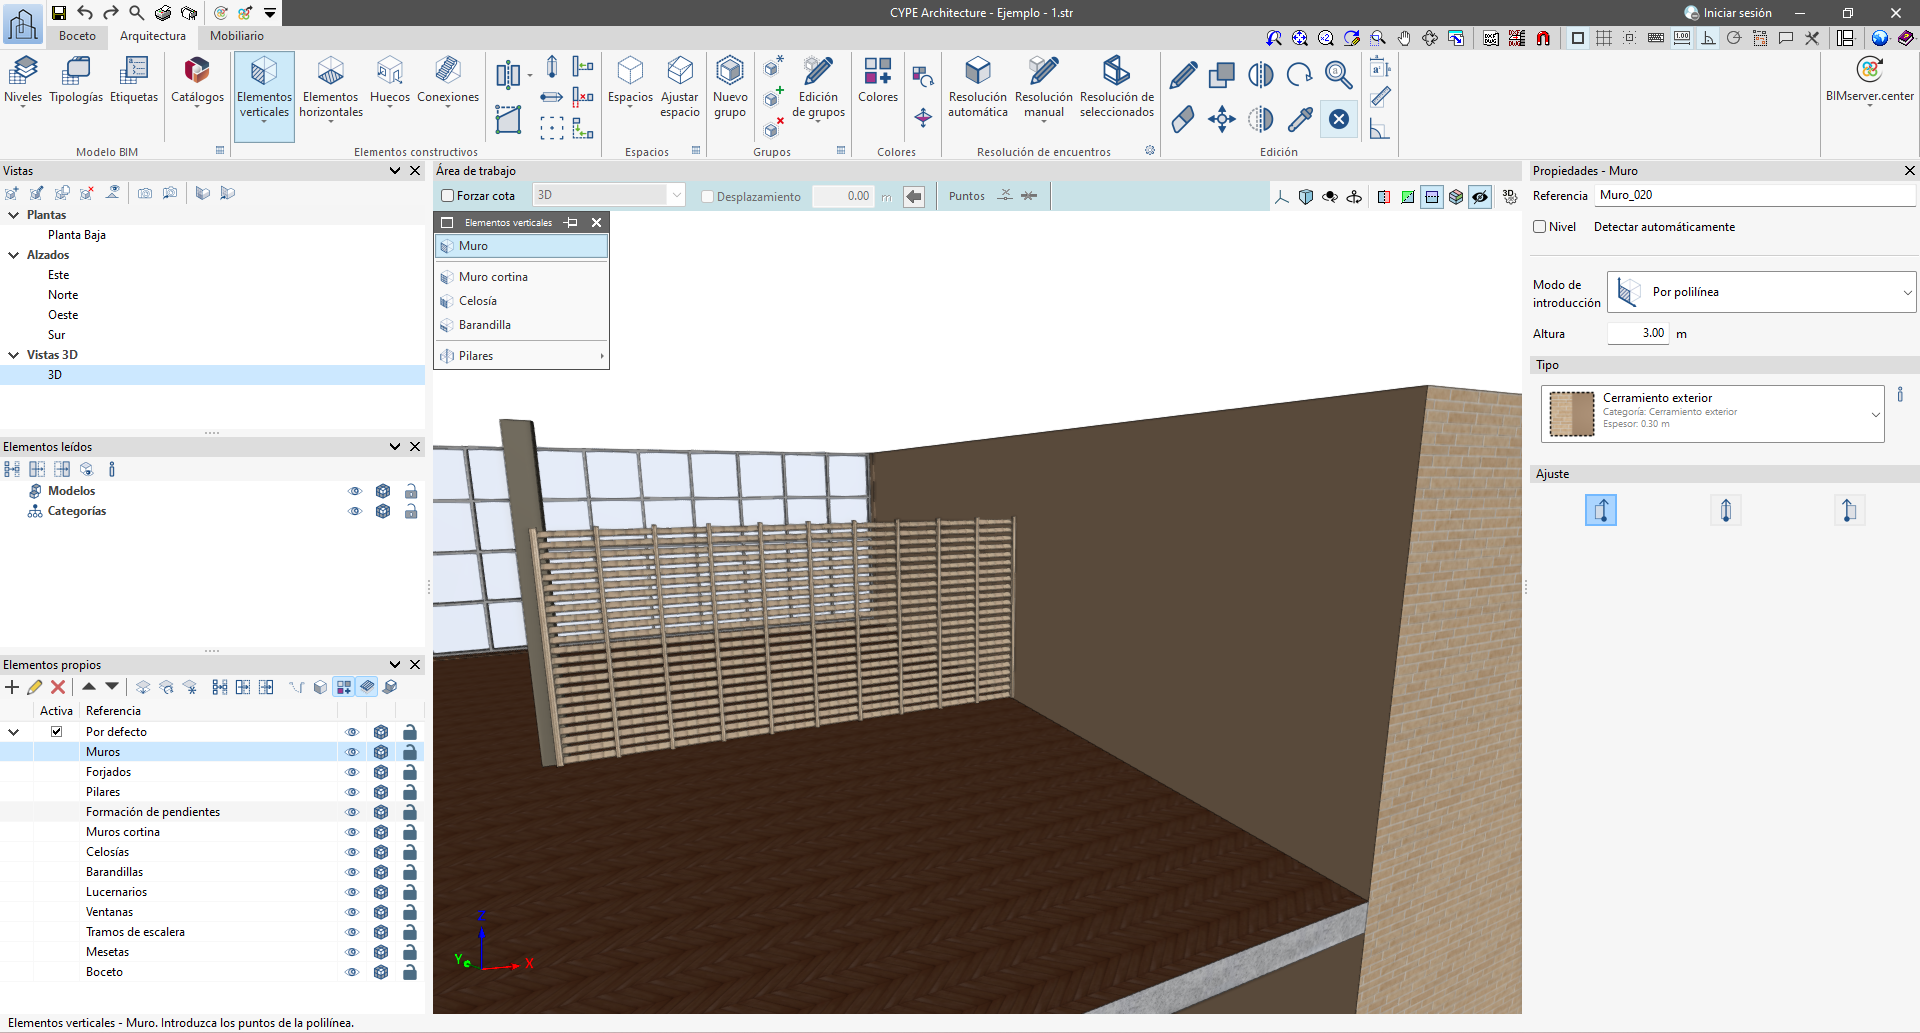
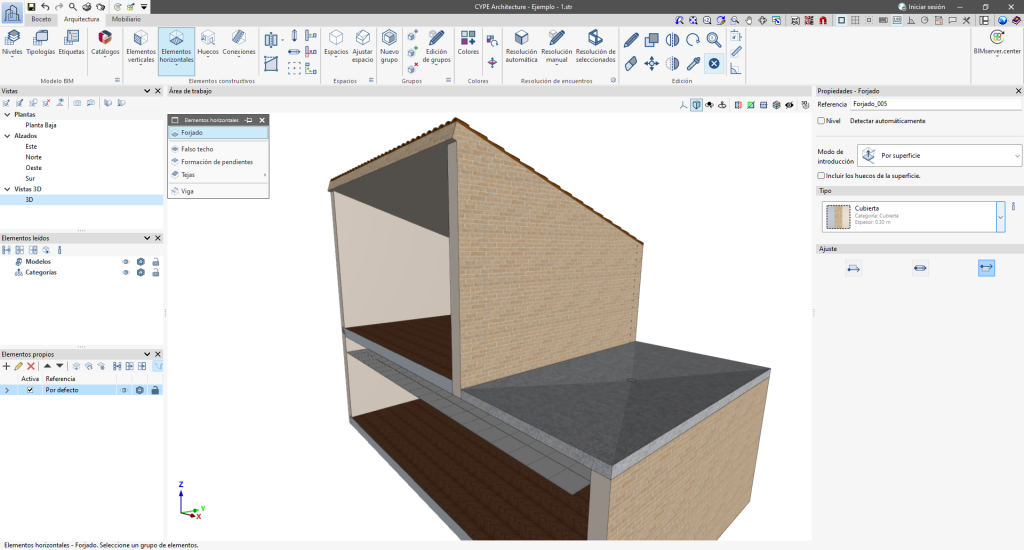
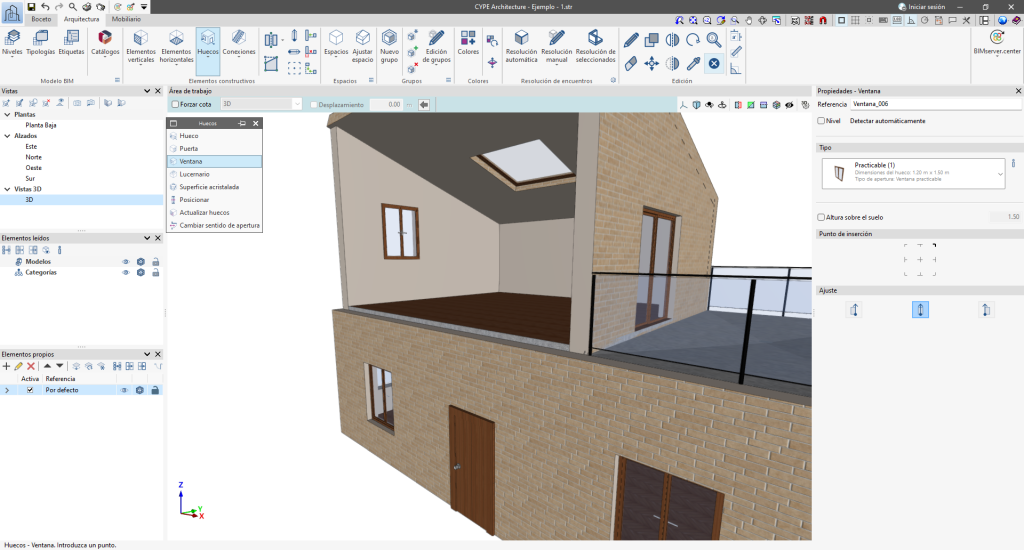
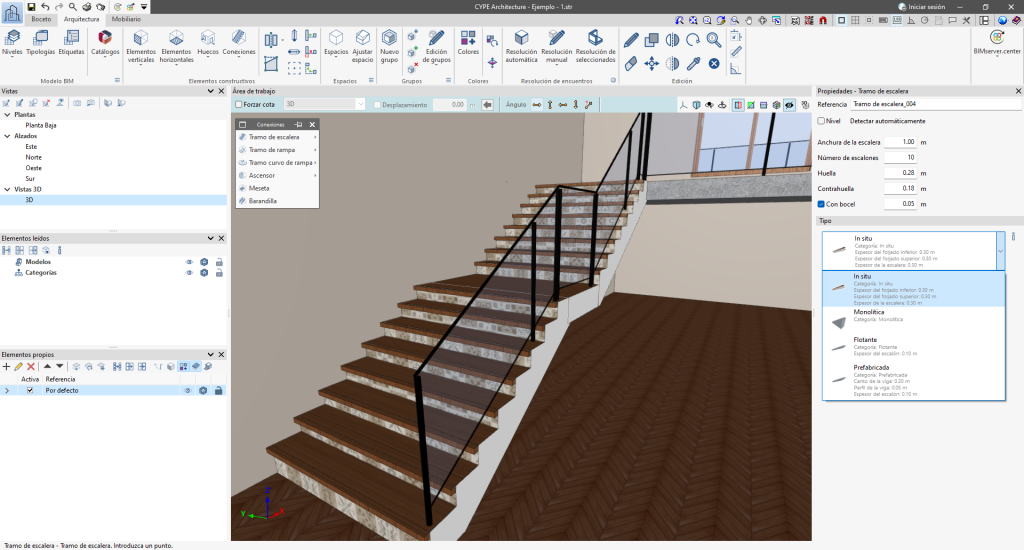
The "Building elements" group has four sections: "Vertical elements", "Horizontal elements", "Openings" and "Connections". Each section has different options for entering the elements. By selecting one of these options, the "Properties" window opens, where its type can be selected via a drop-down menu. This menu provides basic information about each type, such as its name, an image with colour or texture, and additional data to facilitate its identification.
From the "Properties" section, several features can also be managed, such as assigning a reference, activating or deactivating automatic level detection, selecting the specific entry mode for each element, setting the height or adjusting the insertion point, as appropriate for the element.
Various entry modes can also be chosen for each element, such as by polyline, by points, by sketch surface, using sketch line, by segment and by height.
Vertical elements
Each of the vertical elements has different entry modes:
- Wall: can be entered by polyline, by points, by sketch surface or using sketch line.
- Curtain wall: can be entered by segment and height, by points, by sketch surface or using sketch line.
- Louvre: can be entered by segment and height, by points, by sketch surface or using sketch line.
- Railing: can be entered by points or using sketch line.
- Column: can be entered individually or with a multiple entry using a sketch line.
Horizontal elements
Each of the horizontal elements has different entry modes:
- Floor slab: can be entered by points or using sketch surface.
- Suspended ceiling: can be entered by points, using sketch surface or by plan contours.
- Slope formation: can be entered by points or using sketch surface. It is also possible to adjust the slope and sump height.
- Beam: can be entered using two points or using sketch lines.
- Roof tiles: this section offers two options, "Roof tiles" and "Special roof element". Tiles can be entered by points or using sketch surface.
Openings
Each of the openings has different entry modes:
- Opening: can be entered by geometry or by points.
- Door: can only be entered by reference points.
- Window: can only be entered by reference points.
- Skylight: can only be entered by reference points.
- Glazed surface: can be entered by geometry or by points.
Furthermore, it includes the "Position", "Update openings" and "Change opening direction" options, which can be used once the opening has been entered, to modify the characteristics defined when it was entered.
Connections
Each of the connections has different entry modes:
- Staircase span: creates stair spans, stair spans defined by three points, stair cores and spiral stair spans.
- Ramp span: creates ramp spans, ramp spans defined by three points and ramp cores.
- Curved ramp span: creates curved ramp spans by entering the height and width, curved ramp spans by entering the centre and two points, as well as extending the radius and shifting the centre.
- Lift: enters lifts by reference points and defined by three points.
- Landing: enters stair or ramp landings by geometry, by points or by surface.
- Railing: enters railings by reference points.
In "Staircase span" and "Ramp span", the "Stair core" and "Ramp core" options stand out, allowing connections to be made by integrating spans, landings and railings, which makes it easier to enter them as a whole.

