As well as the new features and improvements that are indicated explicitly in each CYPE software version update, these updates also include process optimisations which imply internal improvements of our programs. Systematic checks are carried out on all the programs in each revision, as well as changes which improve their operation. Therefore, we recommend all our users (in this case of the 2016 version) to always update their program version to the latest available version, regardless of the country CYPE software is being used for or the language in which the program is installed.
Update history
Arquimedes
Other improvements
- Published on
- 2016.c
Import quantities from "Allplan® 2016 (64-bit)"
The 2016.c version of Arquimedes has been updated to adapt the quantity imports of Allplan to its new version "Allplan® 2016 (64-bit)".
- Published on
- 2016.c
Status of the quantities in the job item assignment and quantity extraction process
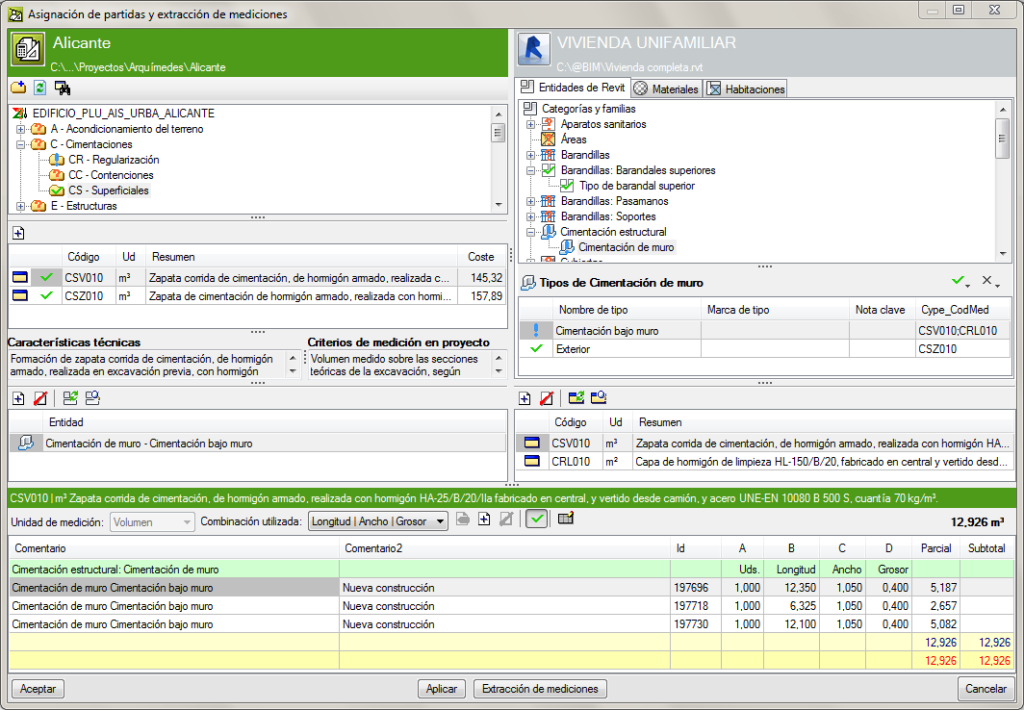
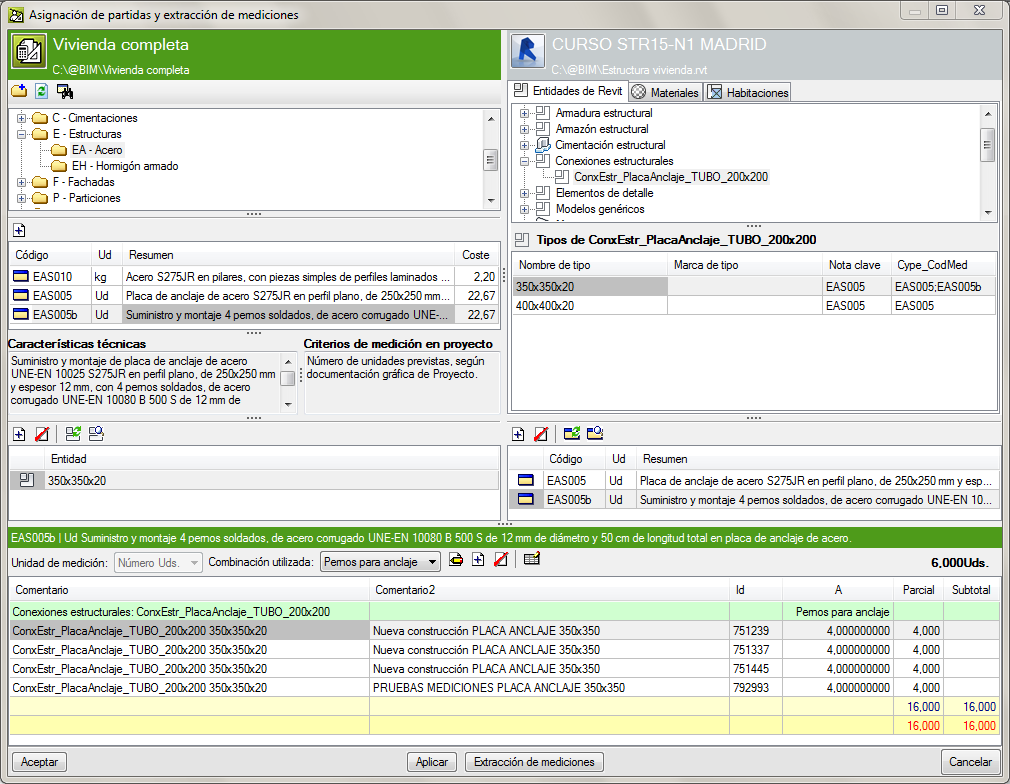
To obtain the quantities of a job item from a Revit BIM model using the “Bill of quantities of Revit models” module of Arquimedes, the job item must be associated with a Revit entity or vice-versa. The Status of the quantities basically allows users to see which job items or entities of Revit still have to be assigned to be able to extract their quantities. This way, the status of the quantity extractions of the Revit model can be known.
To view these statuses, marks are placed on the icons of the job items, chapters and Revit entities (Types, Categories, Families and Materials). These marks and statuses can be seen in the “Job item assignment and quantity extraction” dialogue box.
The marks that can appear when working with the “Bill of quantities of Revit models” module and their meaning are as follows:
- When job items are not assigned:
 - Do not assign the job item to the Revit entity
 - Pending assignment to the Revit entity
- When job items are assigned:
 - Without quantity parameters
 - With parameters, but without parameter combination for the measurement units
 - Parameter combination available
 - Predefined parameter combination
 - Verified or validated
- Published on
- 2016.b
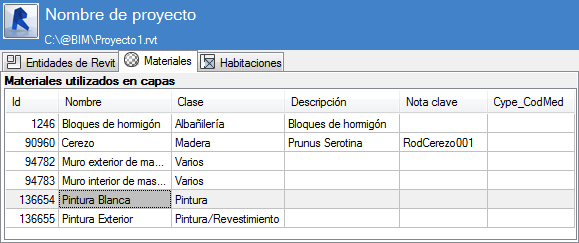
“Paint” material import
- Published on
- 2016.a
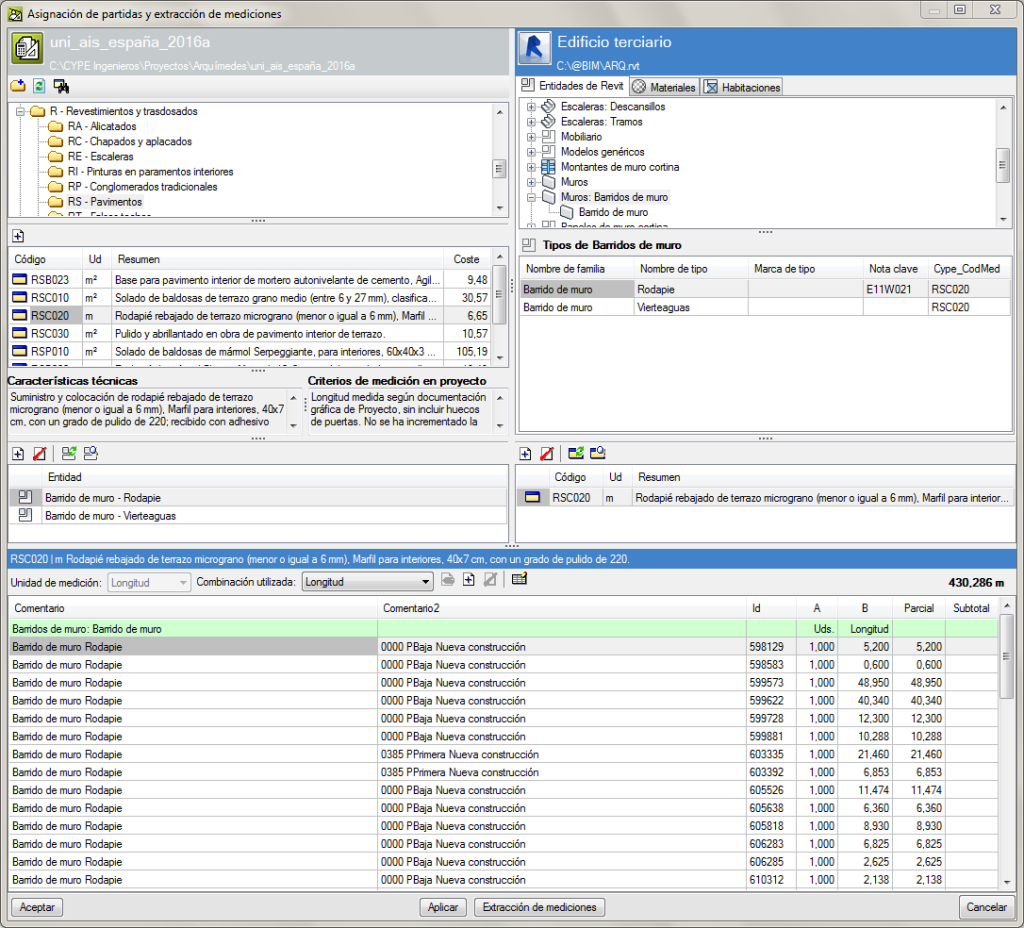
Quantity measurement by Sweeping
- Published on
- 2016.a
Revit model sub-category import
- Published on
- 2016.a
Improvements in the change tracking system
The change tracking system has been improved for the “Bill of quantities of Revit models” module.
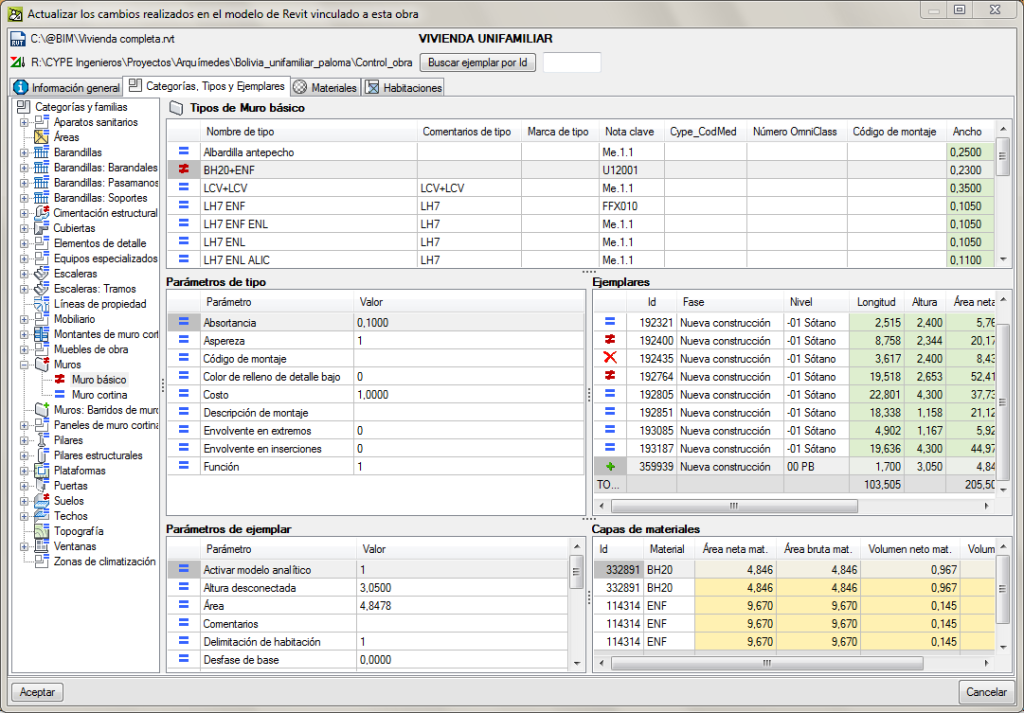
When the “Update changes carried out in Revit, in Arquimedes” option is used (after a change in the Revit model that is already linked to the Arquimedes job), a dialogue box appears: “Update the changed carried out in the Revit model linked to this job” where the entities of the Revit model are marked with ![]() (entity not modified)
(entity not modified) ![]() (modified entity),
(modified entity), ![]() (new entity) or
(new entity) or ![]() (deleted entity).
(deleted entity).
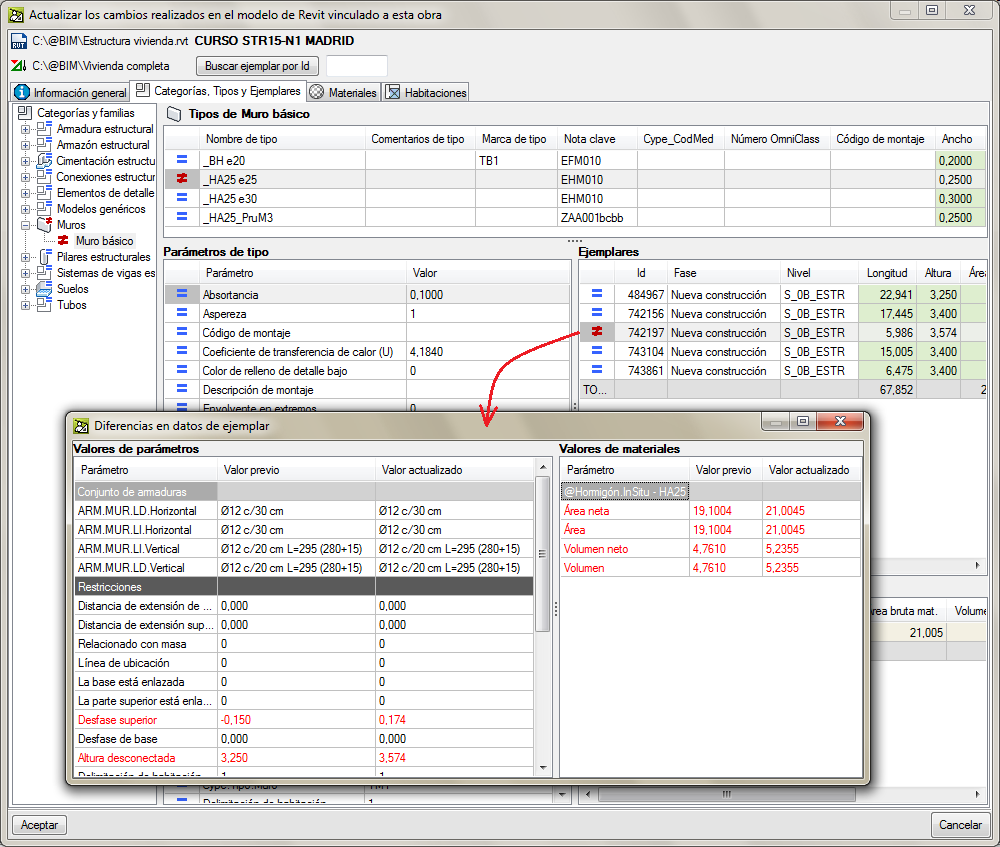
By double clicking with the mouse button on a Revit entity (Type, Element, Material or Room) marked with the ![]() , symbol, a dialogue box will appear displaying the parameters that have changed in red.
, symbol, a dialogue box will appear displaying the parameters that have changed in red.
If users press the “Accept” button in the “Update changes carried out in the Revit model linked to this job” dialogue box, the changes will be saved and another dialogue box will appear: “Assign job items and quantity extraction” to continue with the work. However, if users cancel the “Update changes carried out in the Revit model linked to this job” dialogue box without accepting the changes, no dialogue box will be displayed.
- Published on
- 2016.a
Quantity combinations for job items measured by number of units
- Published on
- 2016.a
Assign height for measurements with a vertical component
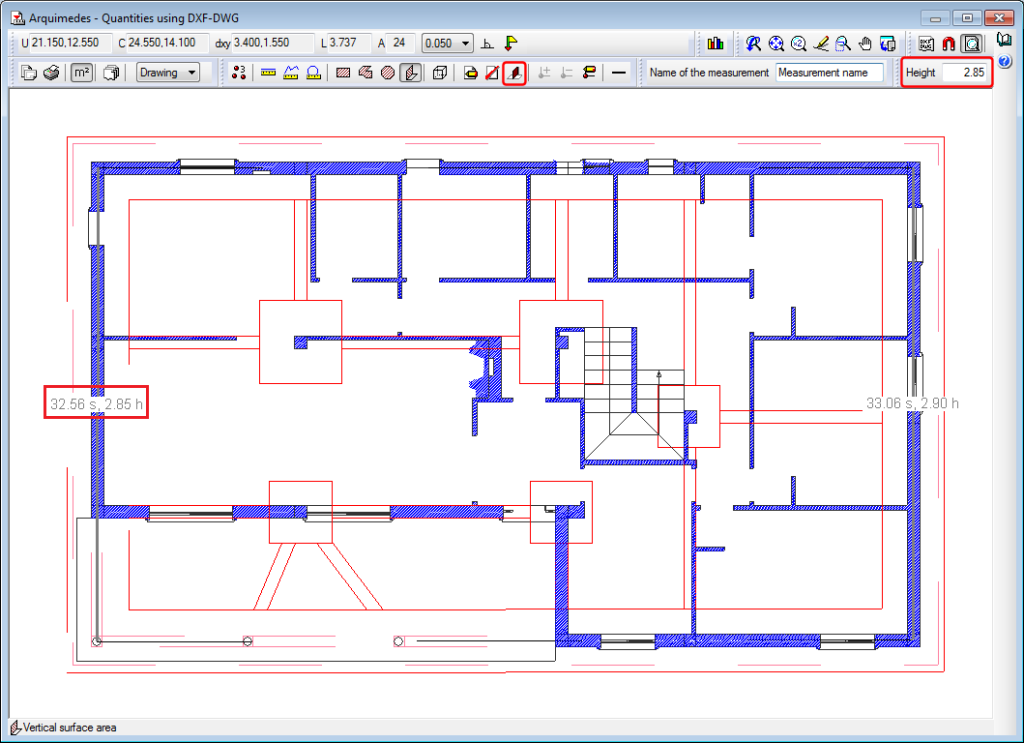
An option has been implemented to assign heights to measurements with a vertical component such as “Vertical surface area” measurements and “Volume of polygonal plan” measurements when using the “Automatic quantity import from drawings and link with CAD programs” module. To edit the height assigned to a vertical element click on the new “Assign height” button and in the “Height” box modify the value for the height. Then, select the “Vertical surface area” or “Volume of polygonal plan” measurement to change its height.
- Published on
- 2016.a
Bill of quantities of Revit models (new module)
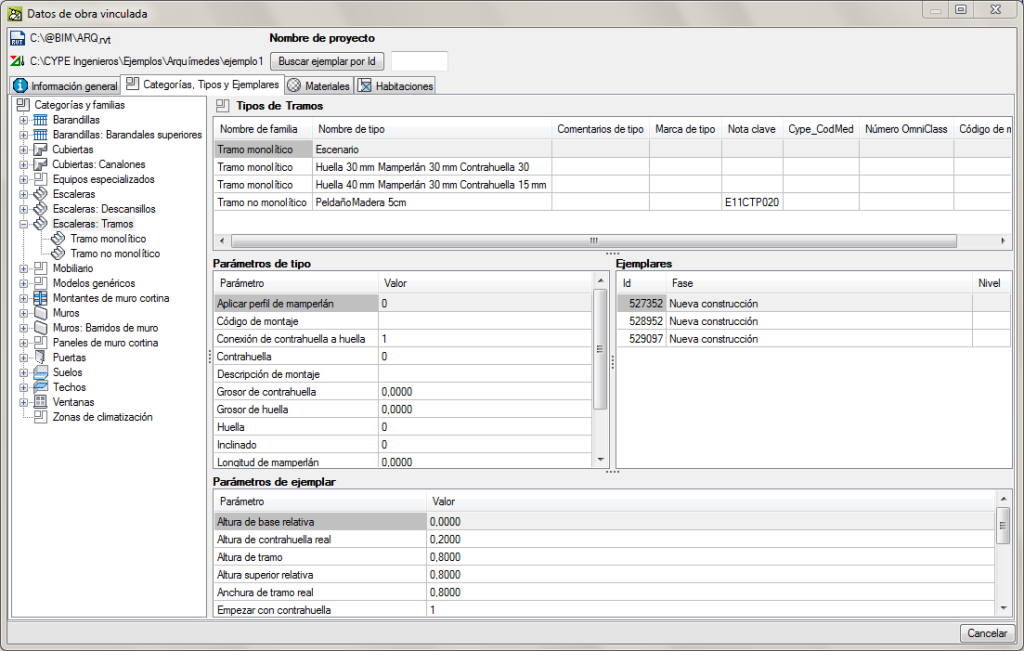
The new Arquimedes module “Bill of quantities of Revit models” creates a direct connection between Arquimedes (CYPE) and Revit (AutoDesk) (2015 and later versions), and has been designed to obtain the quantities and generate the bill of quantities based on a Revit BIM model.
The module installs a CYPE plug-in in Revit. This allows users to work simultaneously in both programs (Arquimedes and Revit) or only in Arquimedes by importing the file generated by the CYPE complement in Revit, which contains the complete Revit model.
Its main features include:
- Integration in the Revit workspace, simultaneous work with Revit and Arquimedes.
- Complete reading of the Revit model information (Families, Categories, Types, Elements, system and user parameters, etc.).
- Allows quantity measurements for elements, materials or rooms of the Revit model.
- Several job items can be assigned to the same Type in Revit.
- Several Revit jobs or projects can be linked to the same bill of quantities in Arquimedes using the BOQ consolidation module.
- Quantities can be obtained in Arquimedes using an existing bill of quantities or by creating a new bill of quantities based on a BIM model.
- Automatically assigns job items to elements of the BIM model using Keynotes.
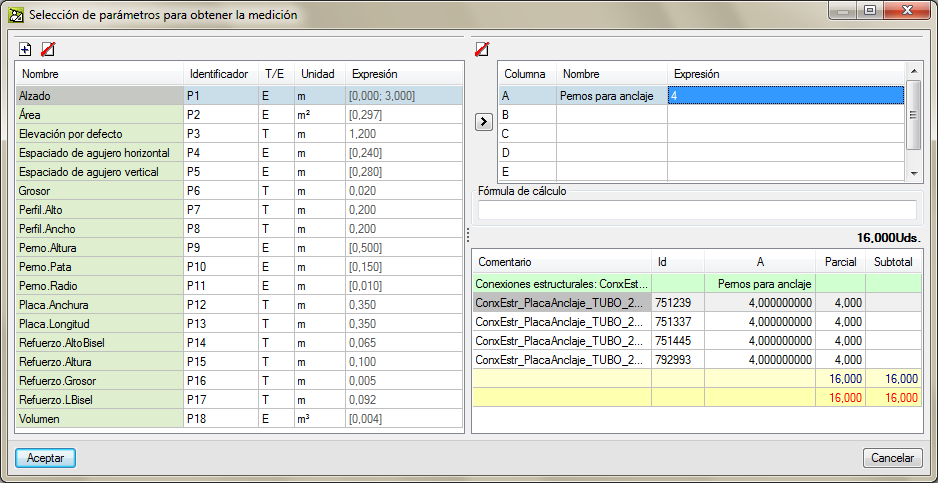
- Automatically detects the quantity units when assigning a job item to an element in the BIM model and allows users to change the combination of the dimensions used to obtain the quantities.
- A controller identifies the Categories, Types and Elements that have changed following the extraction of the quantities and indicates, in the bill of quantities, the quantity lines obtained from the Revit model.
- Different work methods are possible using the implemented tools.
- Its versatility allows the module to work with different types of users; those who create the model in Revit and from it obtain a bill of quantities to use in Arquimedes, or for users who only create the model from which a file will be created to be exported, or users who will use the exported file from Revit, to then obtain the bill of quantities in Arquimedes by importing it.
Detailed information on the properties of this new Arquimedes module can be found on the Bill of quantities of Revit models webpage.
- Published on
- 2015.m
Quantity comparative
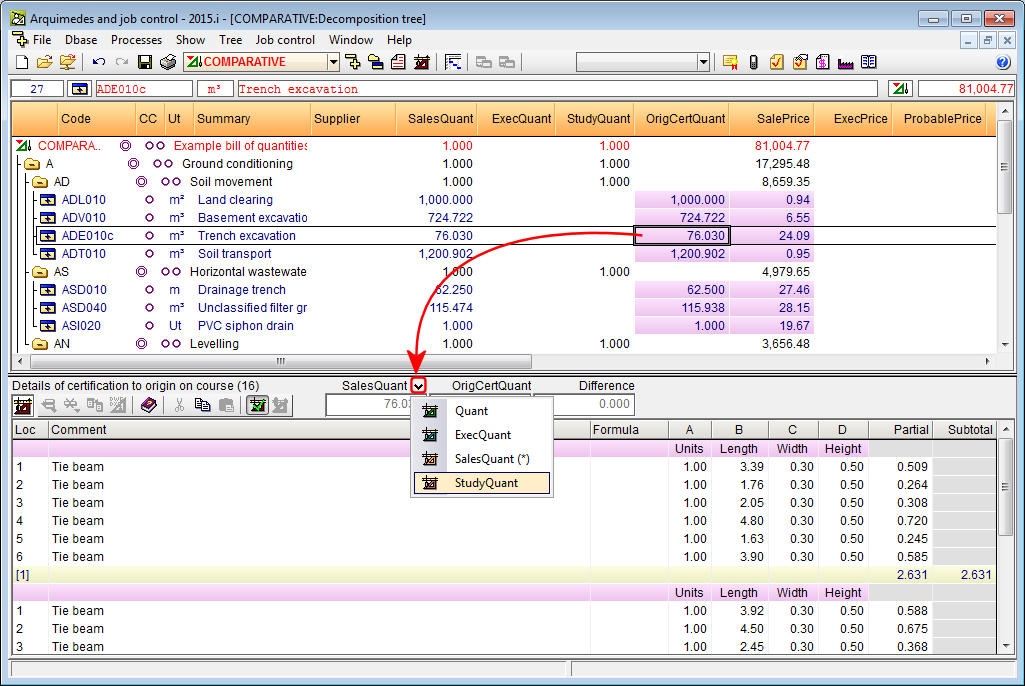
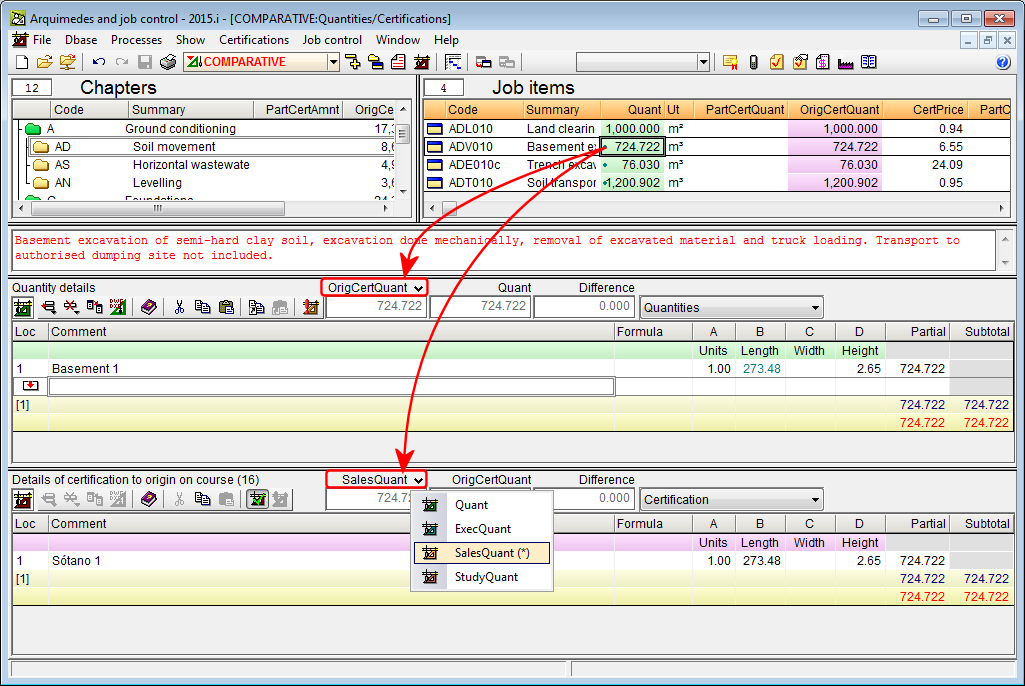
To be able to compare the measured quantities more easily (Quant, SalesQuant, StudyQuant, ExecQuant, OrigCertQuant or PartCertQuant), depending on the quantities of the selected job item at that moment, a new drop-down menu has been added in the quantity comparative zone for the "Decomposition tree" window and "Quantities/Certifications" window. This drop-down menu appears when situated at any of the quantity columns of a job item. Hence, users can compare the quantities in the zone displaying the differences.
The new option allows users to choose, via the drop-down menu, a quantity type to compare with the edited quantity at that moment. This way, the differences between the quantities compared in each job item can be displayed.
The chosen configuration to compare quantities in these windows is saved with the configuration of the database.
- Published on
- 2015.i
Job item analysis report
A new report "Analysis by nature" has been implemented in the 2015.i. This report is located in the "Analysis" report types (File > Print > Print report). This report analyses the decompositions of the job unit items: labour, materials, machinery and other unit concepts to value the total or percentage unit amounts.
- Published on
- 2015.i


