Object options
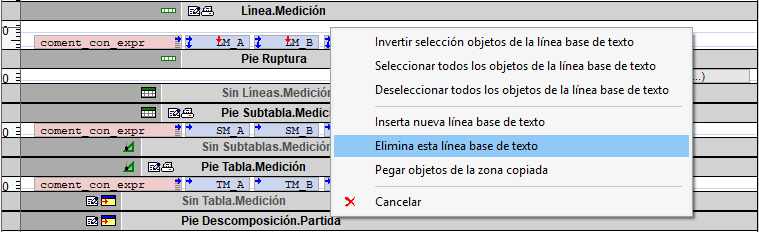
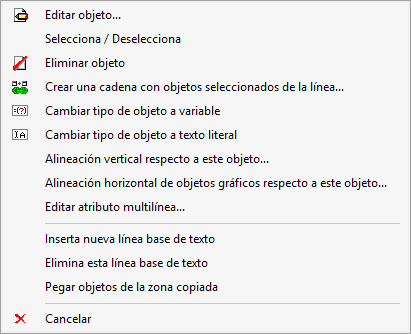
When you right-click on an object, a context menu opens; the options available may vary depending on the type of object selected.
Editing, selecting and deleting objects
- Edit object. Open the attributes window for the selected object so you can view or modify its properties. You can also access the edit mode by double-clicking on the object with the left mouse button.
- Select / Deselect. Change the selection status of the object. Selected objects are indicated by a light magenta border.
- Delete object. Delete the selected object.
Create a string using selected objects from the line
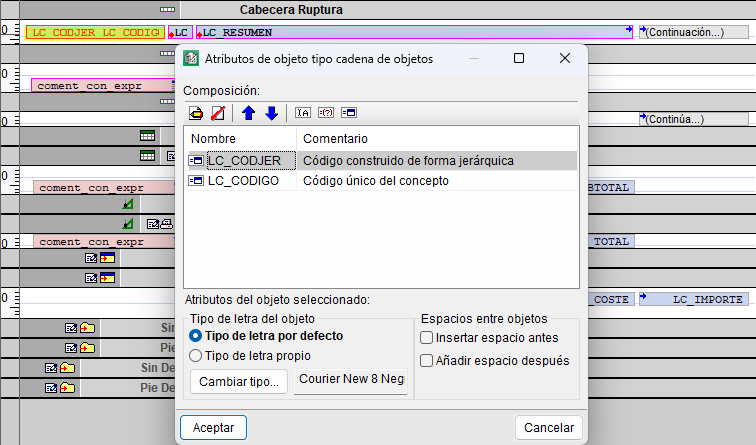
You can create a string comprising literals, variables and fields from two or more alphanumeric objects selected from the same line.
For further information on the structure and configuration of this type of object, please refer to the "Top toolbar" section.
Change the object type
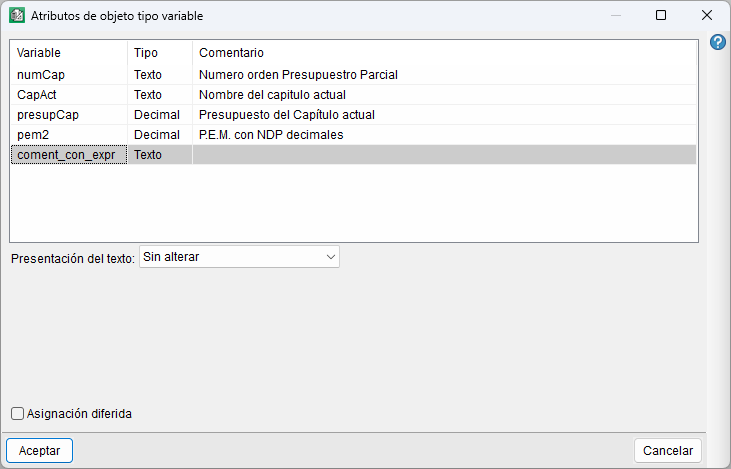
This allows you to convert the selected object to another compatible type. Depending on the object, options such as "Change object type to variable", "Change object type to register field" or "Change object type to literal text" are displayed.
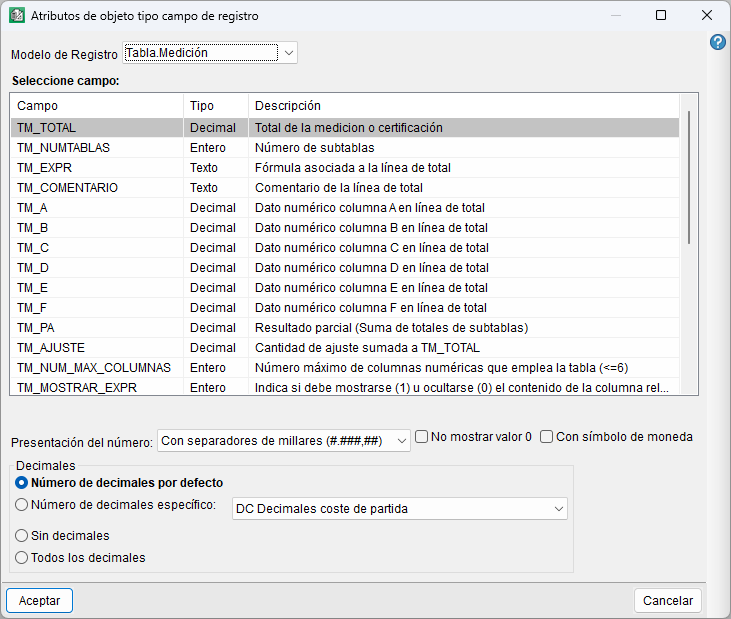
When you select a new type, the relevant window opens so that you can define its attributes. For example, when converting it to a record field, you can select the record template, the field and its display options.
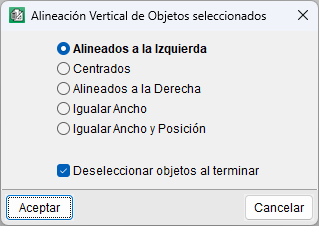
Vertical alignment with respect to this object
This lets you align several objects, each on a different text baseline, vertically with respect to a reference object.
To use this option, you must first select the objects you wish to modify. Next, from the object to be used as a reference, select the vertical alignment tool and, in the dialog box that opens, choose the type of alignment you wish to apply.
The available options let you align your objects, make them the same width, or align both their width and horizontal position. Furthermore, by ticking the tick box, you can ensure that the objects are no longer selected once they have been aligned.
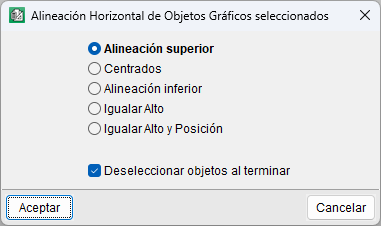
Horizontal alignment of images with respect to this object
This lets you align selected graphic objects horizontally with a reference object situated on the same text baseline. The procedure is similar to the previous case.
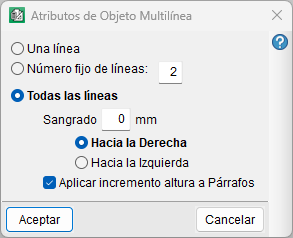
Edit multi-line object
This lets you specify how an alphanumeric object is printed when its content may span several lines. You can set:
- Single line. The content is printed on a single line.
- Fixed number of lines: The object reserves the specified number of lines, regardless of the length of the content.
- All the lines. The object uses as many lines as necessary to display all its content.
For multi-line objects, you can also set an indent for the start of paragraphs and apply the line height increase to the spacing between paragraphs.
When an object with a variable number of lines requires additional lines, the height of the zone increases. This increase may alter the position or vertical size of other objects in the zone that are on the same line or below it.
Multi-line alphanumeric objects are represented in the editor by a marker on the right-hand side of the rectangle that defines them, consisting of several grey horizontal lines. Fixed-height multiline objects do not increase the height of the area; therefore, to highlight this, the template editor adds a crossed-out rectangle beneath these objects showing the space they will occupy.
The "All lines" option is not available for objects located within page mask areas or in page break headers and footers; in these cases, this option will be disabled (greyed out) and cannot be selected.
Inserting, deleting and pasting into objects
From an object’s context menu, you can also perform the following operations on the text baseline to which it belongs:
- Inserts a new baseline of text. Insert a new line before the line to which the selected object belongs.
- Delete this line of text. Delete the row containing the selected object, provided it does not contain any other objects.
- Paste objects from the copied area. Paste the objects from a previously copied area into the row.