Zone options
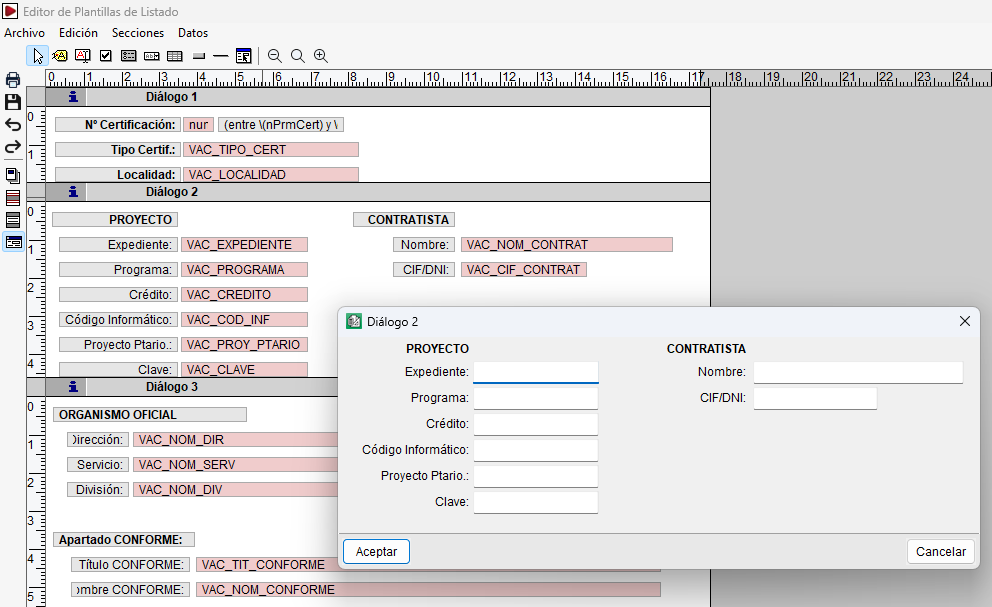
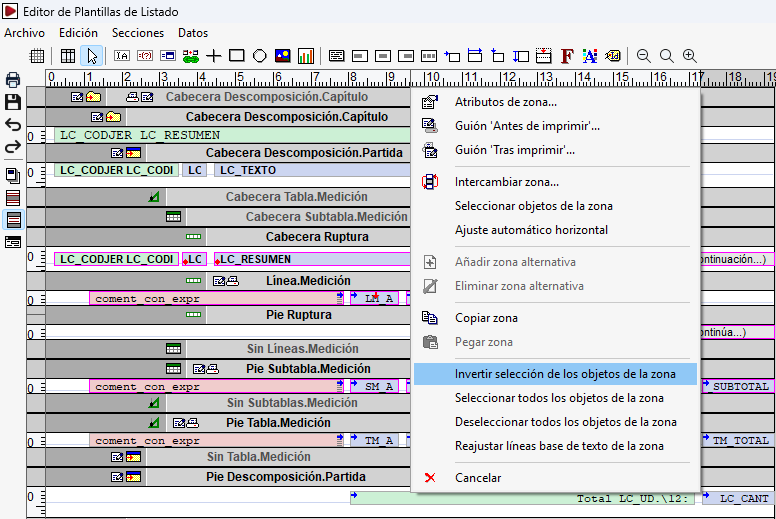
The title bars of the various areas within the record sections feature a context menu, which can be accessed by left-clicking whilst the cursor is positioned over the central area of the bar.
The title bars of the four sections of the template feature a similar context menu.
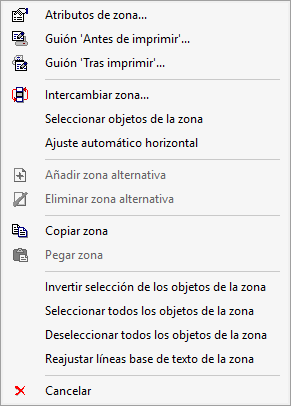
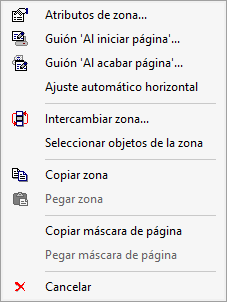
Zone attributes
This lets you configure the attributes of the area headed by the title bar, which vary depending on the type of area:
- Properties of the fields in the "Front Cover…Appendix" section
These let you control how they are printed and the number of lines. Depending on the field, you can also define page breaks before or after it and its vertical alignment (top, centre, bottom or extend).
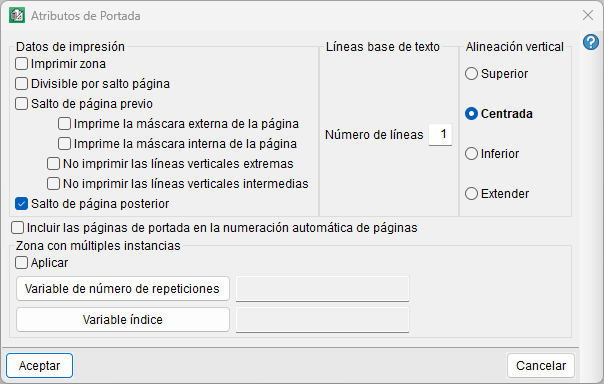
- Attributes of the areas in the "Page mask" section
As well as controlling printing and line breaks, it offers specific options. The top header can be configured so that it is not printed after the front cover, whilst the top footer can be set to display either the most recently printed data or the bottom footer.
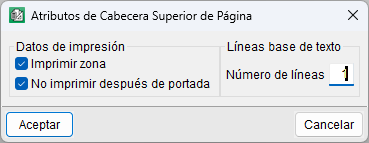
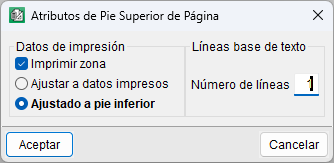
- Attributes of the fields in the "Records" section
These let you control the printing and the number of lines. Certain fields also allow you to enable "Divisible by page break" to split the field across two pages when it does not fit entirely on one. For the remaining fields, the attributes window is similar in appearance to that in the "Cover…Appendix" section, but includes additional options.
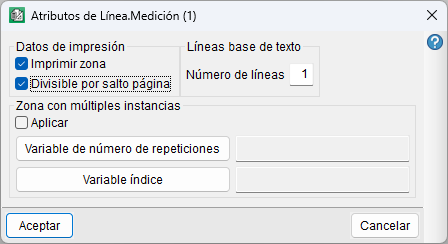
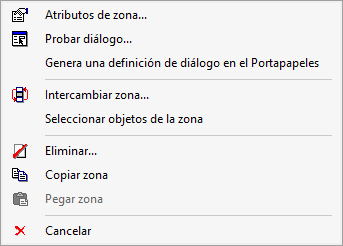
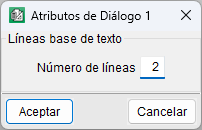
- Attributes of the "Dialog boxes" section
Change the number of base lines of text, which is set to one by default.
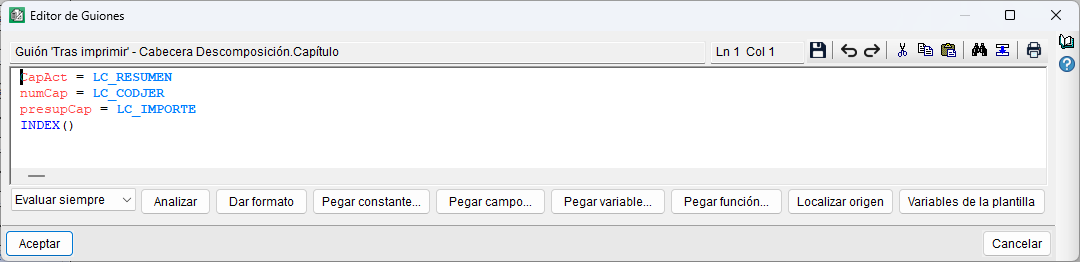
Script before printing and script after printing
These options let you access the scripts that run before or after the selected area is printed. The "Script at page start" and ‘Script at page end’ options work in the same way as "Before printing" and "After printing". See the "Template scripts" section for further information.
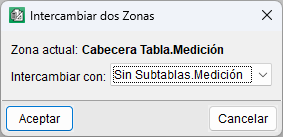
Switch zone
This lets you swap the current zone with another compatible zone in the same section. This can be very useful when extending or reducing the sequence of registration models. When you select this menu option, a dialog box opens showing a list of all the zones with which the current one can be swapped.
Select objects in the zone
Select all the objects within the area.

Automatic horizontal adjustment by zone
This option works in a similar way to the one available in the section context menu, but in this case it applies only to objects in the selected area. For further information, please refer to the section "Automatic horizontal adjustment in sections" under "Section options".
Adding or deleting an alternative zone
These options can be used to create or delete alternative zones of the same type as the original zone. These form various sub-zones which can be omitted individually during printing using the "NOPRINT" command.

Copying and pasting a page mask
These options allow you to copy an entire area, along with its objects, within the same template or between different templates:
- Copy area. Copy all objects in an area at once.
- Paste area. Paste the previously copied area where it fits at the selected position. If the destination template does not contain the user or storable variables used, these are created automatically.
Copy and paste page mask
These options, which are exclusive to the "Page template" section, can be used to copy the content of a section of the page template between templates:
- Copy page mask. Copy the objects in the selected mask area.
- Paste page mask. Paste the previously copied objects into the same mask area of another template. If the mask contains user variables, these are also copied to the destination template.
Options for selecting objects in zones
In the "Cover…Appendix" and "Records" sections, when you right-click on an area, the following options are available:
- Invert the selection of objects in the area. Invert the selection of all objects in the area.
- Select all objects in the area. Select all objects in the area.
- Deselect all objects in the area. Deselect all objects on the line.
- Readjust the text baselines in the area. As the height of a text baseline depends on the height of the objects it contains – due to differences in font size – this option allows you to automatically readjust the baseline height should the object with the largest font size be removed.
Exclusive dialog box options
These options appear only in the "Dialog box" section:
- Delete. Delete the selected dialog box.
- Check dialog box. Check that the dialog box is working correctly.
- Generates a dialog box definition in the Clipboard. Create and copy the definition of the selected dialog box to the Clipboard, including its constituent elements. This definition can then be used to reproduce or reuse the dialog box.