Window configuration
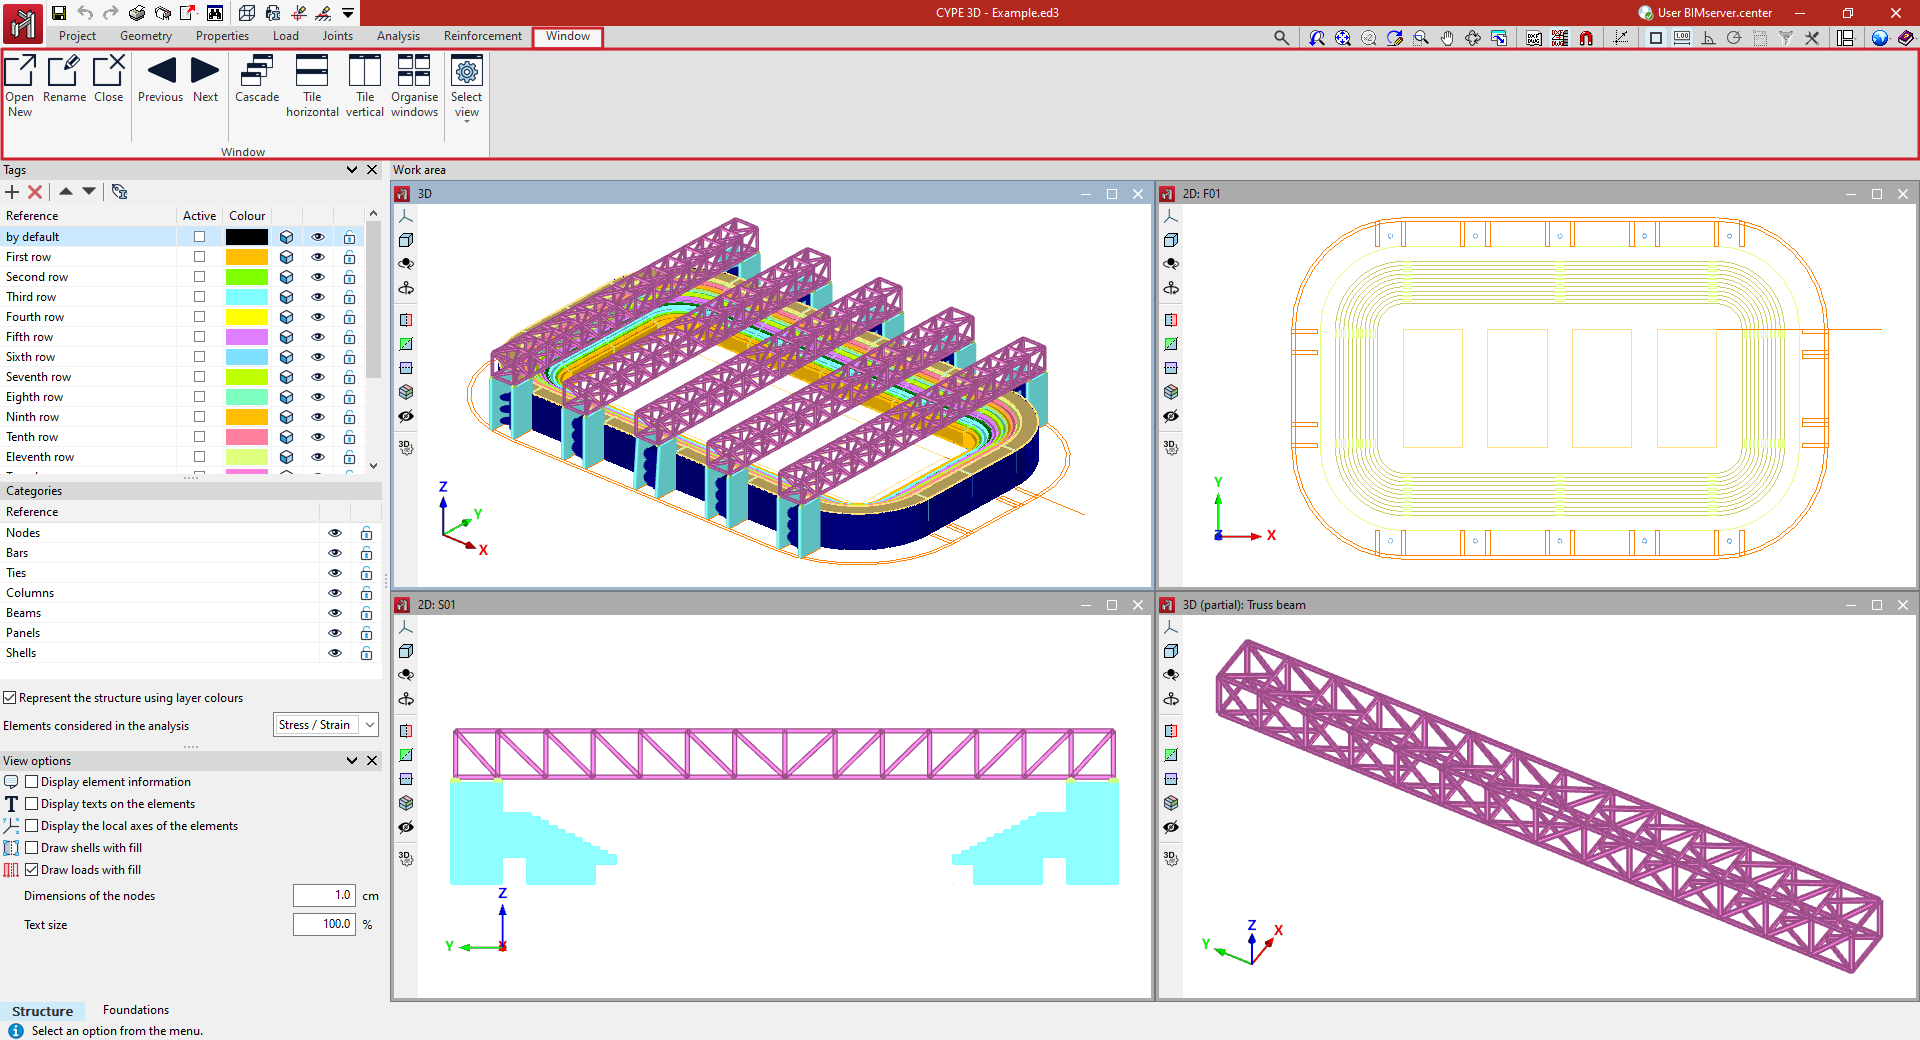
The program can be used to define different windows for viewing the model in the "Work area", either 3D or 2D, making it easier to work on the structure. The window configuration is carried out with the following options in the upper toolbar, in the "Window" tab (in the "Structure" tab).
Open new
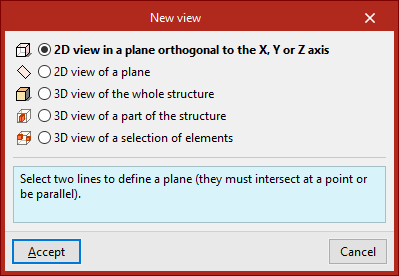
By default, the program generates a window with a 3D view of the entire structure. To create other windows, the "Open new" option is used. This opens the "New view" panel, where different types of views can be selected:
- With "2D view of a plane orthogonal to the X, Y or Z axis" users select two lines that define a plane. These lines must intersect at a point or be parallel. In 2D views, only the elements contained in the plane are displayed.
- From "2D view of a plane" three non-aligned points are selected to define the plane. This option can be useful to create the visualisation of a certain portal frame, a facade plane or a roof skirt.
- By using "3D view of the whole structure", a new three-dimensional visualisation of the whole model is created.
- It is also possible to create a "3D view of a part of the structure". In this case, two points are selected to define the diagonal of the envelope volume of the part of the structure to be displayed in the view. These points cannot be contained in a plane perpendicular to one of the Cartesian axes.
- Finally, to create a "3D view of a selection of elements", the elements to be displayed in the view are selected with the left button and confirmed with the right button. The elements created in this view will also be visible in this view.
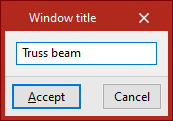
After selecting the required elements, the "Window title" is entered. When clicking "Accept", the window will open showing the 2D or 3D view of the model.
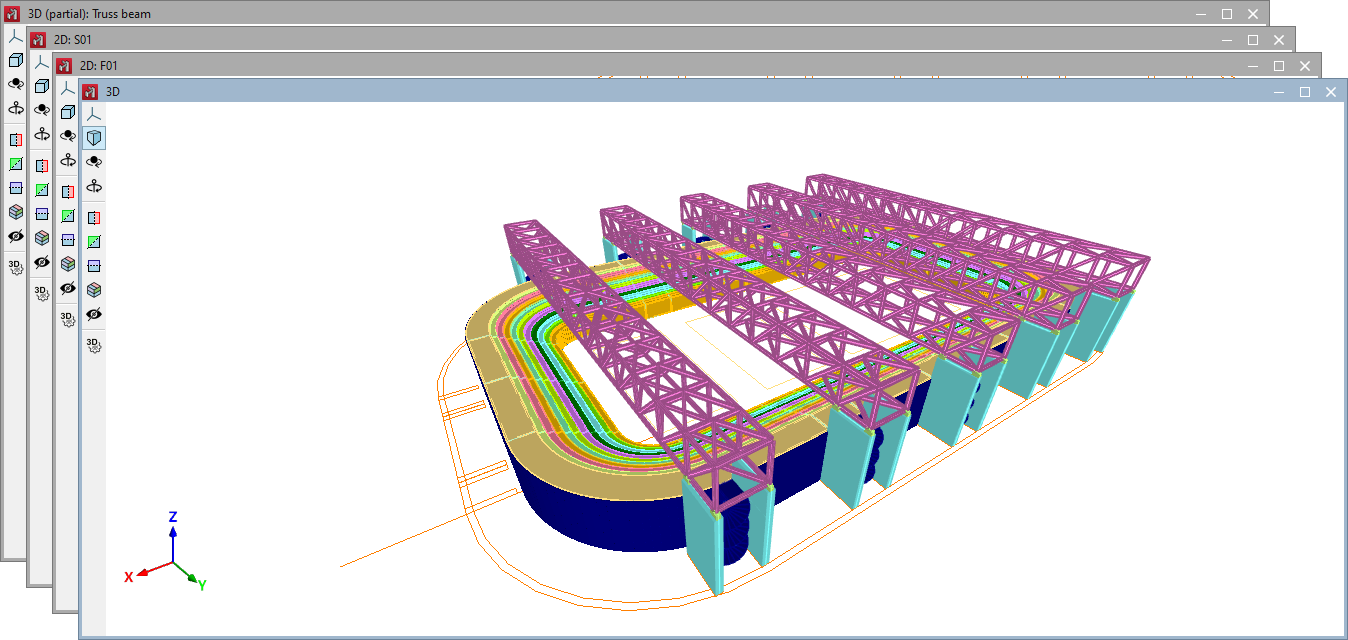
The active window is shown in blue, and the rest in grey.
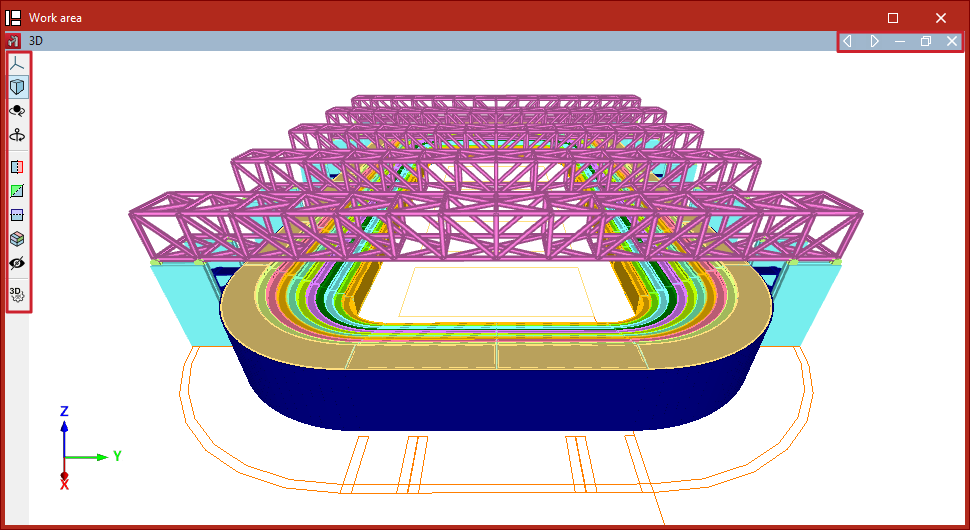
In the "Work area", each window can be moved or rescaled according to the user's interests and, using the options in the upper right corner, it can be minimised, restored, maximised or closed. If the window is maximised, the program also offers options to switch to the previous or next window.
In addition, on the left-hand side, each window has a series of tools for controlling the visibility of the 3D model, allowing operations such as modifying the projection, rotating the view or creating sections of the model.
| Note: |
|---|
| More information on these tools can be found at the following link. |
Rename
The "Rename" option is used to change the title of the active window.
Close
The "Close" option is used to delete the active window. Another option is to use the cross in the upper right corner of the window in the "Work area".
Previous/Next
The "Previous" and "Next" options are used to switch between windows according to the order of the list of windows.
Cascade
Windows can be automatically sorted as "Cascaded" using this option.
Tile horizontal/Tile vertical
These options can be used to arrange the windows automatically in "Tile horizontal" or "Tile vertical".

Sort windows
The "Sort windows" option is used to change the order of the list of windows using the tools available at the top of the dialogue box.
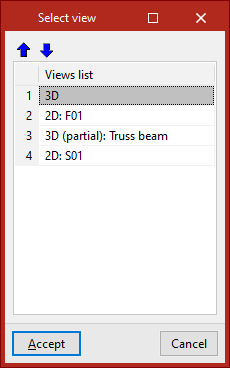
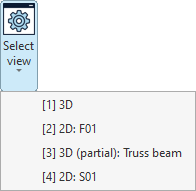
Select window
The "Select window" menu lists the windows available in the project.
For each window, a number is shown in square brackets, indicating the number of the window, together with an indication of whether it is a 3D or 2D view and its title.
Any of the windows in the list can be selected to access it.