Visibility monitoring tools to support the modelling
In the top right corner of the 3D viewing area is a toolbar that is used to control the visibility of the model during the modelling process.
This bar offers various options to make it easier to manage and visualise the project. Some of the options are shown in the following image.
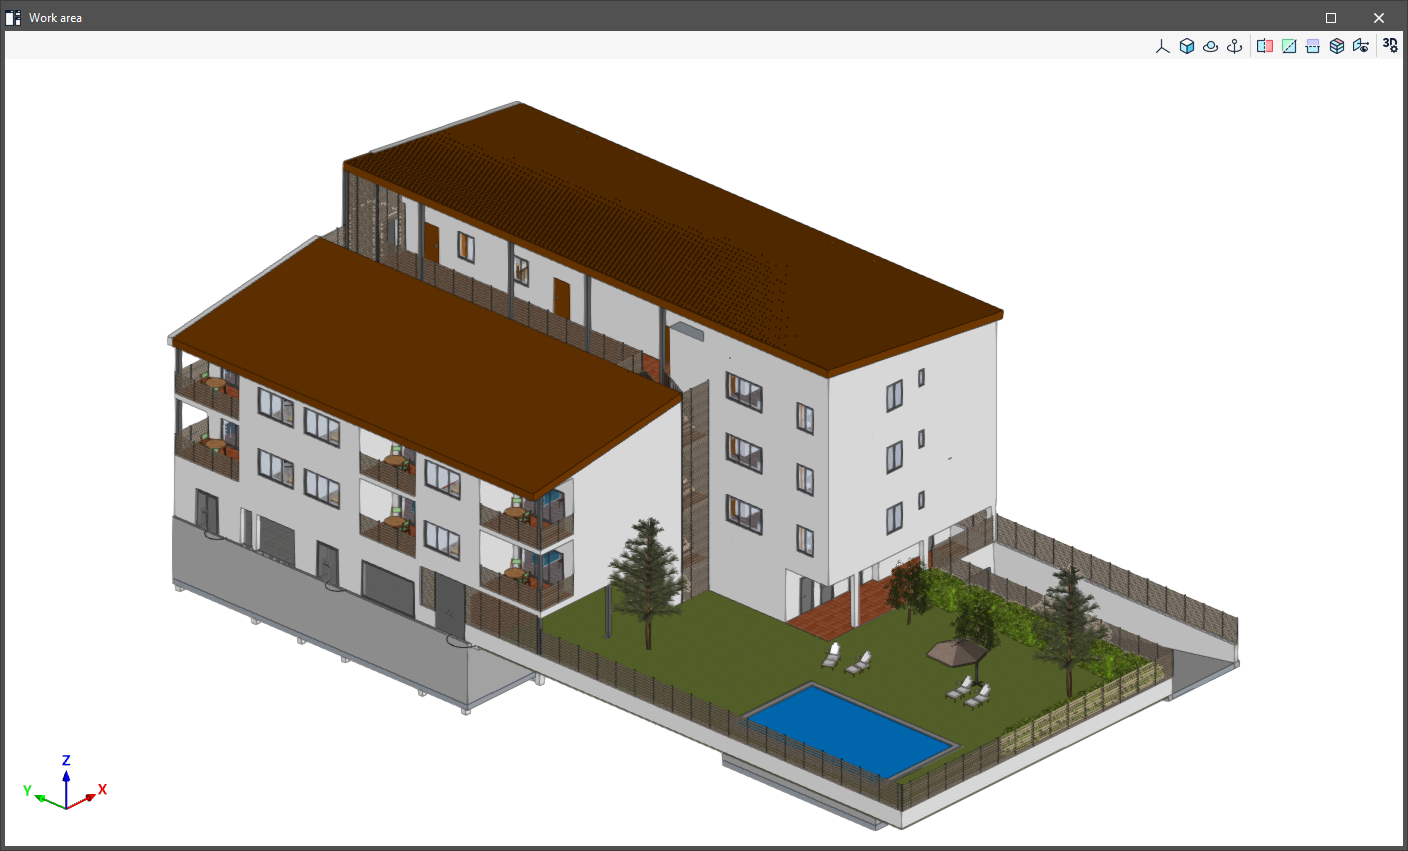

The first section covers the options for controlling the display modes of the model:
- Projection
Open a window that allows users to select predefined projections, such as top view, front view, isometric view, orthogonal view, etc. - Projection type
Modify the type of projection from axonometric to conic and vice versa. - Rotation around a point
Activate or deactivate the rotation of the scene around a point of an object located under the cursor. - Rotation around the camera
Activate or deactivate the rotation of the scene around the vertical axis of the camera.
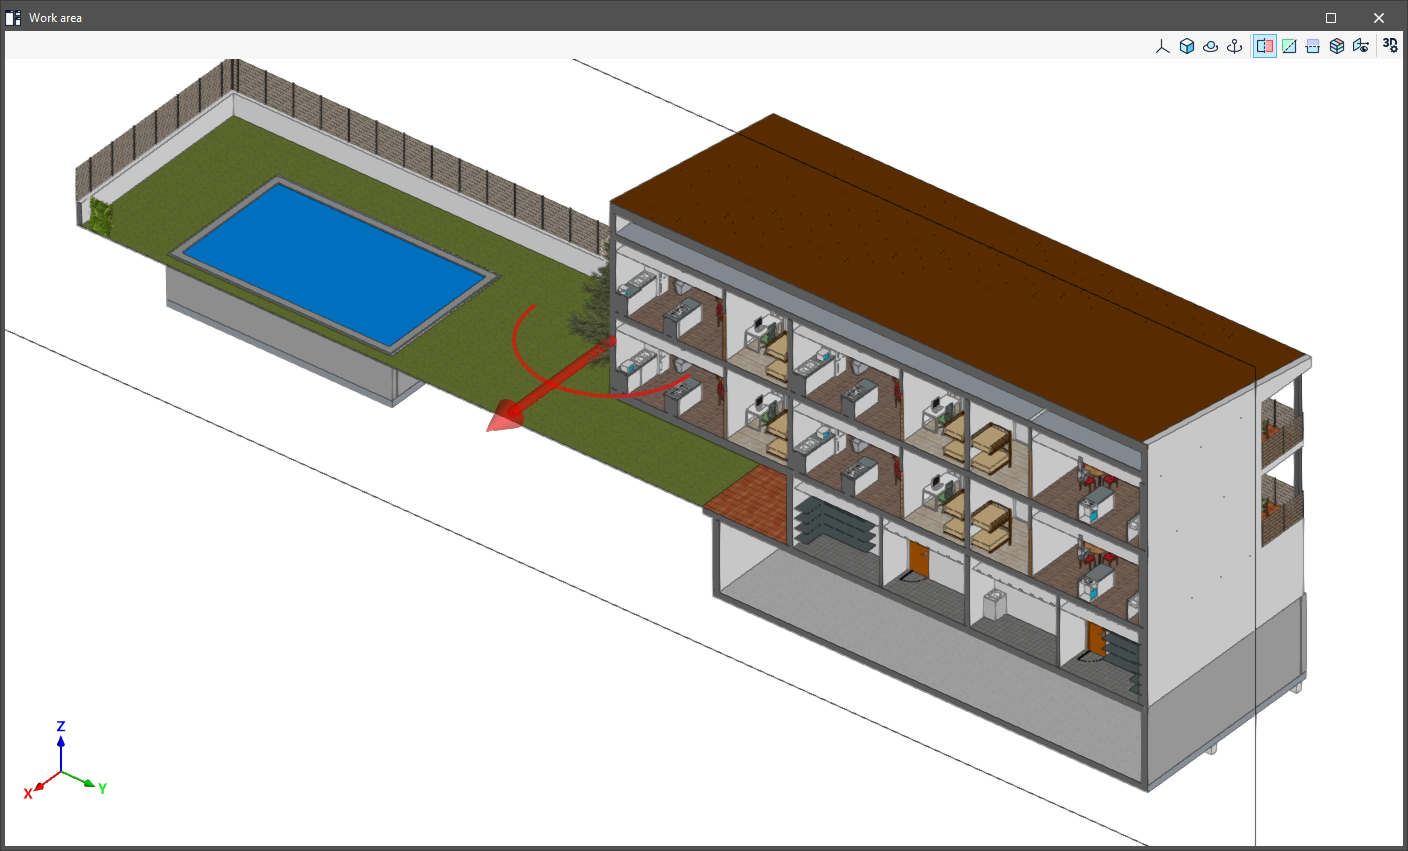
The following 5 options are used to create sections for viewing the BIM model from different perspectives and to create customised views.
- Section perpendicular to the global "X" axis
Define a section of the model perpendicular to the global "X" axis. - Section perpendicular to the global "Y" axis
Define a section of the model perpendicular to the global "Y" axis. - Section perpendicular to the global "Z" axis
Define a section of the model perpendicular to the global "Z" axis. - Clip volume
Define a display volume using 6 cutting planes that is formed from the geometric envelope of the scene content. - Show/Hide section planes
Manage the visibility of the lines and symbols of the sections created.- You can move and reposition each section plane by clicking and dragging the arrow icon that defines it.
- To rotate each section plane, click and drag the curved arc symbol next to the arrow.
- You can also flip the orientation of each section plane by double-clicking the arrow icon.
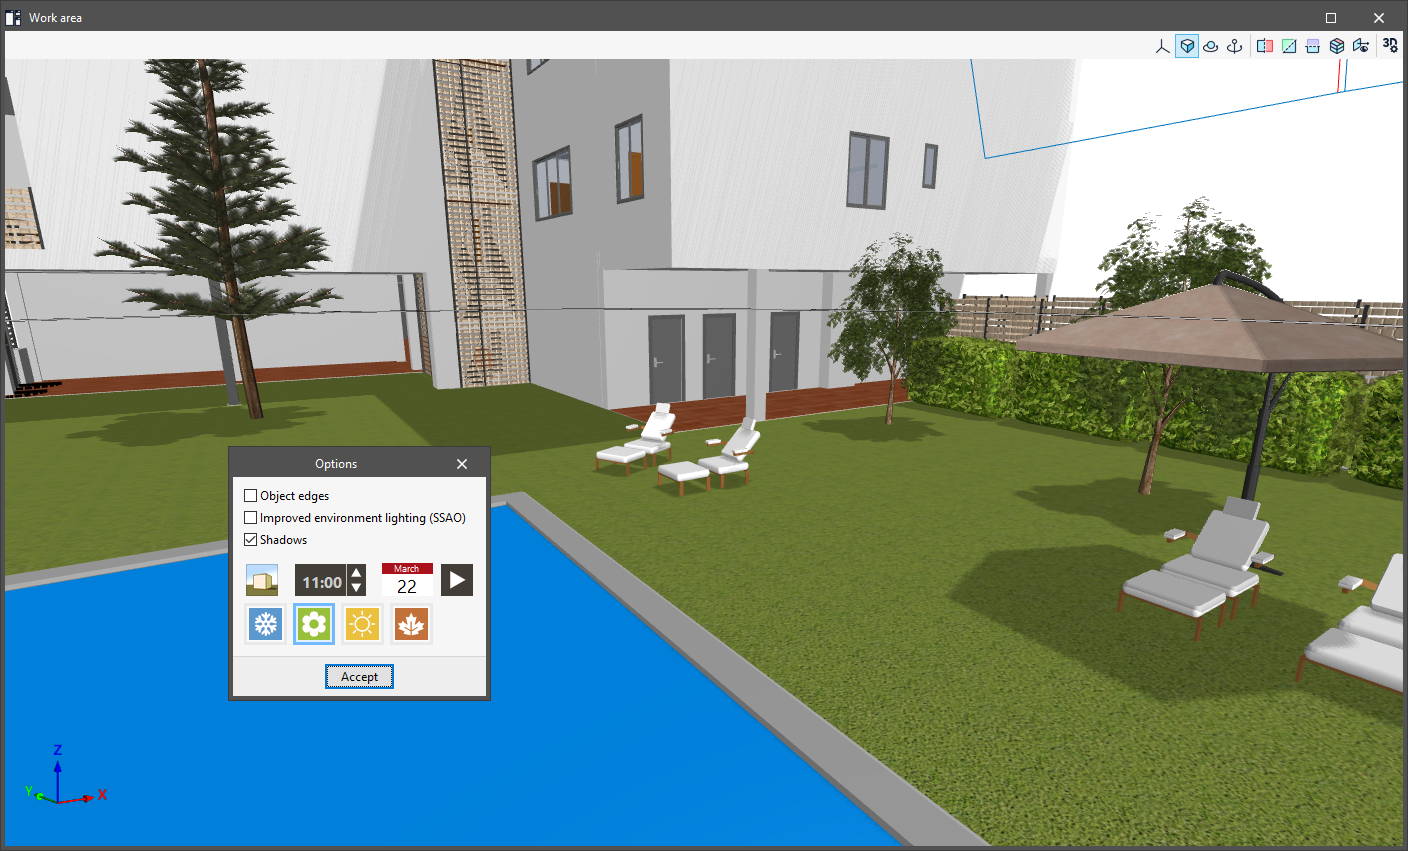
The last option opens the "Options" panel, which contains the following tools:
- Object edges (optional)
Enable or disable the display of object edges in the scene. - Enhanced ambient lighting (SSAO) (optional)
Enable or disable enhanced ambient lighting in the scene. - Shadows (optional)
If this option is enabled, the program simulates the sun's path across the site throughout the year, making it possible to assess the impact of surrounding shading cast by both the building itself and nearby buildings and other obstructions.- Display
Display the position of the sun on the selected day and at the selected time, as well as the path or positions of the sun throughout the year. - Time
Select the solar time. - Date
Select the date. - Animation
Display an animation of the shadows cast throughout the year at the selected time. Pressing this button again stops the animation. - Winter / Spring / Summer / Autumn
These options are shortcuts that can load the first day of each season directly.
- Display