Workflows supported by the program
As Open BIM Signs is an Open BIM tool and is connected to the BIMserver.center platform, it offers different workflow options.
Data entry
- Importing models designed in CYPE Architecture.
- Importing models in IFC format with IFC Uploader.
- Importing models designed in IFC Builder.
- Importing models designed in Autodesk Revit with the Open BIM - Revit
- Importing requirements for accessibility signs, evacuation signs and fire protection equipment from CYPEFIRE and CYPE Accessibility.
Data output
- Open BIM Signs exports a file in IFC format with the 3D model of the project.
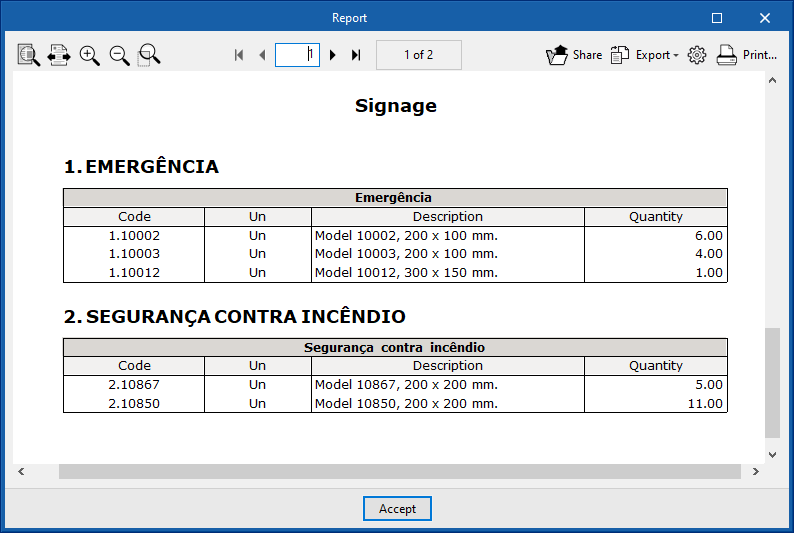
- Material schedule report (PDF).
Work environment
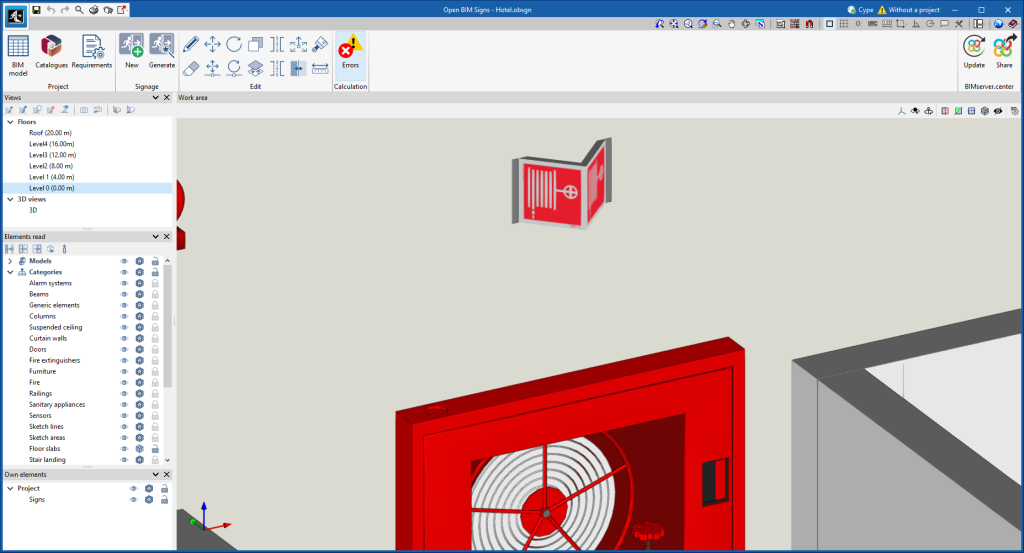
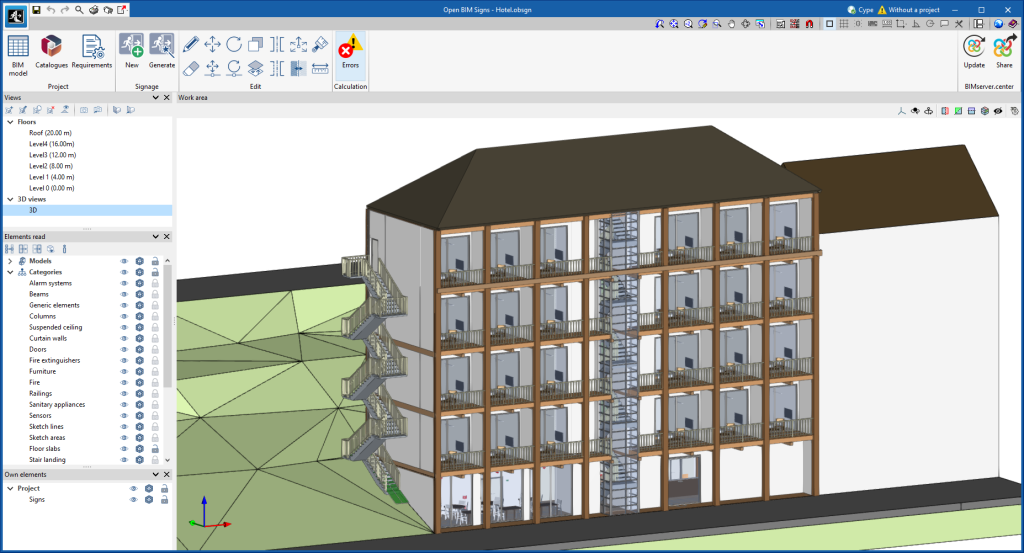
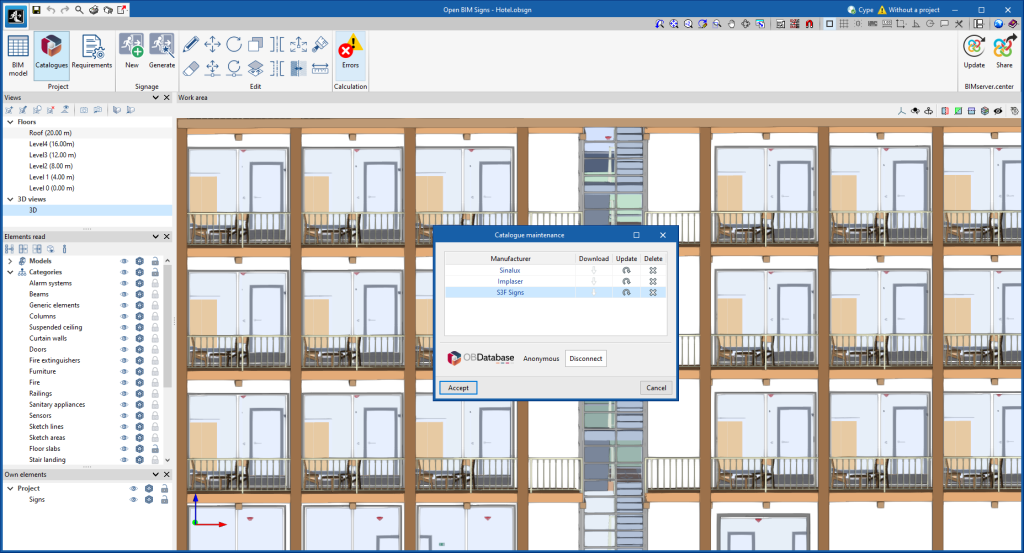
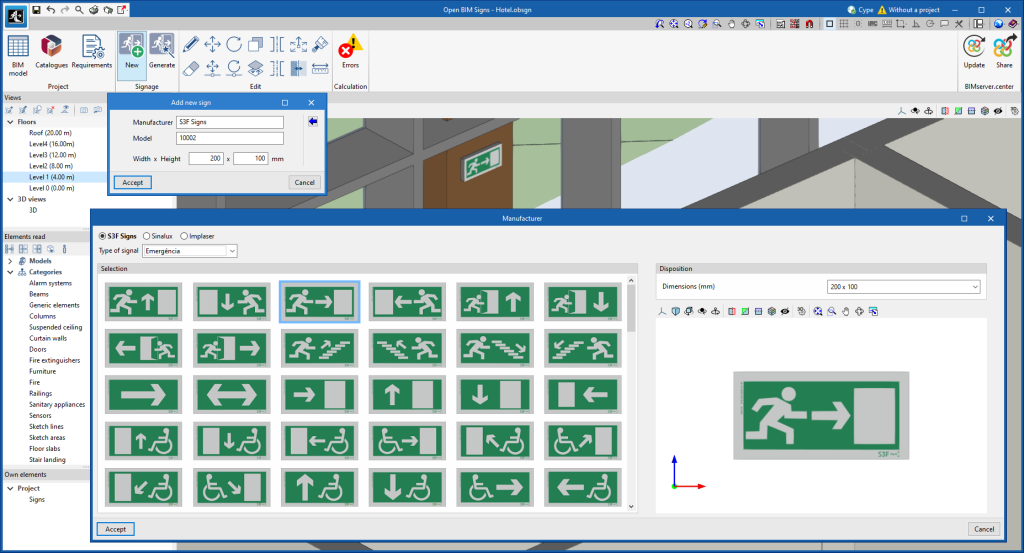
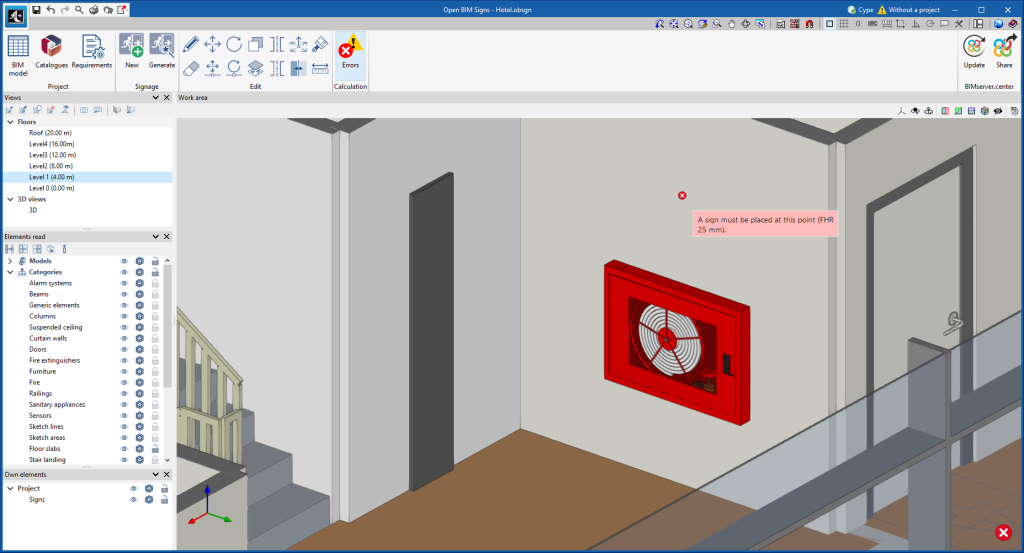
The Open BIM Signs work environment follows the style of several CYPE modelling tools and features a system of dockable windows that can be customised to adapt the workspace to the project's needs.
All the tools needed to complete the project are grouped at the top of the screen in groups for the project, signage, editing and calculation.
By default, the left-hand side contains the model views, the elements read and the own elements. Users can move and resize them, and they can be docked, pinned to a location in the program's main dialogue box, dragged out of the main dialogue box, or even moved to another monitor.
The modelling area is located in the middle right-hand side of the start screen and is used to enter, edit and visualise all the elements of the project in 3D.
Creating a new job and linking it to a project
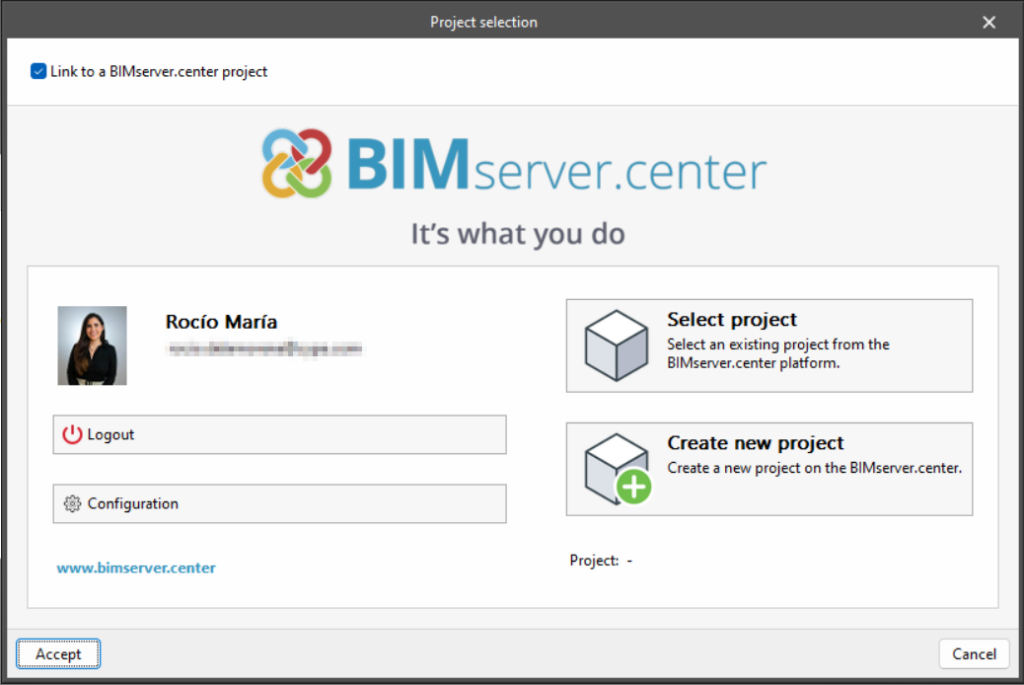
When launching the application and clicking on "New", users are given the option of creating a "New job", which can then be integrated into an existing project in BIMserver.center.
There is also the option to "Create new project". In this case, the created project will be visible from BIMserver.center from that moment on.
Once the new job has been created, users then access the interface, in which the graphic window showing the model or models that have been imported is displayed.
Users also have the option of starting the project without being linked to the BIMserver.center platform. To do this, simply uncheck the "Link to a BIMserver.center project" box in the top left-hand corner.
Files can be shared or imported at any time while the project is in progress via the BIMserver.center tab located at the top right of every program.
Importing BIM models
When creating a new job and selecting a project hosted on the BIMserver.center platform via "Select project", the "Import of BIM models" window appears, which shows the files contained in the project in IFC format.
The application offers users the option of including one or more of the existing models in the project. To do this, check the "Import" box and accept it.
When accessing the interface, the graphical window will display the imported models.
Importing DXF, DWG, PDF and JPG drawings
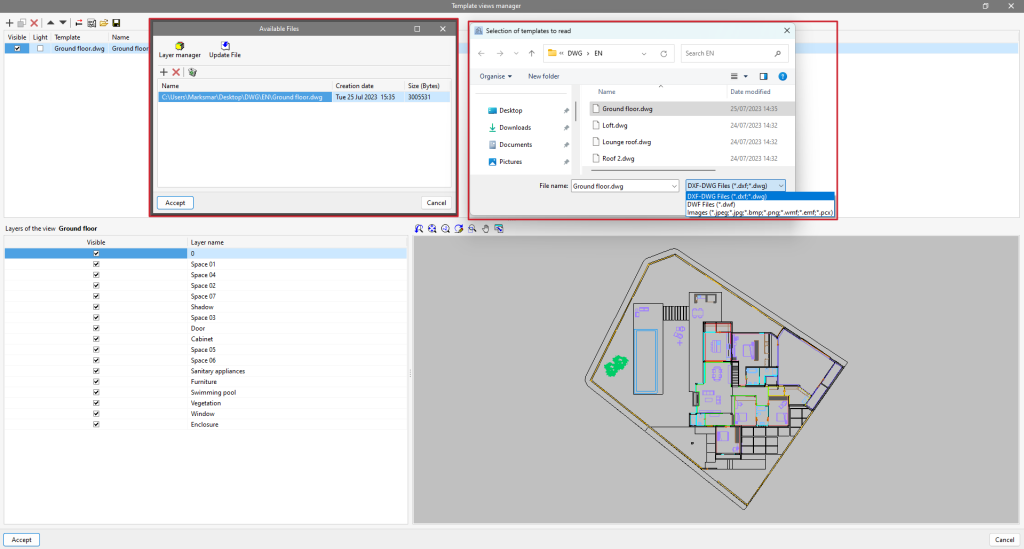
Clicking on the first tool, "DXF-DWG templates", will open a pop-up window called "Template views manager" in which templates can be managed and imported to the job in DXF, DWG, PDF or JPG formats, among others.
When clicking on the "Add" option, another window called "Available files" will appear. Here, a new file is added from "Add" and the type of format to be displayed is changed ("DXF-DWG files" appears by default). Select the file and accept the window. If the document consists of several pages, the "Page number" to be imported must be specified.
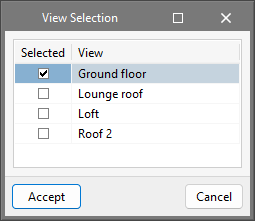
Once the templates have been imported to the job, select the tool located on the right, "DXF-DWG Templates (F4)", to proceed with the selection of views. Once the desired view has been selected, the window is accepted and it will appear in the graphic window of the current view.
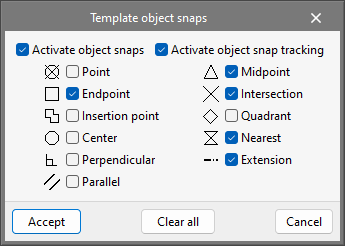
In order to snap entities or elements from the previously imported DXF or DWG file, the third tool, "Template object snaps (F3)", must be activated. From the pop-up window, the "Activate object snaps" checkbox and/or the "Activate object snap tracking" checkbox can be marked, along with the references that will be active.
Editing tools
In the "Edit" group of the main toolbar, users can find the main tools for editing the model. Some of these tools are common to other CYPE programs.

 | Edit | Selects an element in the model and edits its parametric properties. |
 | Delete | Deletes a previously entered element. |
 | Move a group of elements | Moves a group of elements. |
 | Move | Moves a single element. |
 | Rotate | Rotates a group of elements. |
| Rotate about an axis | Rotates a group of elements around an axis defined by two points. | |
| Copy | Creates a copy of an element. | |
| Copy onto another floor plan | Copies the selection onto another floor plan. | |
| Symmetry (copy) | Copies a selection of elements with symmetry about a vertical plane defined by two points. | |
| Symmetry (move) | Moves a selection of elements with symmetry about a vertical plane defined by two points. | |
| Modify height position | Modifies the height position of the selection. | |
| Reverse the direction of the sign | Reverses the direction of the selected sign. | |
| Assign selection | Assigns the selection. | |
| Measure lengths | Allows lengths to be measured by selecting two points. |
Results output
Reports
Open BIM Signs exports the reports with the references and the description of the signage entered, as well as their measurements, in different formats.
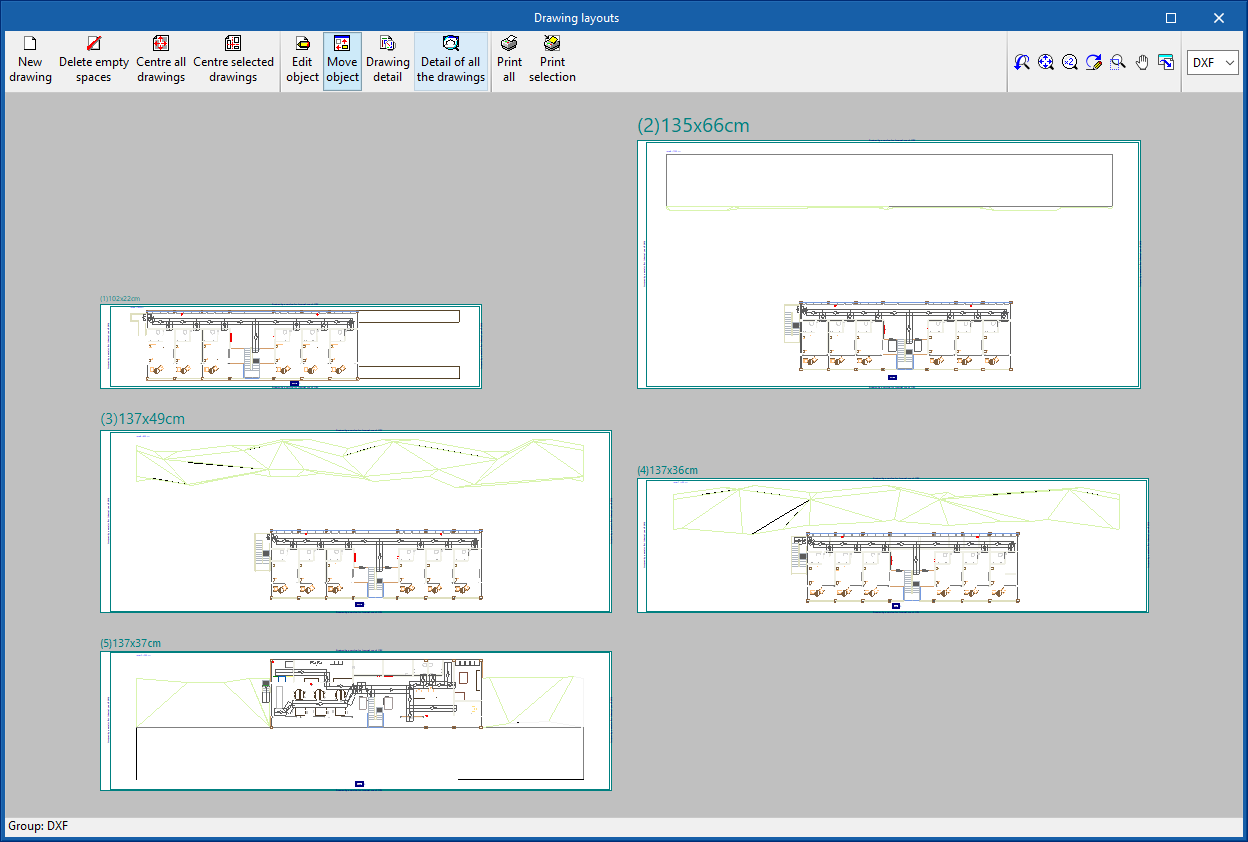
Drawings in DWG, DXF or PDF format
Floor plans can be generated with Open BIM Signs and exported in DWG, DXF or PDF format.
Integration into the BIMserver.center platform
Many of CYPE's programs are connected to the BIMserver.center platform and allow collaborative work to be carried out via the exchange of files in formats based on open standards.
Please note that, to work on BIMserver.center, users can register on the platform free of charge and create a profile.
When accessing a program connected to the platform, the program connects to a project in BIMserver.center. This way, the files of the projects that have been developed collaboratively in BIMserver.center are kept up to date.

Options available in Open BIM Signs
In the main toolbar, in the "BIMserver.center" group, users will find the main options for using the model with other BIMserver.center tools.

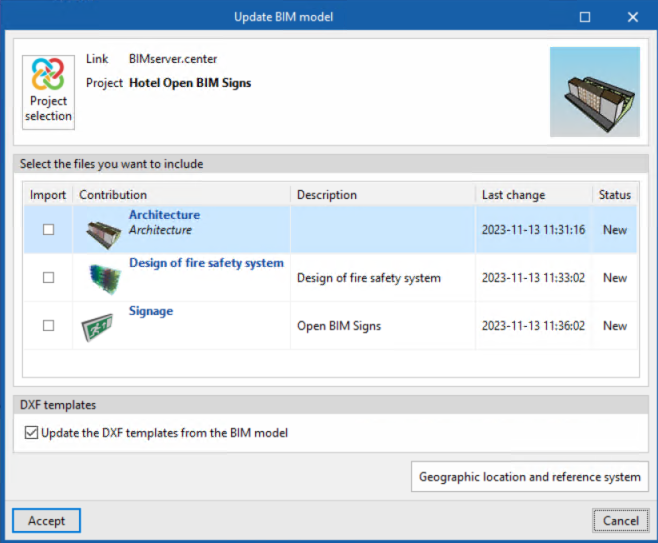
Importing and updating BIM models
The "Update" option allows users to update the information contained in the models previously imported into the project, as well as to import new models.
The import of models is carried out according to the defined configuration and users can choose how new, modified and deleted elements of the BIM model are shared.
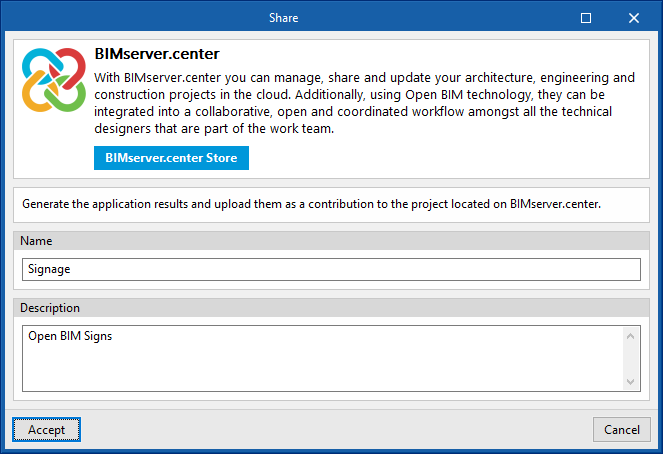
Exporting the BIM model for sharing with other users
Licenses and related modules
CYPE programs are activated via electronic licenses which may contain one or more modules. The list of modules compatible with each program may vary depending on the product purchased and the type of license.
To consult the list of modules compatible with this program, go to "CYPE program modules".
Please note that the list of modules available in the license will depend on the product purchased.
