Creating a new job, linking to a project and importing data
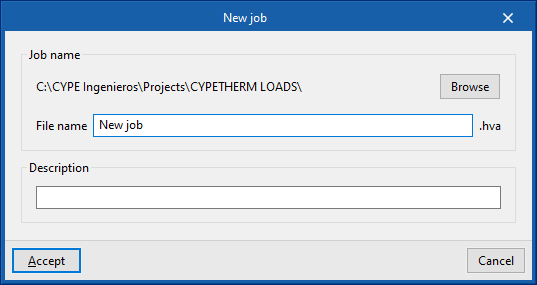
When launching the app and clicking on “New“, a “New job“ can be created. After entering the “File name“ and “Description“, the job can then be integrated into an existing project in BIMserver.center.
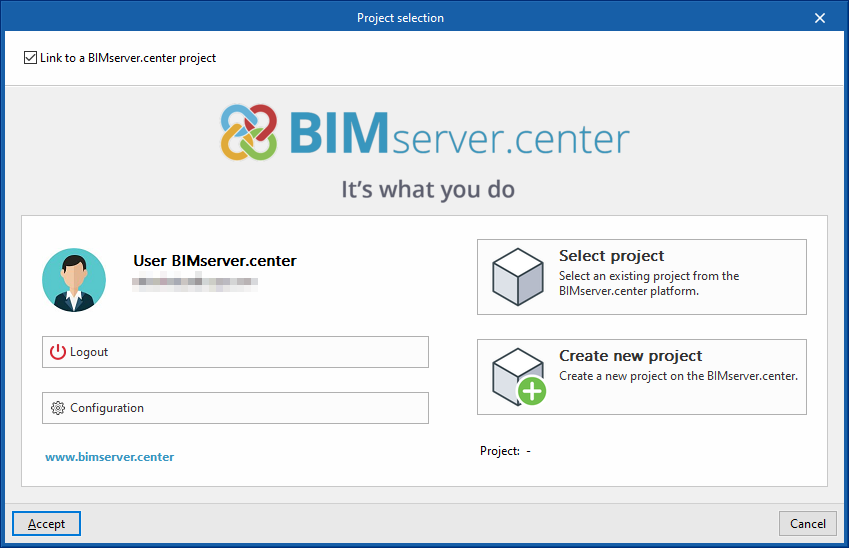
This is done in the "Project selection" window, which has the following options:
- On the left-hand side, users can log in with a BIMserver.center account.
- On the right-hand side, the "Select project" option is used to choose an existing project. There is also the possibility to "Create a new project". In this case, the created project will be visible from BIMserver.centre from that moment on.
- The project can also be starting without being linked to the BIMserver.center platform. To do this, simply uncheck the box at the top left, "Link to a BIMserver.center project".
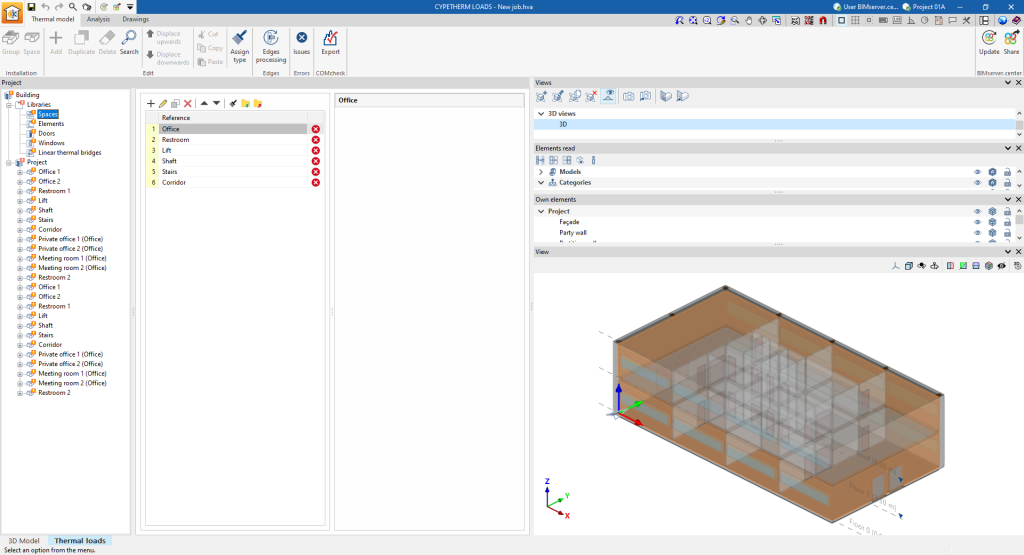
Once the new job has been created, the program interface is accessed, where the graphic window showing the model or models that have been imported stands out. At any time during the project, files can be shared or imported via the "BIMserver.center" group on the top right-hand side.
Importing BIM models
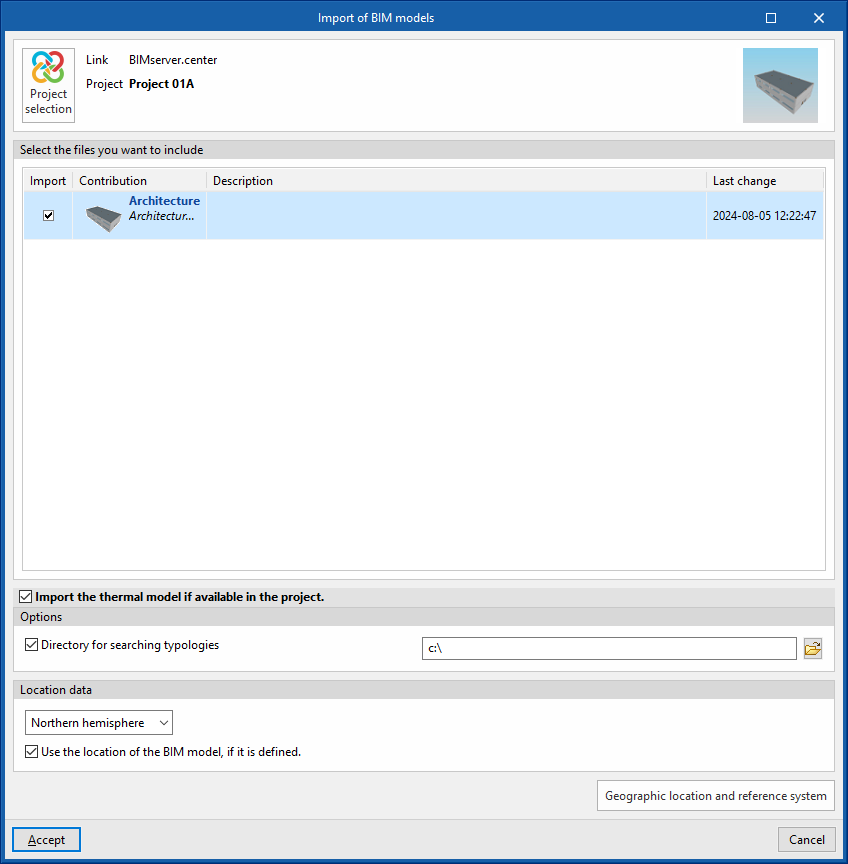
When creating a new job and selecting a project hosted on the BIMserver.center platform from "Select project", the "Import BIM models" window appears, which shows the files contained in that project in IFC format.
The program can include one or more of the existing models in the project. To do this, check the "Import" box and accept it.
The program also offers the following options in this window:
- Import the thermal model if it is available in the project (optional)
By checking this box, the program automatically generates the thermal model during the import in the tab of the same name ("Thermal model") of the "Thermal loads" tab, based on the information available in the BIM model of the project in BIMserver.center, including the architectural geometry and construction systems, if any.- Options
- Directory for searching typologies (optional)
By activating this option, users can select a directory on the disk where the typology library files are stored. This is used to import the typology libraries previously created in other jobs and exported to that directory, and automatically assign them to the spaces, elements and openings of the imported model. To do this, the references of the typologies in the selected directory must coincide with the references of the element types in the imported model.
- Directory for searching typologies (optional)
- Location data
- Northern hemisphere / Southern hemisphere
Selects the hemisphere where the project is located. - Use the location of the BIM model, if it is defined (optional)
Completes the generation of shadows on the elements of the job by collecting the information of the elements of the site (such as nearby buildings or nearby obstacles) that are defined in the BIM model.
- Northern hemisphere / Southern hemisphere
- Options
The 3D view of the program will then display the visualisation of the imported models. Furthermore, if necessary, the program will generate the thermal model and the libraries of elements from the existing data in the project or the selected directory. At this point, it will be possible to start detailing the libraries of types that have not yet been defined to continue working on the model.


