Introduction
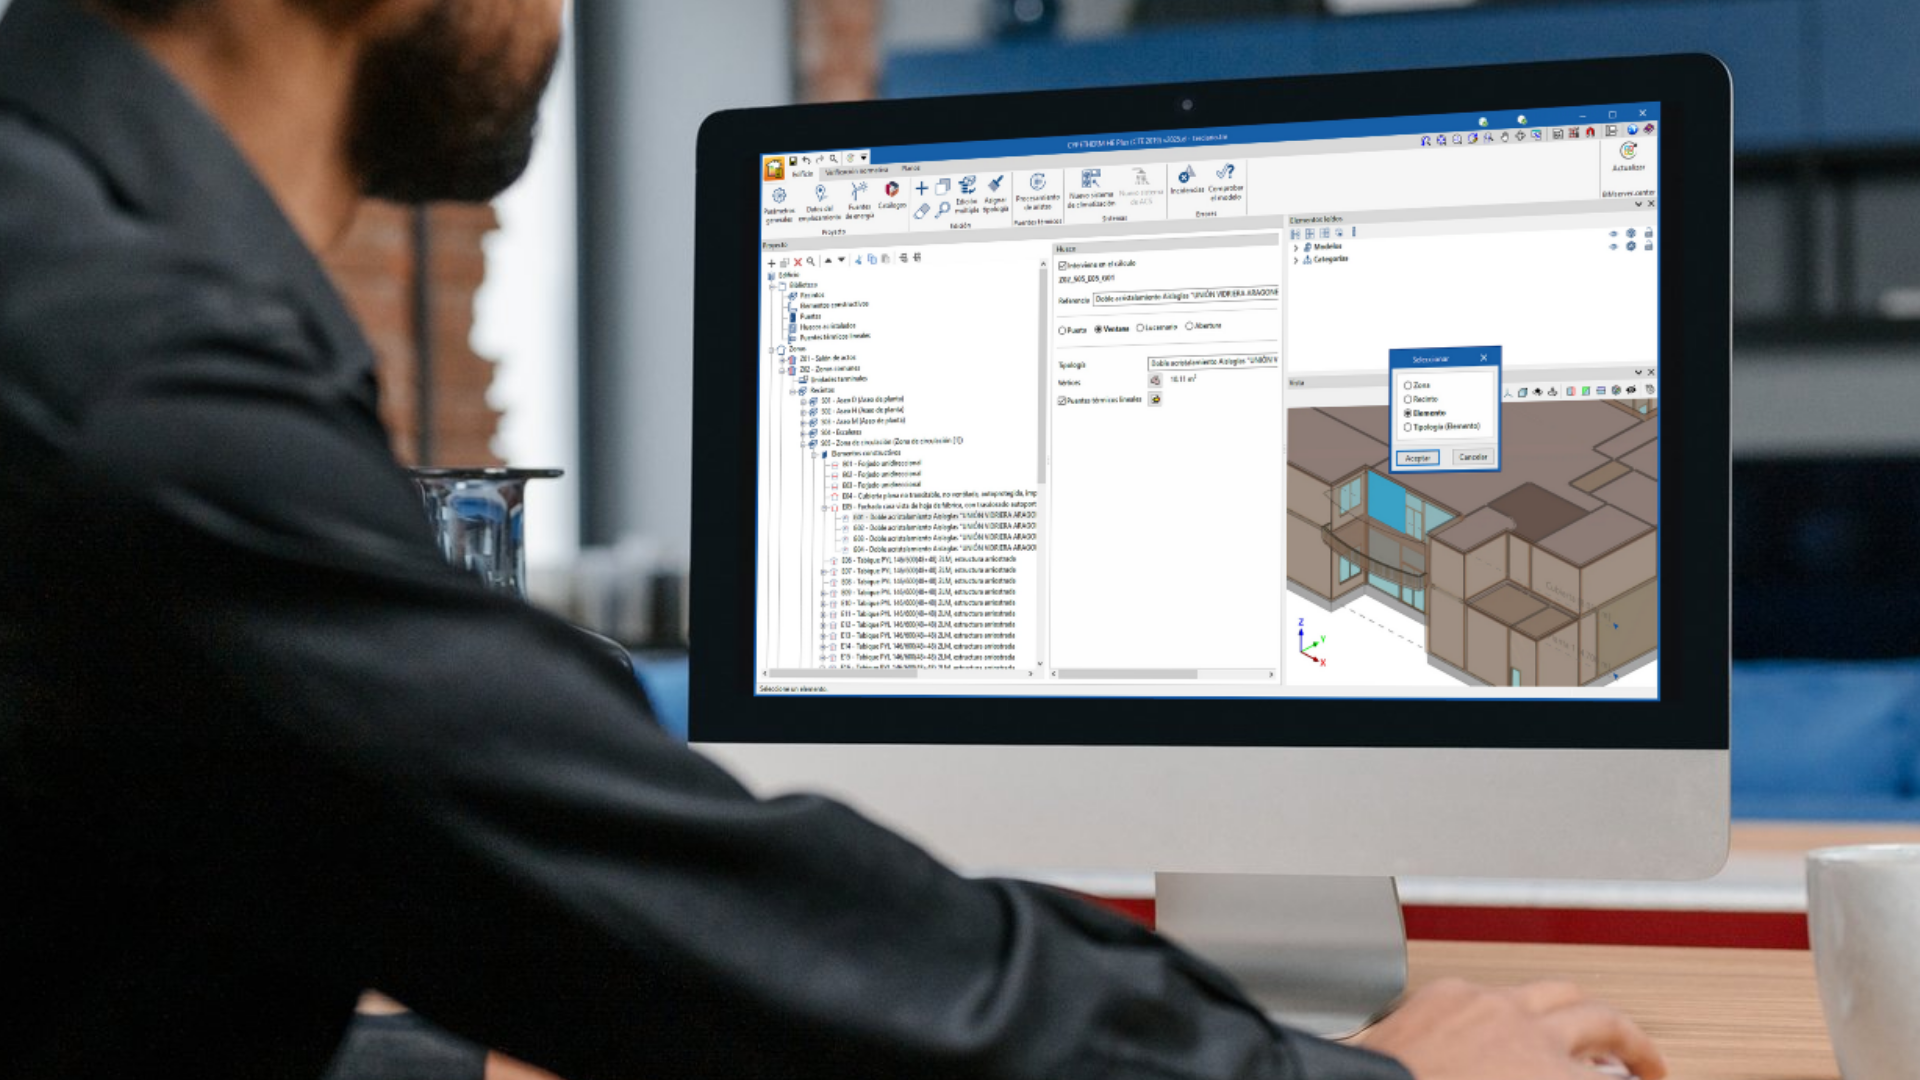
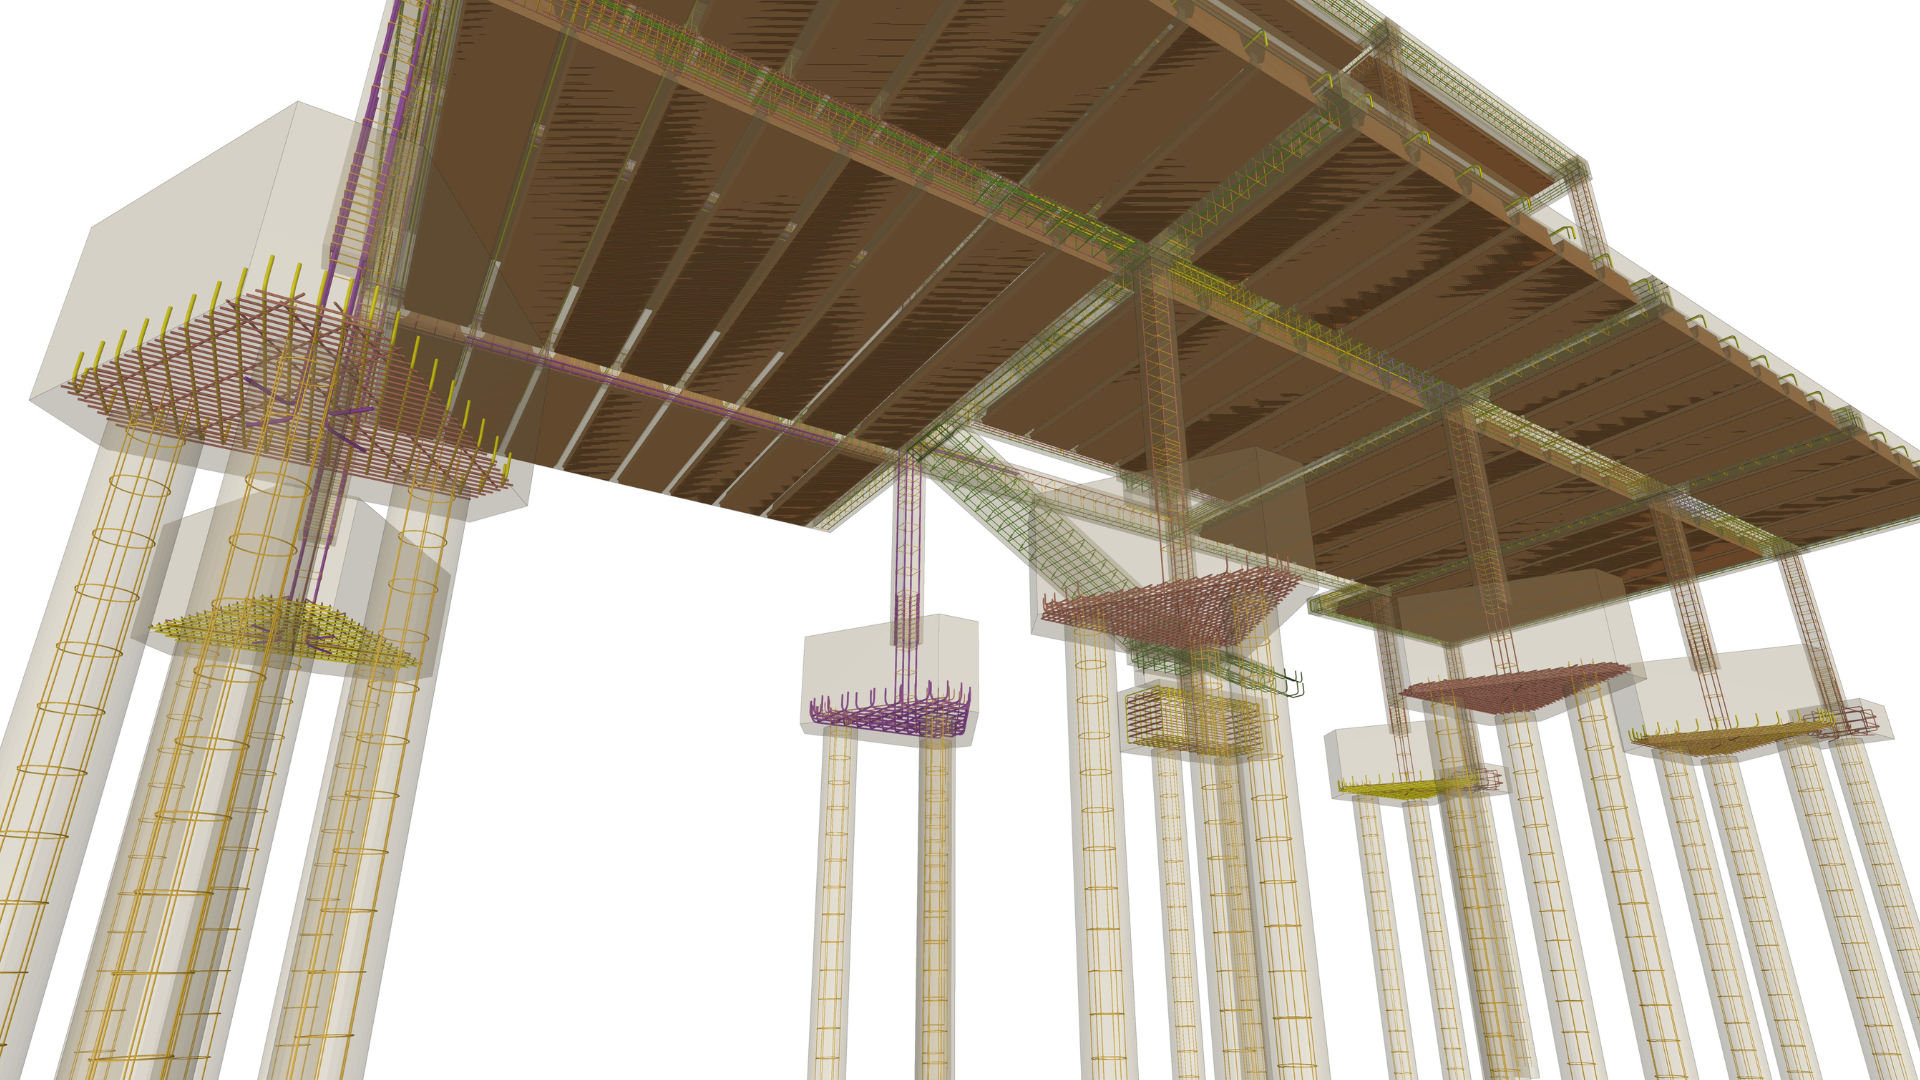
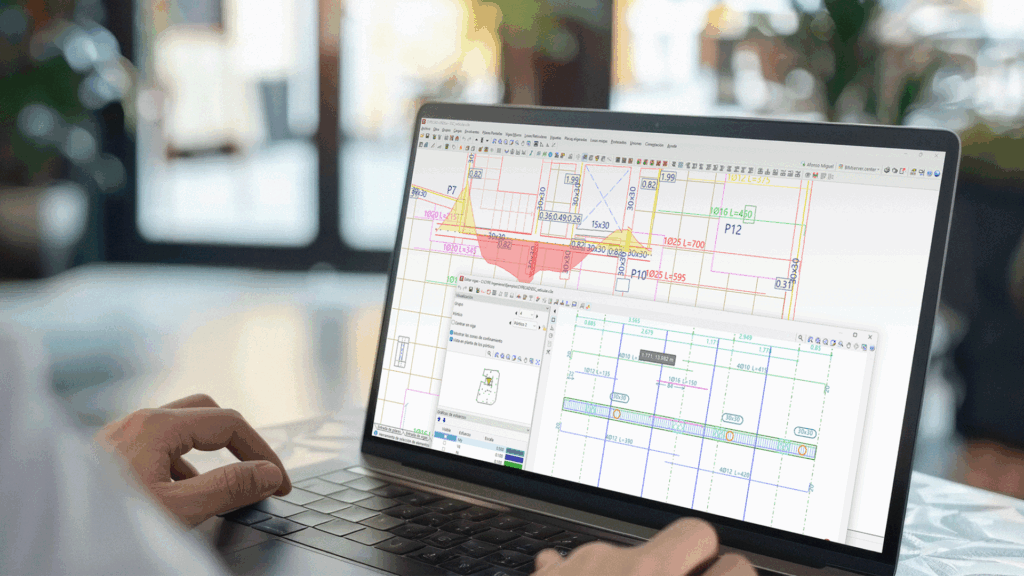
Open BIM Layout is a free software tool designed for the generation of views and the dimensioning and layout of drawings using BIM models (plan views, elevation views, section views and axonometric views).
The program is integrated into the Open BIM workflow, allowing users to import models from a project hosted on the BIMserver.center platform and become part of the collaborative, multidisciplinary and multi-user workflow provided by Open BIM technology.
Authorised BIM project participants can view the drawings generated with the program via the BIMserver.center platform. This allows users to access all the information from any device at any time.
Workflows supported by the program
As an Open BIM tool connected to the BIMserver.center platform, Open BIM Layout offers different workflow options.
- Importing models developed in CYPE Architecture.
- Importing models developed in IFC Builder.
- Importing projects developed in Autodesk Revit with the Open BIM - Revit Plugin.
- Importing other models developed in IFC with IFC Uploader.
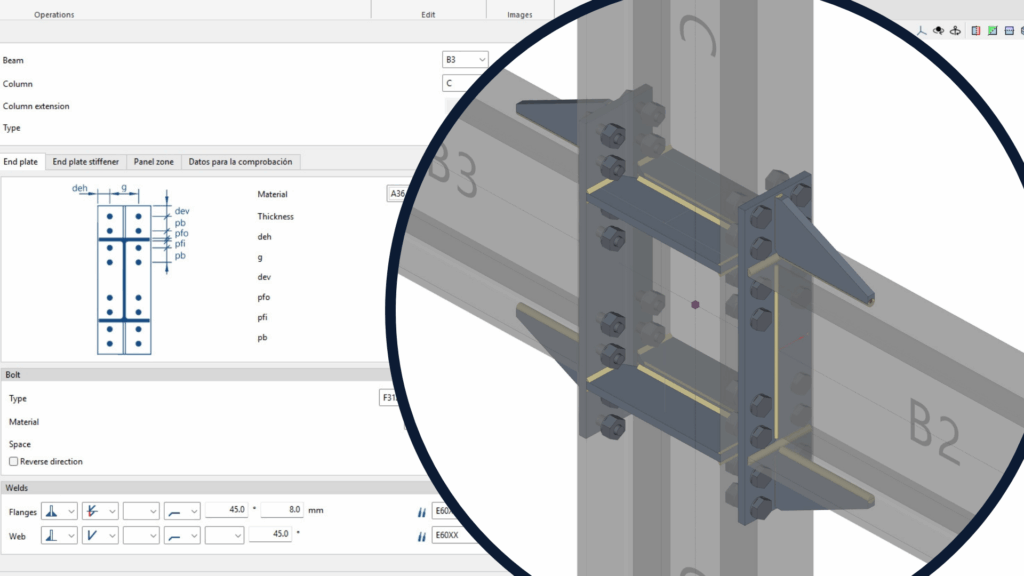
- Importing models developed with different CYPE structural modelling tools. This includes CYPECAD, CYPE 3D, CYPE Connect, StruBIM Steel, StruBIM Box Culverts, StruBIM Cantilever Walls, StruBIM Embedded Wall, StruBIM Shear Walls and StruBIM Rebar, among others.
- Importing models developed with different CYPE facility system modelling tools. This list includes CYPEPLUMBING Sanitary Systems, CYPEPLUMBING Water Systems, CYPELEC Electrical Mechanisms, CYPELEC Distribution, CYPEGAS, CYPEHVAC, CYPEHVAC Radiant Floor, CYPEHVAC Ductwork, CYPELUX, CYPEFIRE and CYPETEL Wireless, among others.
Open BIM Layout is a transversal tool that can be used by different professionals as a complementary tool to the software they normally use. Thanks to its ability to import IFC models, which can even come from programs developed by other software companies, Open BIM Layout is a tool for consolidating and managing project plans.
Work environment
Open BIM Layout's work environment is similar to the one in other CYPE modelling tools and has a system of dockable windows that can be customised to adapt the workspace to the project's needs.
The interface is divided into 3 main parts: the top toolbar, the sidebar and the work area.
The toolbar contains different features. Users can create and manage templates, edit styles, and enter, edit or sort drawing elements, among other options.
The work area can be found on the right-hand side of the screen and allows users to view the composition of each sheet.
On the left-hand side is where the main tools for managing the sheets and layers of the project can be found. In addition, from the "View on screen" section, users can select the way in which the thickness and colour of the elements are to be displayed.
Creating a new job and linking it to a project
When launching the application and clicking on "New", users are given the option of creating a "New job", which can then be integrated into an existing project in BIMserver.center.
There is also the option to "Create new project". In this case, the created project will be visible from BIMserver.center from that moment on.
Once the new job has been created, users then access the interface, in which the graphic window showing the model or models that have been imported is displayed.
Users also have the option of starting the project without being linked to the BIMserver.center platform. To do this, simply uncheck the "Link to a BIMserver.center project" box in the top left-hand corner.
Files can be shared or imported at any time while the project is in progress via the BIMserver.center tab located at the top right of every program.
Creating and managing sheets
Open BIM Layout offers several options to make it easier to manage sheets. The available actions include the possibility of creating groups, creating new sheets, copying existing sheets and deleting existing sheets.
Within the "Grid" option, users can control the visibility of the grid. The colour of the main and secondary lines can be selected, and the spacing and division of the lines can be adjusted.
Furthermore, in this same section, there is a printing option, which allows us to generate PDF, DWF or DFX versions of the sheets created.
To start working in Open BIM Layout, first of all, a new sheet must be created. To do this, select the desired standard paper size to represent the plan, assign a name to the sheet and add it to a group if necessary. If a previously created template is available, it can be loaded into the program.
The sheet will be drawn on the interface, and its size will be indicated at the top right.
Creating and managing layers
From the "Layers" section, users can organise the elements of the sheet as desired by creating, deleting or rearranging the layers.
From the "Assign to layers" icon, the objects on the layers can be changed.
The layers of imported DWG or DXF elements can also be managed by clicking on the "Layers of inserted DXF or DWG files" icon.
Next, the different layers are generated, which are essential for carrying out the work in a systematic and organised way, considering elements such as views, surfaces, dimensions, titles, doors, floors and people, among others.
In order to perform this task, click on the "Add" icon, located on the left margin of the layer management section.
Creating and managing templates
The Open BIM Layout program allows users to create or import templates for sheets, which saves drawing time as the templates can be reused in future projects. Alternatively, the provided example templates can also be used.
Create template
A template is made up of drawing elements: lines, text, images, etc.
It is created from a layer in the "Layers" panel in the sidebar.
To create a template, users must enter all the drawing elements in the same layer, click on the "Create" button, and choose the reference name of the template and the layer where the template was drawn so that it is loaded in the "Library".
Insert templates
Previously created templates stored in the Open BIM Layout project are loaded from the "Insert" option.
There are different methods for loading a template:
- Loading a template into a new sheet.
- Loading the template into an existing sheet.
- Loading a template into another project.
Please note that the templates are normally designed for a certain paper size.
Template library
From the template library, the project templates can be viewed and managed. In this section, the templates that have been created locally from the "Export the element to a file" option are saved so that they can be used later in other projects.
With the "Import the elements saved in the drive to the project" option, a template that has been saved locally is loaded.
Outlining tools
The lines, arcs, rectangles, ellipses and polygons allow users to draw boxes and symbols, among other elements, in the space of the sheet. This way, the program allows the elements required for the composition of the sheets to be drawn.
It is important to note that users must click on "Control" if they want to draw from a grid reference.
Entering and editing texts
Text
To insert texts, first select the "Text" option in the "Drawing elements" group, which will open a pop-up window with the configuration options.
In this window, you can choose the desired position, frame and style of the text. Then place the cursor where the text is to be inserted and left-click the mouse.
This opens a new window in which the desired text can be inserted. Once the text has been entered, click on the confirmation button to complete the process.
Text box
A box containing the desired text can be entered from "Text box".
Users can also choose its alignment, whether or not to use a frame, the type of corners they prefer, and adjust the margins according to their specific needs.
It is also possible to further customise the box by choosing line, fill and text formatting styles.
Substitute texts
To add variable texts, users must access the "Substitute texts" icon. This option allows keywords to be substituted by specific project data. There are two types of text substitution variables: user variables and predefined variables.
User variables
User variables allow custom variables to be created that can be reused in other sheets or projects. These variables can include the following: the name of the project, the address, the responsible architect and engineer, etc.
User variables can be saved locally to be loaded into other projects later via the "Import" button.
Predefined variables
Predefined variables are able to read data from the program to be entered as text within the sheets. These variables can include the following: the sheet reference, the sheet number, the scale factor, etc.
Predefined variables can also use information associated with tags, dimensions, scenes and views.
Entering external files
Open BIM Layout allows users to enter external files, such as images and vector drawings, to complete the project information. The program imports the following formats: DXF, DWG, DWF, JPEG, JPG, BMP, WMF, EMF and PCX.
The "Insert files" option allows users to access the "Library", where files are imported into the program, and "Insert", where the size and position of the element being inserted can be selected.
Please note that DXF and DWF formats also import layers. From the "Layers of inserted DXF or DWG files" option in the "Layers" section, the program allows you to modify the thickness and colour of the lines of the layers of these types of files.
Creating and entering user symbols
User symbols are created from the "Drawing elements" group and can be, for example, people, trees, geographic north, or boxes, among others. A user symbol can be created by means of lines, arcs, polygons, texts, tables, etc.
The "Library", "Create" and "Insert" options are available under "User symbols".
User symbols can be saved locally and can be reused in other sheets or projects via the "Library" option.
3D Scenes: Entering BIM model views
Once the sheet has been created, the next step is to enter the model to start the elaboration of the plan views.
To do this, the 3D scene library will be used, which makes it easy to create scenes that will be incorporated into the sheets.
Each scene can contain several views, and each of the elements shown in each view can be selected via the "Outline" section.
To enter a scene in the sheet, select the "Insert" button under "3D Scene" and click on the box where the new scene is to be inserted.
Once the box has been inserted, the scene and the desired view can be selected, and the scale can be adjusted. Also, several options can be chosen, such as drawing the scene in monochrome, normal, hybrid or vector image. The display quality on the screen and the print quality can also be adjusted.
This panel can be used to select another point of view and to perform rotations, among other options.
Creating sections from views
The "Section" tool is used to generate sections in a simple way from a 3D scene previously inserted in the drawing.
To do this, simply click on "Section" in the "Drawing elements" group and specify the numbering and style of the section to be created in the drop-down menu.
The precise location of the section on the already generated floor plan must then be specified. The corresponding section will be created automatically and can be edited according to the user's preferences.
Dimension
Open BIM Layout allows users to dimension the scenes of a project in order to generate all the necessary information in the drawings. There are 4 ways to dimension distances and angles: "Real distance", "Apparent distance", "Apparent distance in the local 'x' axis" and "Apparent distance in the local 'y' axis".
It is important to know that the dimensions can either measure the real distance or the apparent distance of the inserted 3D scene.
For example, if there is a 2 m long roof with a slope of 30%, the real distance will be 2 m and the apparent distance will be 1.92 m. The apparent distance is therefore the projection of the real distance on the drawing of a given view.
Distance dimensions
Perpendicular and oblique dimensions
The main difference between the two is that the oblique dimension allows users to choose the direction in which the dimension is to be drawn.
Continued dimensions
Open BIM Layout offers three types of continued dimensions:
- Relative distance.
- Accumulated distance.
- Relative and cumulative distances: this type of dimension is recommended for elevations and sections in order to achieve continued dimensions from a reference of "0.00".
Surface area dimensions
Under the "Dimension" button on the top toolbar is the "Area" option.
With this feature, users can measure surfaces in the 3D scene and their area can be displayed as text.
Angle dimensions
Using the "Angle by vertex and 2 points" option, any angle in the drawing can be dimensioned.
Tagging elements
Open BIM Layout tags allow information to be extracted from the BIM model.
When clicking on an element from the previously inserted 3D scene, the tag will automatically detect the element and extract the data associated with it.
A tag can also be created without being associated with any element and the text can be entered manually.
Results output
Once the project sheets have been assembled, they can be printed in Open BIM Layout. To do this, click on the "Print" button and select the sheets and the device through which the drawings are to be printed. In the status column, the program will notify the user if any of the elements entered are outside the print area of the sheet.
The program can print via the following devices:
- Local printer: prints files directly to the local printer or device.
- PDF printing: export files to PDF so they can be attached to the written project documents.
- Printing in CAD formats: the program allows users to print in partially vectorial DWG and DXF files.
Integration into the BIMserver.center platform
Many of CYPE's programs are connected to the BIMserver.center platform and allow collaborative work to be carried out via the exchange of files in formats based on open standards.
Please note that, to work on BIMserver.center, users can register on the platform free of charge and create a profile.
When accessing a program connected to the platform, the program connects to a project in BIMserver.center. This way, the files of the projects that have been developed collaboratively in BIMserver.center are kept up to date.
Options available in Open BIM Layout
The main toolbar contains the features needed to use Open BIM Layout together with other BIMserver.center tools.
Importing and updating BIM models
The "Update" button can be used to update the information contained in the models previously imported into the project or to import new models if desired.
The import of models is carried out according to the defined configuration and users can choose how the new, modified and deleted elements of the BIM model are shared.
Exporting the BIM model for sharing with other users
Using the "Share" button, the information contained in the model developed with Open BIM Layout can be exported to BIMserver.center.
During the export process, users can define the information related to the identification of the files to be shared.