Creating a new job
To start using the program and create a new job, follow these steps:
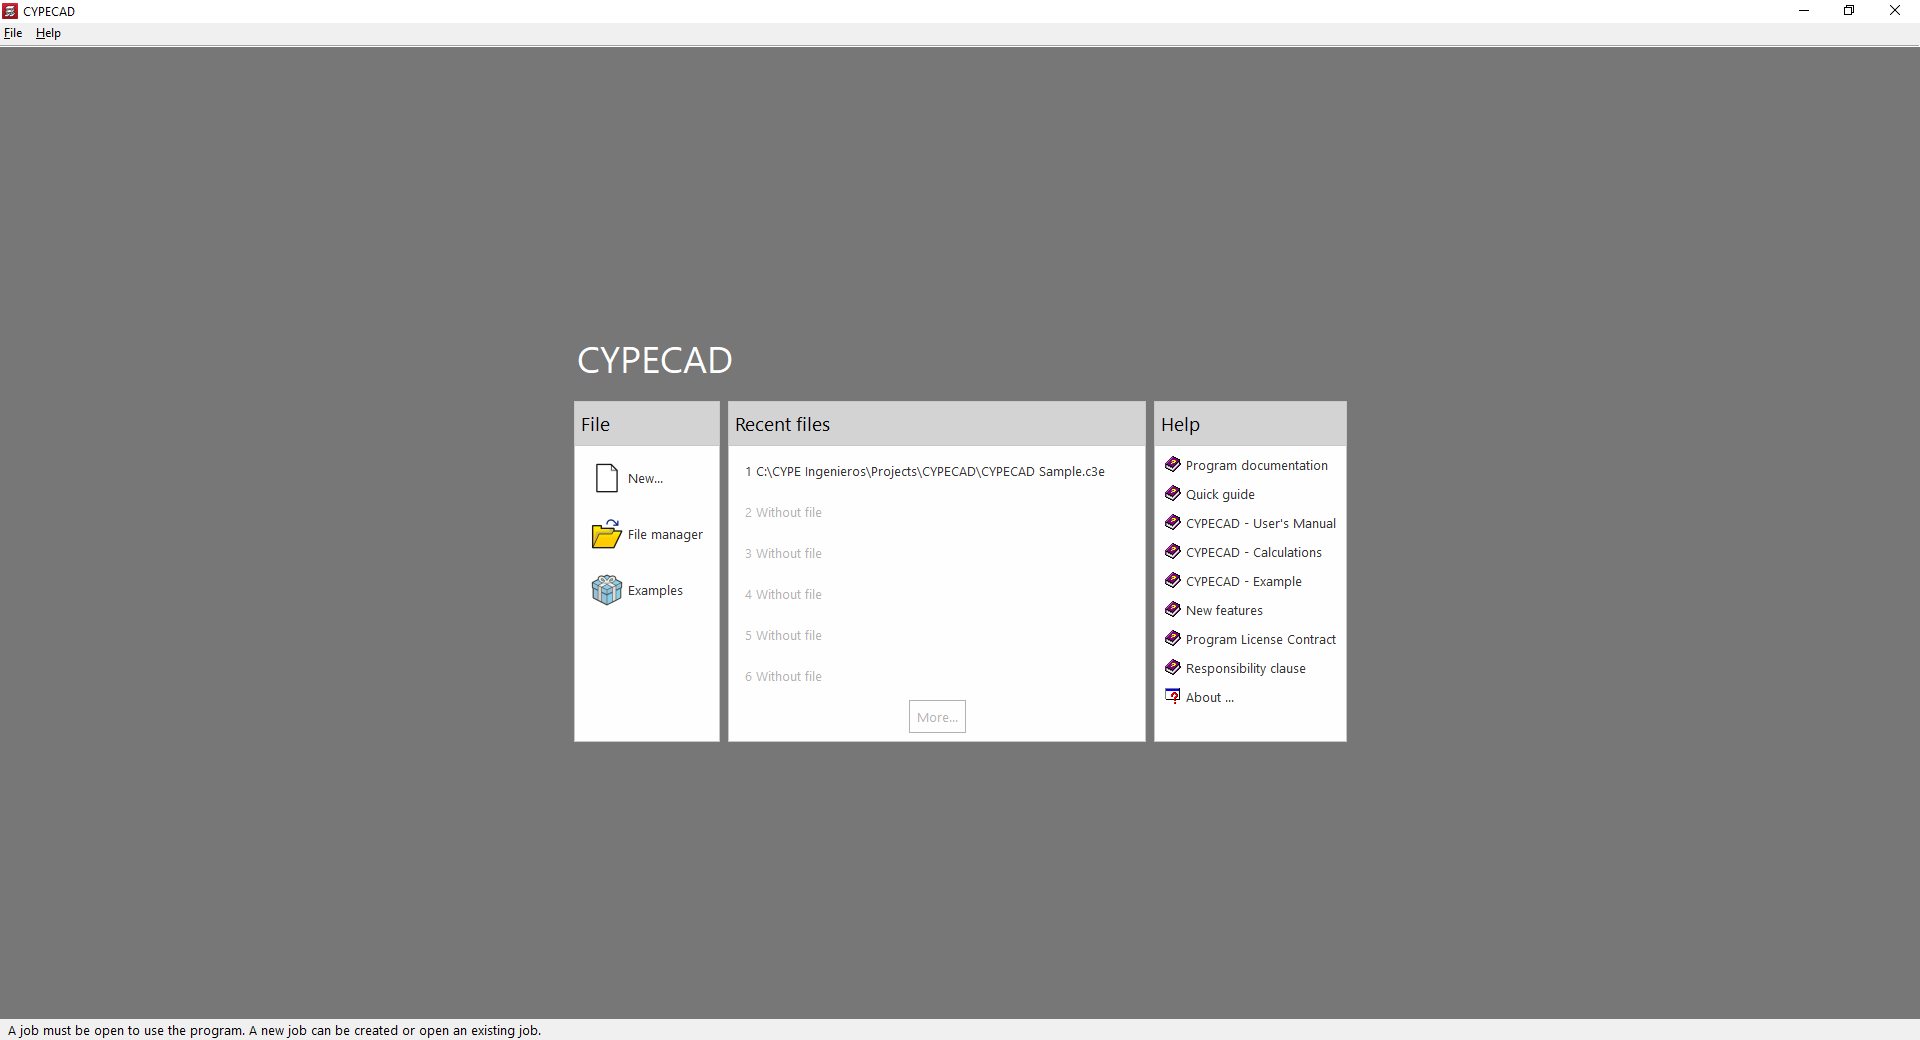
Initial interface
When the program is opened, a window is displayed with the following sections: "File", "Latest files" and "Help".
- On the left, in the "File" section, the following options can be found:
- New
Creates a new job. - File management
Accesses the program's file manager, where it is possible to search for jobs in any folder on the local disk or in the network environment, copy them, delete them, share them via web links or compress them in CYP format, among other options. - Examples
Installs and opens any of the sample jobs that are built into the program by default, overwriting the existing ones.
- New
- In the central part, the "Recent files" section shows a report with the paths of the last jobs worked with the program. Any of them can be opened by clicking on them.
- On the right, the "Help" section offers a series of informative documents and links. From "About" the version of the program and the type and number of the licence used can be found.
The options described above can be accessed at any time from the "File" and "Help" menus at the top of the interface.

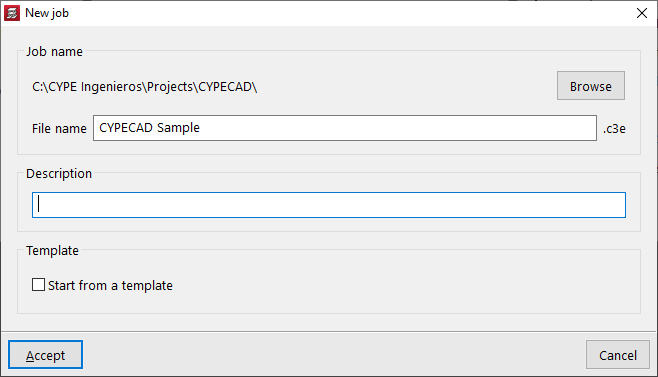
New job
To create a new job, select "New" in the initial interface.
The program opens a dialogue box where you enter the file name and description.
By default, the program hosts the files in the path shown, but this can be changed by clicking on "Browse".
As an advanced feature, the "Start from template" option allows a previously saved template to be used from an existing job. Job templates store the configuration and general data of a job so that they can be used later when creating new jobs.
| Note: |
|---|
| CYPECAD uses a multi-file system for saving the model: - The file with the .c3e extension is the main file and contains the information of the floor and column structure, but it is not the only one. A backup copy with the .c3$ extension is generated next to it. - The program also generates a folder with a .dat extension that includes the rest of the information prior to the analysis, such as the description and geometry of the beams, slabs, stairs, walls and foundation elements, as well as some results. The data for each floor is saved in .pln files stored in this folder. - After the analysis, the program will generate a series of additional folders with the information of the results of the analysis, such as the folders with extension .res and .tmp, which are necessary for obtaining drawings and for reinforcing columns, respectively. In addition, a folder with extension .c3p is generated with the configuration of the drawings generated in the job. To manually move or copy the job information to another location on the disk, users must make sure this is done by including all the files and folders mentioned above. |
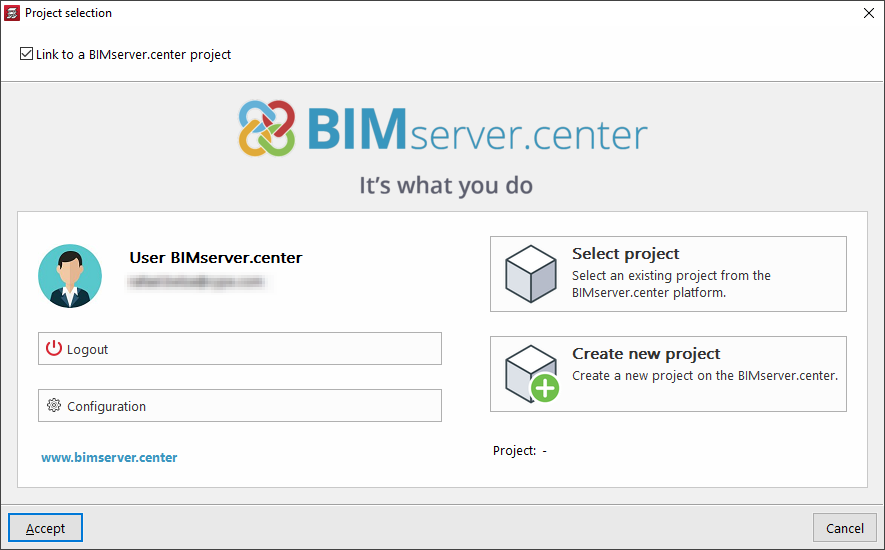
Project selection
After accepting the dialogue box for creating a new job, there is the option of integrating the job into an existing project in BIMserver.center. This is done in the "Project selection" window, which offers the following options:
- On the left-hand side, you can log in with a BIMserver.center account.
- On the right-hand side, the "Select project" option is used to choose an existing project. Another option is to select "Create a new project". In this case, the created project will be visible from BIMserver.center from that moment on.
- There is the option to start the project without being linked to the BIMserver.center platform. To do this, simply uncheck the "Link to a BIMserver.center project" box at the top left.
| Note: |
|---|
| Linking to a BIMserver.center project results in the automatic import of data from the BIM models contained in the project. |
Empty job/automatic entry
After accepting the project selection window, users are taken to a new window where they can decide whether they want to start with an empty job or import information from other programs:
- The "Empty job" option is used to create a new job in which all the data for floors, groups, columns, beams, slabs and other elements must be entered manually.
- The other options allow the import of information from other programs and in other formats:
- Importing a job from CYPE 3D
Imports a structure developed in CYPE 3D as an integrated 3D structure. From CYPECAD, it is possible to analyse the foundation or complete the structure with other added elements. - Automatic DXF/DWG entry
Imports a .dxf or .dwg file, as well as the automatic generation of columns and beams from their contours. - Automatic IFC entry
Imports an .ifc file, as well as the automatic generation of floors, columns, beams, floor openings, roofs, footings, centring beams and building elements, based on the data contained in the file. - Example of automatic DXF/DWG entry
Gives an example showing the steps of the wizard for automatic data entry from .dxf or .dwg files. - Example of automatic IFC entry
Gives an example showing the steps of the wizard for automatic data entry from .ifc files.
- Importing a job from CYPE 3D
| More information: |
|---|
| CYPECAD can save templates with the configuration and general data of a job for later use in the creation of new jobs. This link provides a detailed explanation. Detailed information on how to enter the structure in CYPECAD can also be found at this link. |
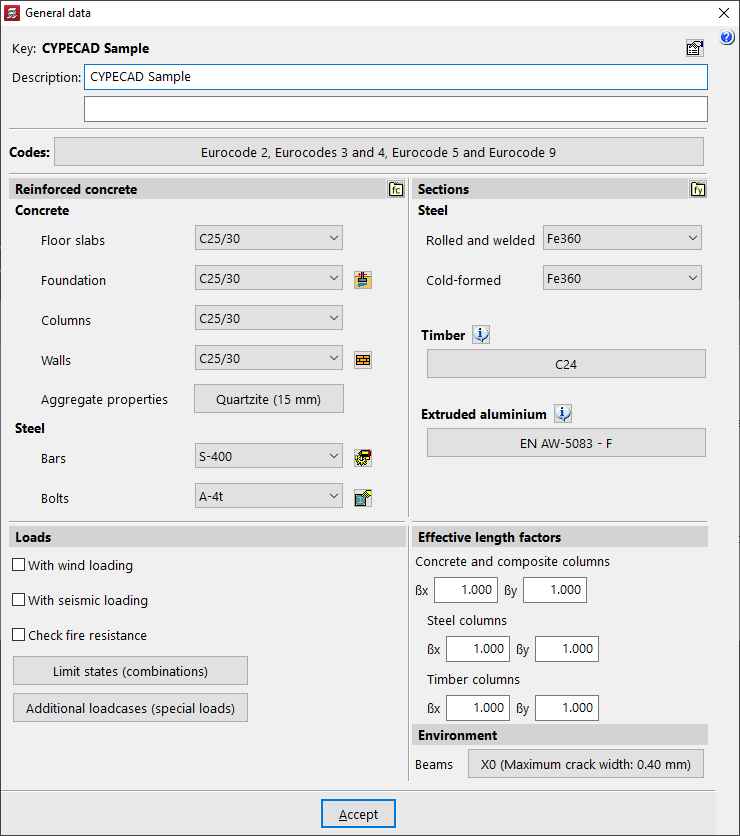
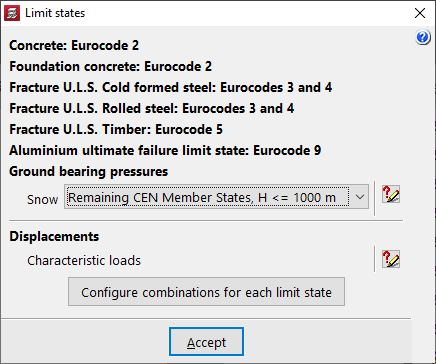
General data and limit states
After accepting the previous window, the panels for defining the "General data" of the job and the "Limit states" are opened, where they are configured:
- Standards to be used
- Selecting materials
- Design options and reinforcement tables
- Defining loads:
Permanent loads, live load, wind, earthquake, fire resistance check, additional loadcases. - Buckling coefficients of columns
- Environment for beams and pile caps
| More information: |
|---|
| In CYPE, users have total control of all the general data that will condition the analysis and dimensioning. The available options are detailed in this link. |
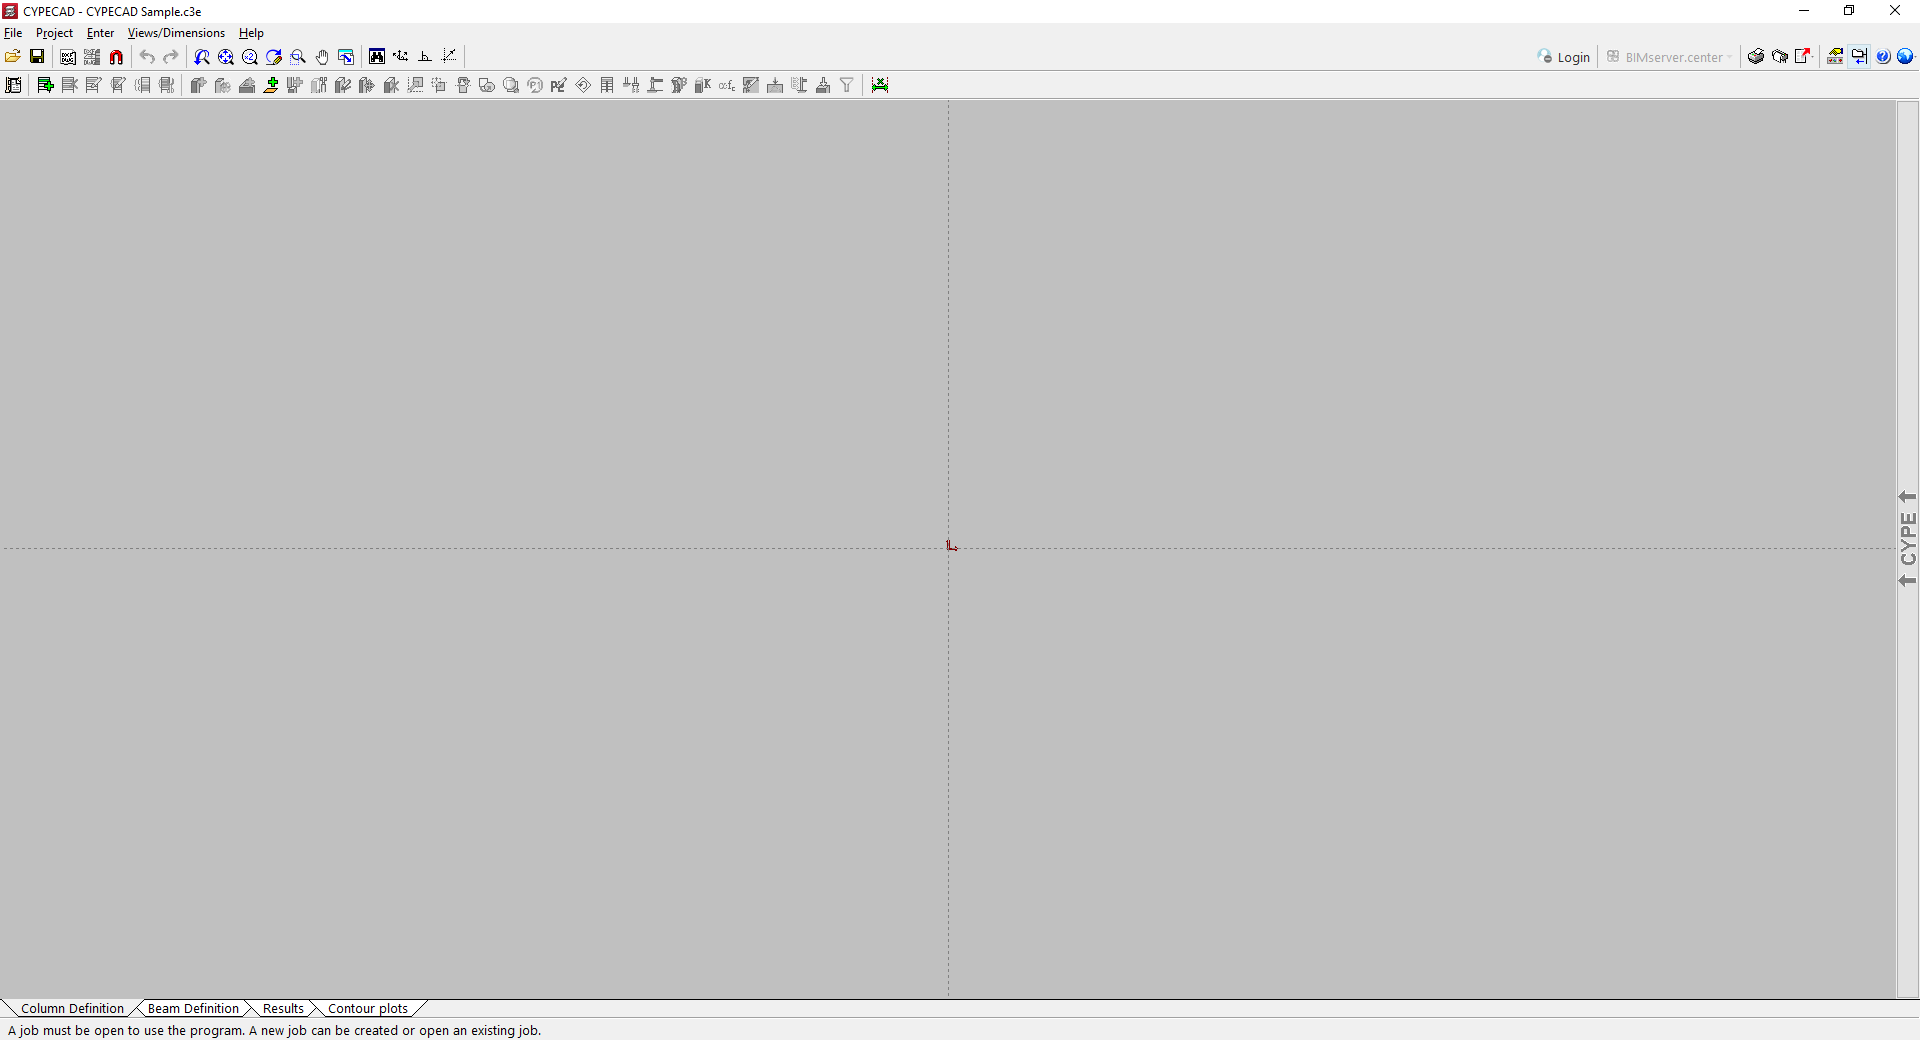
Entering the program's general interface
Finally, after both windows have been configured and accepted, the program opens the general interface via the "Column definition" tab, where model data can start being entered.