

Introduction
When the "Thermal loads" project type is selected, the CYPETHERM program calculates the thermal load of buildings using the Radiant Time Series Method (RTSM), as proposed by ASHRAE.
The app lets you import the necessary data extracted from other Open BIM tools, meaning that architectural and structural models can be used as a basis for calculating thermal loads. Alternatively, you can enter this information from scratch in CYPETHERM.
The calculation produces heating and cooling load reports for the spaces and groups of spaces defined in the project. This information can be exported for use in other programs, for example, for the design of HVAC systems.
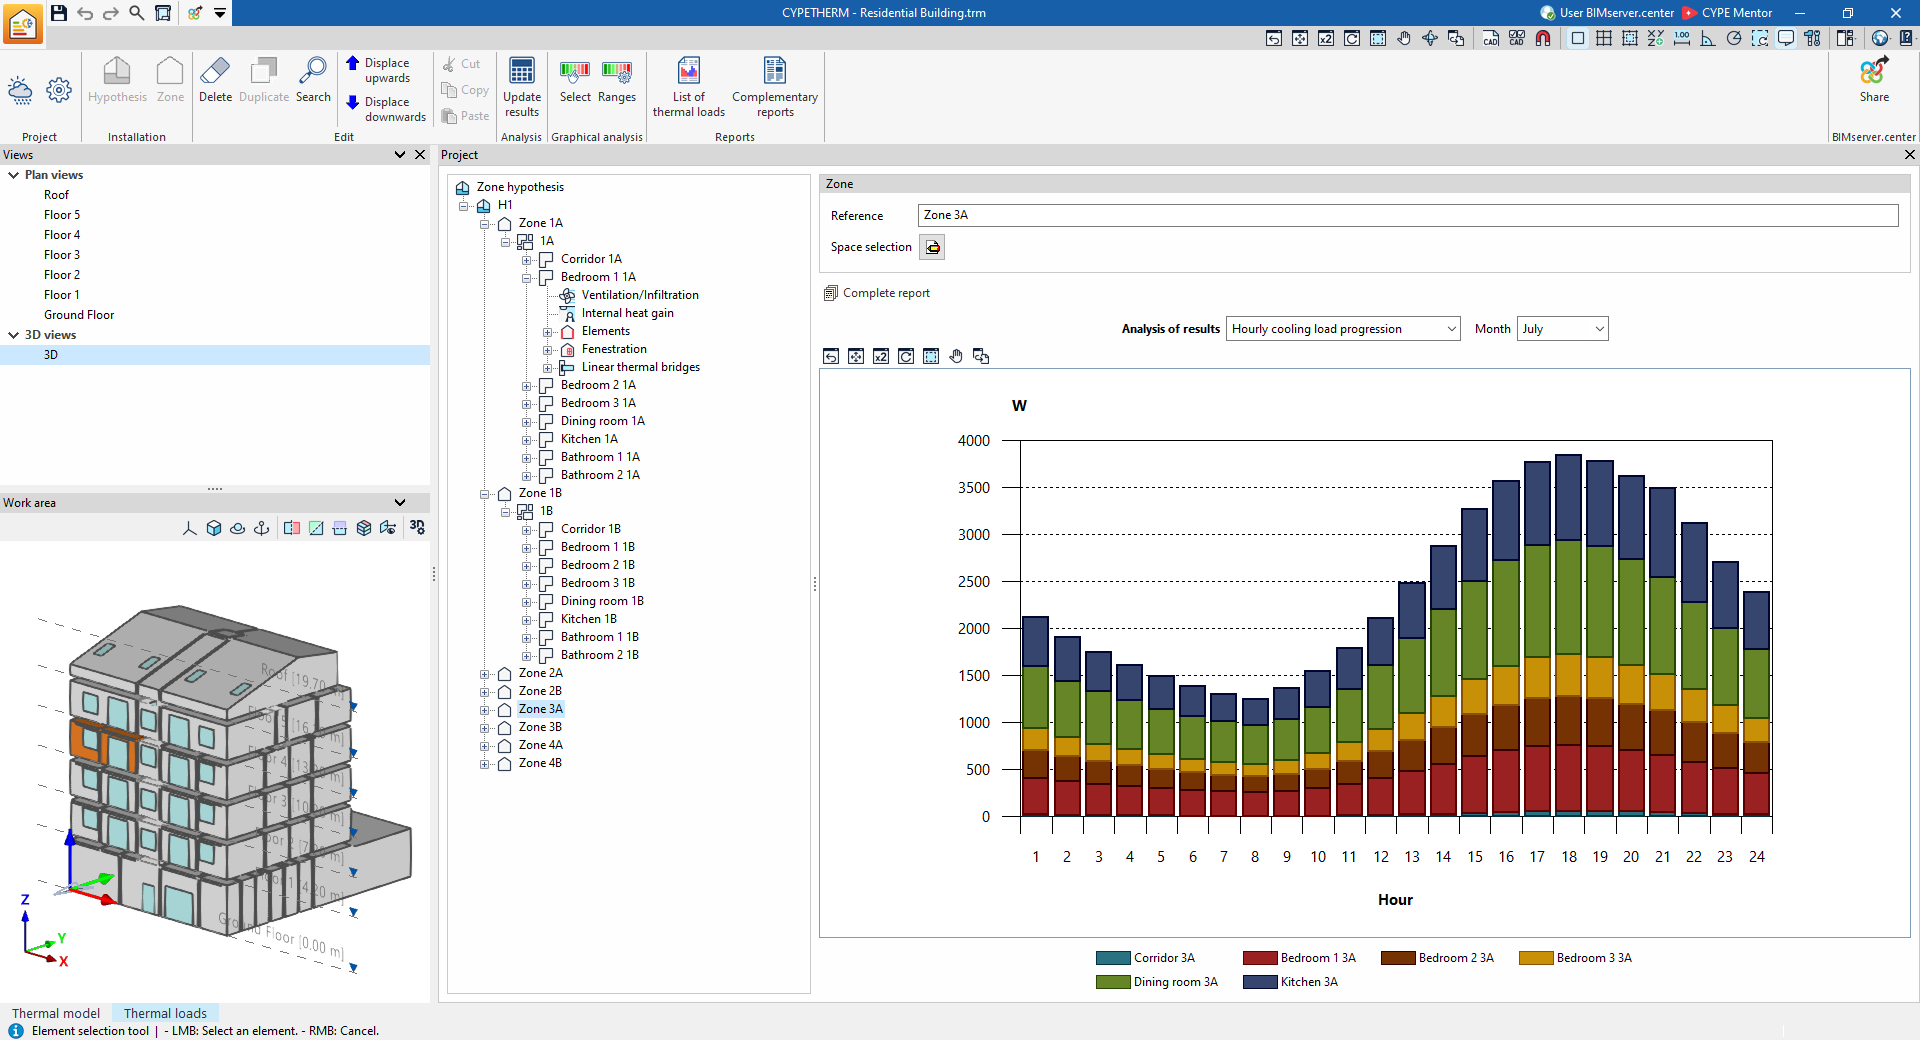
Workflows supported by the program in a "Thermal loads" project
When selecting the "Thermal loads" project type, CYPETHERM offers the following workflow options.
Data entry
Free-form modelling/modelling using templates
- You can draw the building's geometric and structural model, as well as neighbouring buildings and other obstacles, directly from scratch in CYPETHERM by entering them freely in the "3D Model" tab.
- Modelling in the "3D Model" tab of CYPETHERM can be carried out using DXF-DWG or DWF templates, or images (.jpeg, .jpg, .bmp, .wmf).
Importing IFC or DXF/DWG files and generating the 3D model
- If you have an IFC file containing the building’s geometry, you can import it into the "3D Model" tab in CYPETHERM using the "Import CAD/BIM" and "Import IFC models" options and, using a wizard, automatically generate the geometry for the following model elements: walls, floor slabs, roofs, windows, doors and skylights.
- If DXF or DWG files are available, these can also be imported into the "3D Model" tab in CYPETHERM using the "Import CAD/BIM" option, "Automatic generation from DXF/DWG files". Using a wizard, the geometry of the building’s walls and partitions, floor slabs, doors and windows is generated automatically.
You can then make the necessary adjustments in the "3D Model" tab to complete it.
Once the building geometry has been created or imported and adjusted in the "3D Model" tab, the program lets you generate the thermal model using the relevant option, thereby taking you to the "Thermal model" tab.
Importing BIM models from BIMserver.center and generating the thermal model
If you link the CYPETHERM model to a BIM project on the BIMserver.center platform, you can carry out the following actions:
- Importing the model containing a building’s geometry. This generates the geometric information for the thermal model. The available options include the following:
- If the model has been designed in CYPE Architecture and shared on BIMserver.center, once it has been processed by Open BIM Analytical Model, the analytical model generated by this program can be imported and shared once again on BIMserver.center.
- If the model has been designed in IFC Builder and shared on BIMserver.center, the geometric data can be imported without needing to use any intermediate software.
- If the model has been designed in Autodesk Revit, the model data must be shared with BIMserver.center using the Open BIM – Revit plug-in. Once the model has been processed by Open BIM Analytical Model, the analytical model generated by this program can be imported and shared once again on BIMserver.center.
- If the model has been designed using CAD/BIM software such as Allplan, ArchiCAD or other programs capable of generating an IFC file, this file must be uploaded to the BIMserver.center project via the web platform’s tools. After processing through Open BIM Analytical Model, the analytical model generated by this program can be imported and shared once again on BIMserver.center.
- Importing the model containing a building’s construction system. This enables the generation of information relating to the structural elements of the thermal model. The available options include the following:
- Importing construction systems designed in CYPE Construction Systems. Using CYPE Construction Systems is useful if you have used CYPE Architecture, Revit or other CAD/BIM software to create the geometric model, or if you have used IFC Builder without entering the information relating to the construction systems.
- Importing construction systems designed in IFC Builder.
- Importing construction systems designed in CYPECAD MEP.
- Importing the site model. This lets you incorporate information relating to site features, such as nearby buildings or other obstacles, which will affect the automatic analysis of shadows cast on the elements of the CYPETHERM model. The available options include the following:
- Calculating shadows based on the buildings entered into the model designed in Open BIM Site and shared on BIMserver.center. After processing through Open BIM Analytical Model, the analytical model generated by this program can be imported and shared once again on BIMserver.center.
- Calculating shadows based on nearby buildings and other obstacles in the model designed in IFC Builder.
- Calculating shadows based on nearby buildings and other obstacles in the model designed in CYPECAD MEP.
- Importing the model with the building’s lighting analysis. This allows the installed lighting power data for the spaces to be incorporated. The available options include the following:
- Importing the installed lighting power for the spaces in models developed in CYPELUX.
If you import a model from BIMserver.center, there is no need to go via the "3D Model" tab in CYPETHERM: you will start working in this program directly in the "Thermal model" tab.
Data output
CYPETHERM includes the following data output options:
- Exporting reports to HTML, DOCX, PDF, RTF and TXT formats.
- Exporting drawings to DXF, DWG and PDF formats.
- Exporting data generated by CYPETHERM to the BIMserver.center platform using IFC formats. The thermal load data generated by CYPETHERM can be used by the following programs:
- CYPEHVAC
Designing and analysing hydronic, refrigerant-based and ducted air conditioning systems. - CYPEHVAC Radiant Floor
Designing and analysing radiant floor heating systems.
- CYPEHVAC
Analysis methodology and standards
The program incorporates the following analysis methodology and regulations:
- Calculation in accordance with ANSI/ASHRAE/ACCA Standard 183-2007 (RA 2011), "Peak Cooling and Heating Load Calculations in Buildings Except Low-Rise Residential Buildings", which sets out the minimum requirements that any method or procedure used to calculate peak cooling and heating loads must meet.
- Calculation of cooling loads using the ASHRAE radiant time-series method.
- Heating loads in accordance with ASHRAE or EN 12831.
- ISO 6946. Building components and building elements — Thermal resistance and thermal transmittance — Calculation methods
- ISO 13370. Thermal performance of buildings — Heat transfer via the ground — Calculation methods
- ISO 14683. Thermal bridges in building construction — Linear thermal transmittance — Simplified methods and default values.
- ISO 10456. Building materials and products — Hygrothermal properties
- Automatic detection of shadows in the analysis model (based on the 3D model or BIM models).
- Automatic edge detection (from a 3D model or BIM models).
- Edge management for buildings derived from BIM models, enabling the generation of thermal bridges with their corresponding transmittances (in accordance with ISO 14683) based on the detected edges, depending on the construction solutions adopted and the description of the building from a thermal analysis perspective (zoning, description of spaces, etc.), with the option of calculation by numerical analysis in accordance with ISO 10211.
| Note: |
|---|
| Please follow the link below to find out about the standards implemented in CYPE software. |
Radiant time series method
The Radiant Time Series Method (RTSM), proposed and recommended by the American Society of Heating, Refrigerating and Air-Conditioning Engineers (ASHRAE) for analysing cooling loads and detailed in its 2010 "Load Calculation Applications Manual", is the most widely used method for estimating thermal loads.
As this is an analysis method that breaks down the contributions of each factor, it makes it easier for the project designer to analyse and understand the results; this, combined with its accuracy, speed and low computational demands, makes it the ideal method for improving the building’s design quickly and intuitively.

Data input and output sequence for calculating a building’s thermal loads
The calculation of a building’s thermal loads can be carried out in the program using the following data input and output sequence:
- Create a new project (from "File", "New") and select the "Thermal loads" project type.
- (Optional) Link to BIMserver.center. The building’s geometry, construction systems and site layout can be imported from the BIM model.
- (Optional) If not imported from the BIM model, define the building’s geometry, neighbouring buildings and other obstacles in the "3D Model" tab (the "Project", "Floors/Groups", "Building elements" and "Spaces"). At this stage, you can also define construction systems (the "Project" group, "Construction systems") and groups of spaces (the "Groups of spaces" group). The thermal model is then generated (the "Generate" tab, "Geometric model").
- On the "Thermal model" tab, under the "Building" section, complete the definition of the thermal model:
- Define the characteristics of spaces via the management of their libraries (the "Project" panel, the "Project" side panel, "Libraries", "Spaces").
- (Optional) If construction systems have not been imported or defined previously, define the characteristics of the construction elements via the libraries management function (the "Project" section, "Project" side panel, "Libraries", "Elements"/"Doors"/"Glazed openings").
- "Edge processing" option for generating linear thermal bridges.
- On the "Thermal loads" tab, enter the following data required for the analysis, perform the analysis and view the results:
- Configure the site data (the "Project" group, "Site data"): import data and enter it manually.
- Adjust the analysis options (the "Project" group, "Analysis options").
- Define the zone hypothesis and the zones included in each hypothesis (the "Installation" group, the "Hypothesis" and "Zone" options).
- Calculate the building’s thermal loads (the "Calculation" group, "Update results").
- (Optional) View reports and graphs showing analysis results in the project tree, at the hypothesis, zone, site and element levels (sidebar in the "Project" panel).
- (Optional) View the results on screen using a graphical analysis (the "Graphical analysis" section).
- Obtain reports (using the options in the "Reports" group and, in the "Project" panel tree, the "Complete report" option at the hypothesis or zone levels).
- Generate and obtain drawings (the "Thermal model" tab, the "Drawings" sub-tab).
- Export to BIMserver.center (the "Thermal loads" tab, the "BIMserver.center" group, "Share").
Creating a new structure, linking it to a project and importing data into a "Thermal loads" project
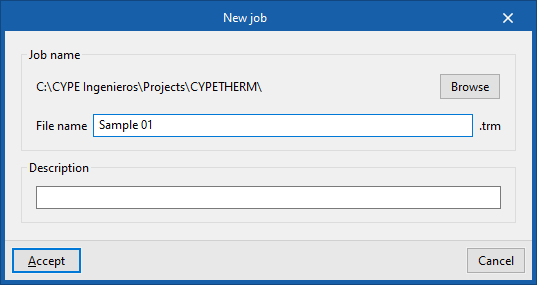
When you launch the app and click on "New", you create a "New project". In the pop-up window, you are prompted to enter the "File name" and its "Description".
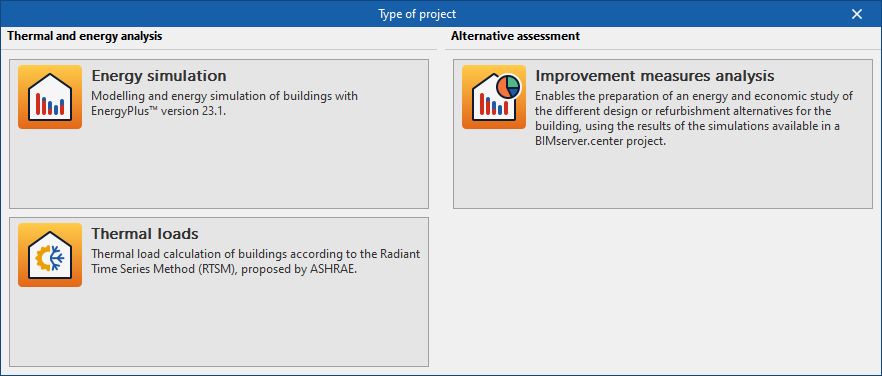
Next, specify the "Project type".
Select the "Thermal loads" option to access the specific interface for calculating the building’s thermal loads.
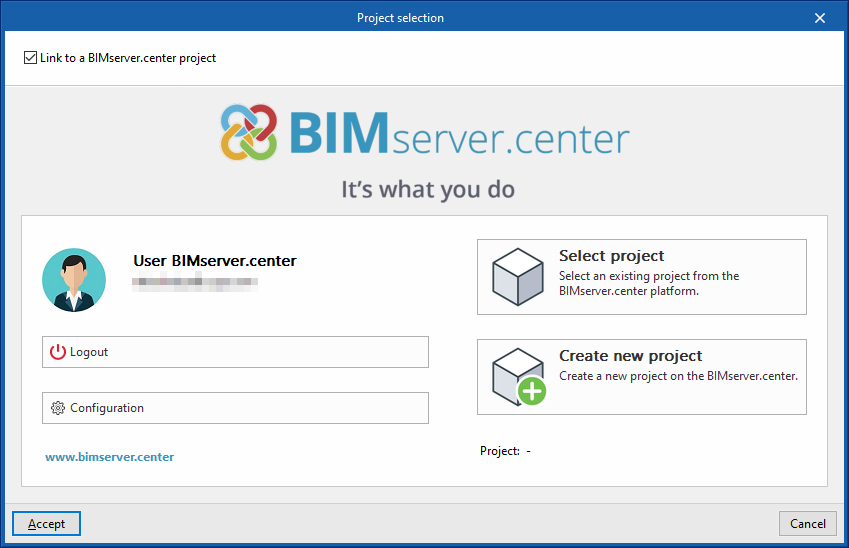
At a later stage, the project can be linked to a BIMserver.center project.
This is done in the "Project selection" window, which offers the following options:
- On the left-hand side, you can sign in using a BIMserver.center account.
- On the right-hand side, you will find the "Select project" option to choose an existing project. You also have the option to "Create a new project". In that case, the project you create will be visible on BIMserver.center from that moment onwards.
Once the new project has been created, you are taken to the program’s main interface. At any stage of the work, you can share or import project files via the "BIMserver.center" group, located in the top right-hand corner of the main interface on the relevant tab.
Importing BIM models
When creating a new project, after selecting or creating a project hosted on the BIMserver.center platform, the "Import BIM models" window appears, displaying the files contained in that project in IFC format.
The app lets you include one or more of the existing models in that project. To do this, tick the "Import" box and confirm.
At the bottom of the import window, the "Building thermal model" section is displayed, with the following options:
- Creation of the 3D model
If this option is selected, the program will enable the "3D Model" tab, from which you can design the building’s geometry. - Import the thermal model from the project
If this option is selected, the program will import the building geometry from the information contained in the models included in the BIMserver.center project and will not enable the "3D Model" tab.
In the latter case, the program offers the following option:
- Directory for searching by type (optional)
When this option is enabled, you can select a directory on the hard drive where the type library files are stored. This lets you import type libraries previously created in other projects and exported to that directory, and automatically assign them to the spaces, elements and openings in the imported model. To do this, the type references in the selected directory must match the element type references in the imported model.
In addition, the following parameters must be configured:
- Location details:
- Northern Hemisphere / Southern Hemisphere
Select the hemisphere in which the project is located. - Use the BIM model’s site, if defined (optional)
This enables the generation of shadows on the project’s elements by incorporating information on site elements (such as neighbouring buildings or nearby obstacles) that are defined in the BIM model.
- Northern Hemisphere / Southern Hemisphere
| Note: |
|---|
| If you have started the workflow in CYPE Architecture or in programs such as Revit and other modelling programs, either by sharing the model via the Open BIM – Revit plug-in or by uploading the IFC file directly to the BIMserver.center platform, the model to be imported must be the one provided by Open BIM Analytical Model. |
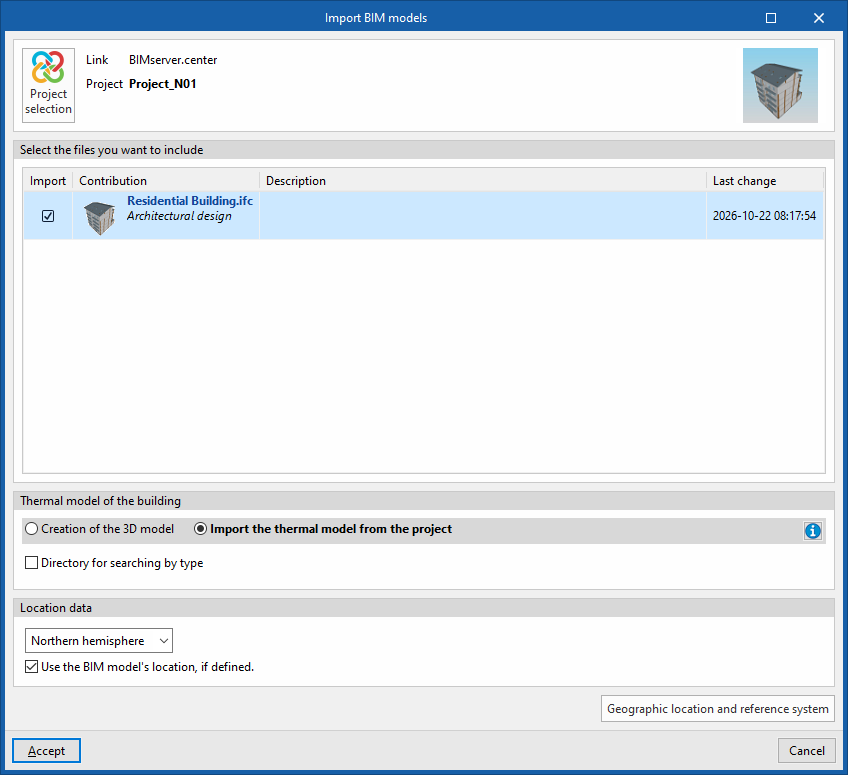
Final import settings
Finally, the program will open on the "Building" tab and will have generated the model geometry and element libraries based on the data in the project or in the selected directory.
At this stage, you can enter the information required to continue working on the model.
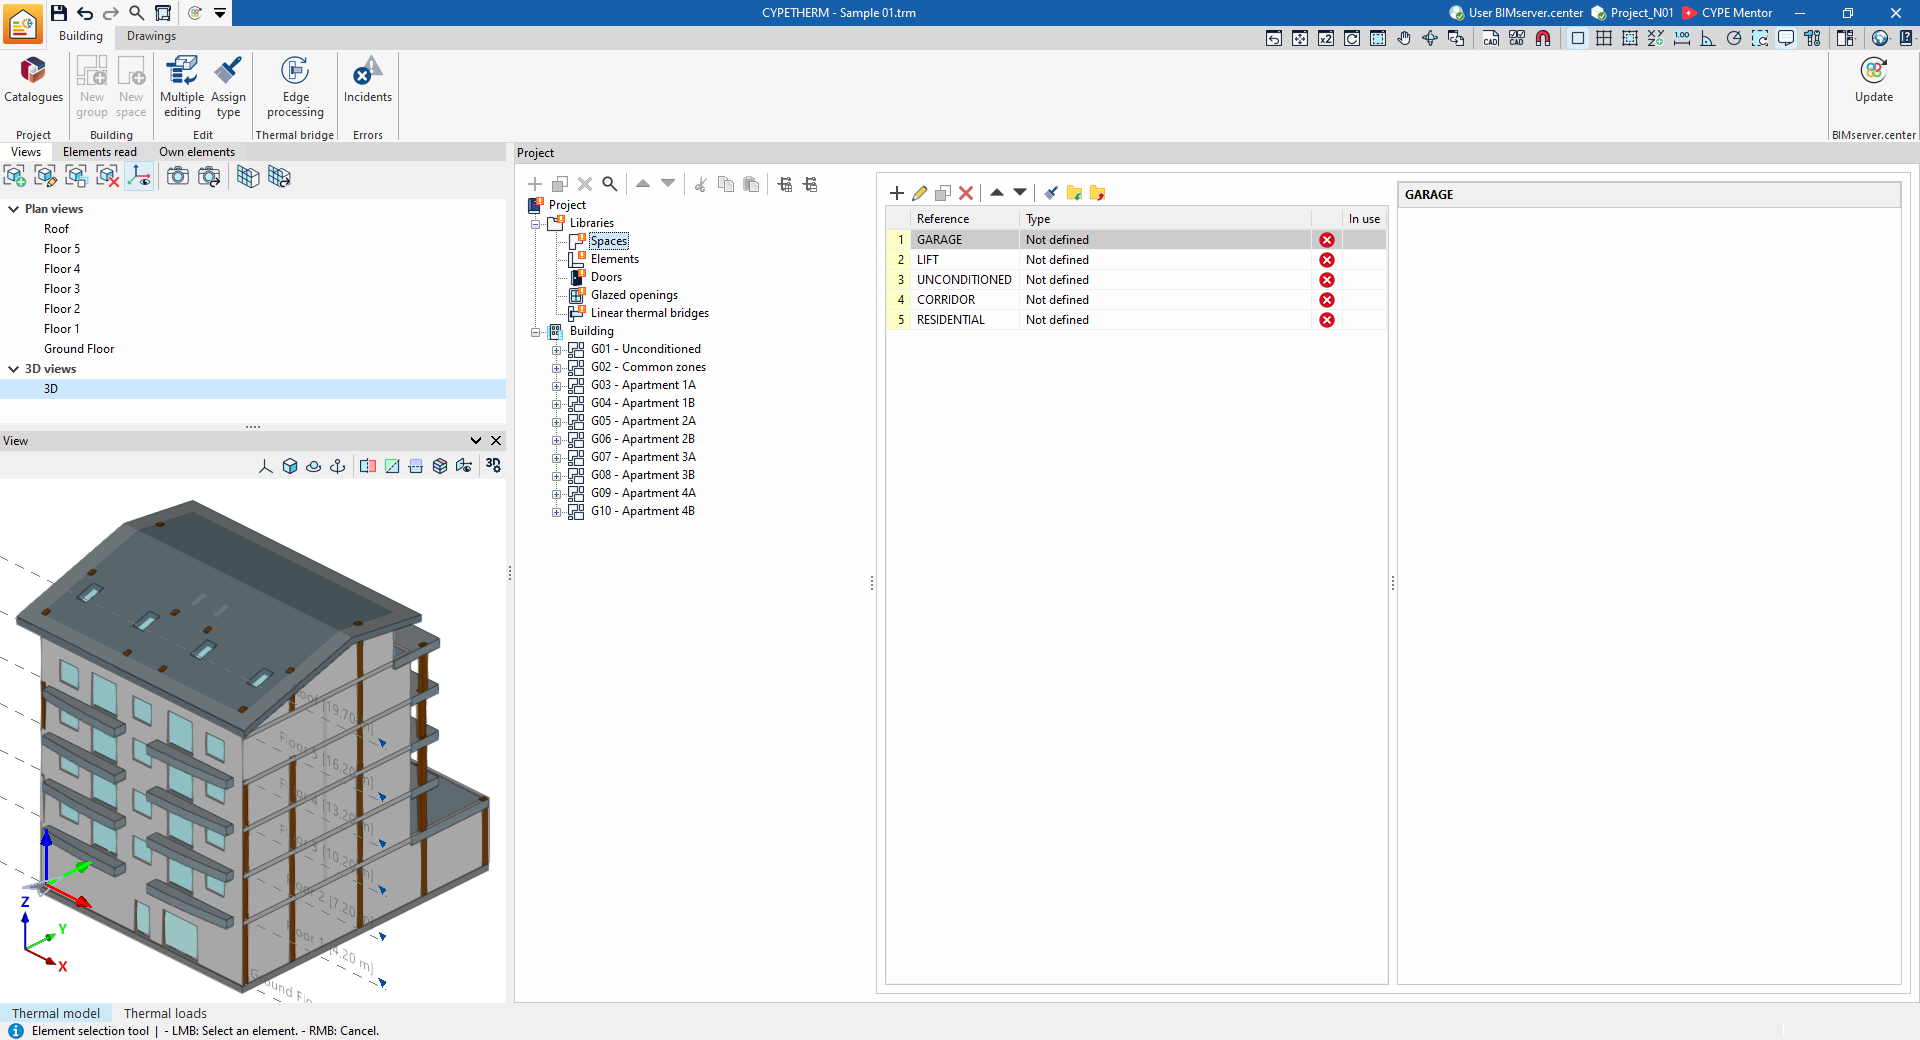
| Note: |
|---|
| In the building’s tree structure, libraries with types that have not yet been defined will be marked with an orange symbol. The data for these types must be edited to complete the building’s thermal model. If "Edge processing" has not been carried out during import, and if the edges from the BIM model have been imported, the thermal bridges in the library will appear as undefined. To carry out automatic thermal bridge management, the rest of the model must be defined and free of errors. At that point, you can use the "Edge processing" button to automatically define linear thermal bridges. If any changes need to be made to the building’s geometry, we advise making them in the original model, re-exporting the model to the BIMserver.center project, and updating the information in CYPETHERM using the "Update" option in the "BIMserver.center" group. To ensure the information is transferred correctly, the element references in CYPETHERM must not be modified. |
Work environment in a "Thermal loads" project
If the "Thermal loads" project type has been selected, the program interface displays three tabs at the bottom of the main window, each with a different work environment: "3D model", "Thermal model" and "Thermal loads".
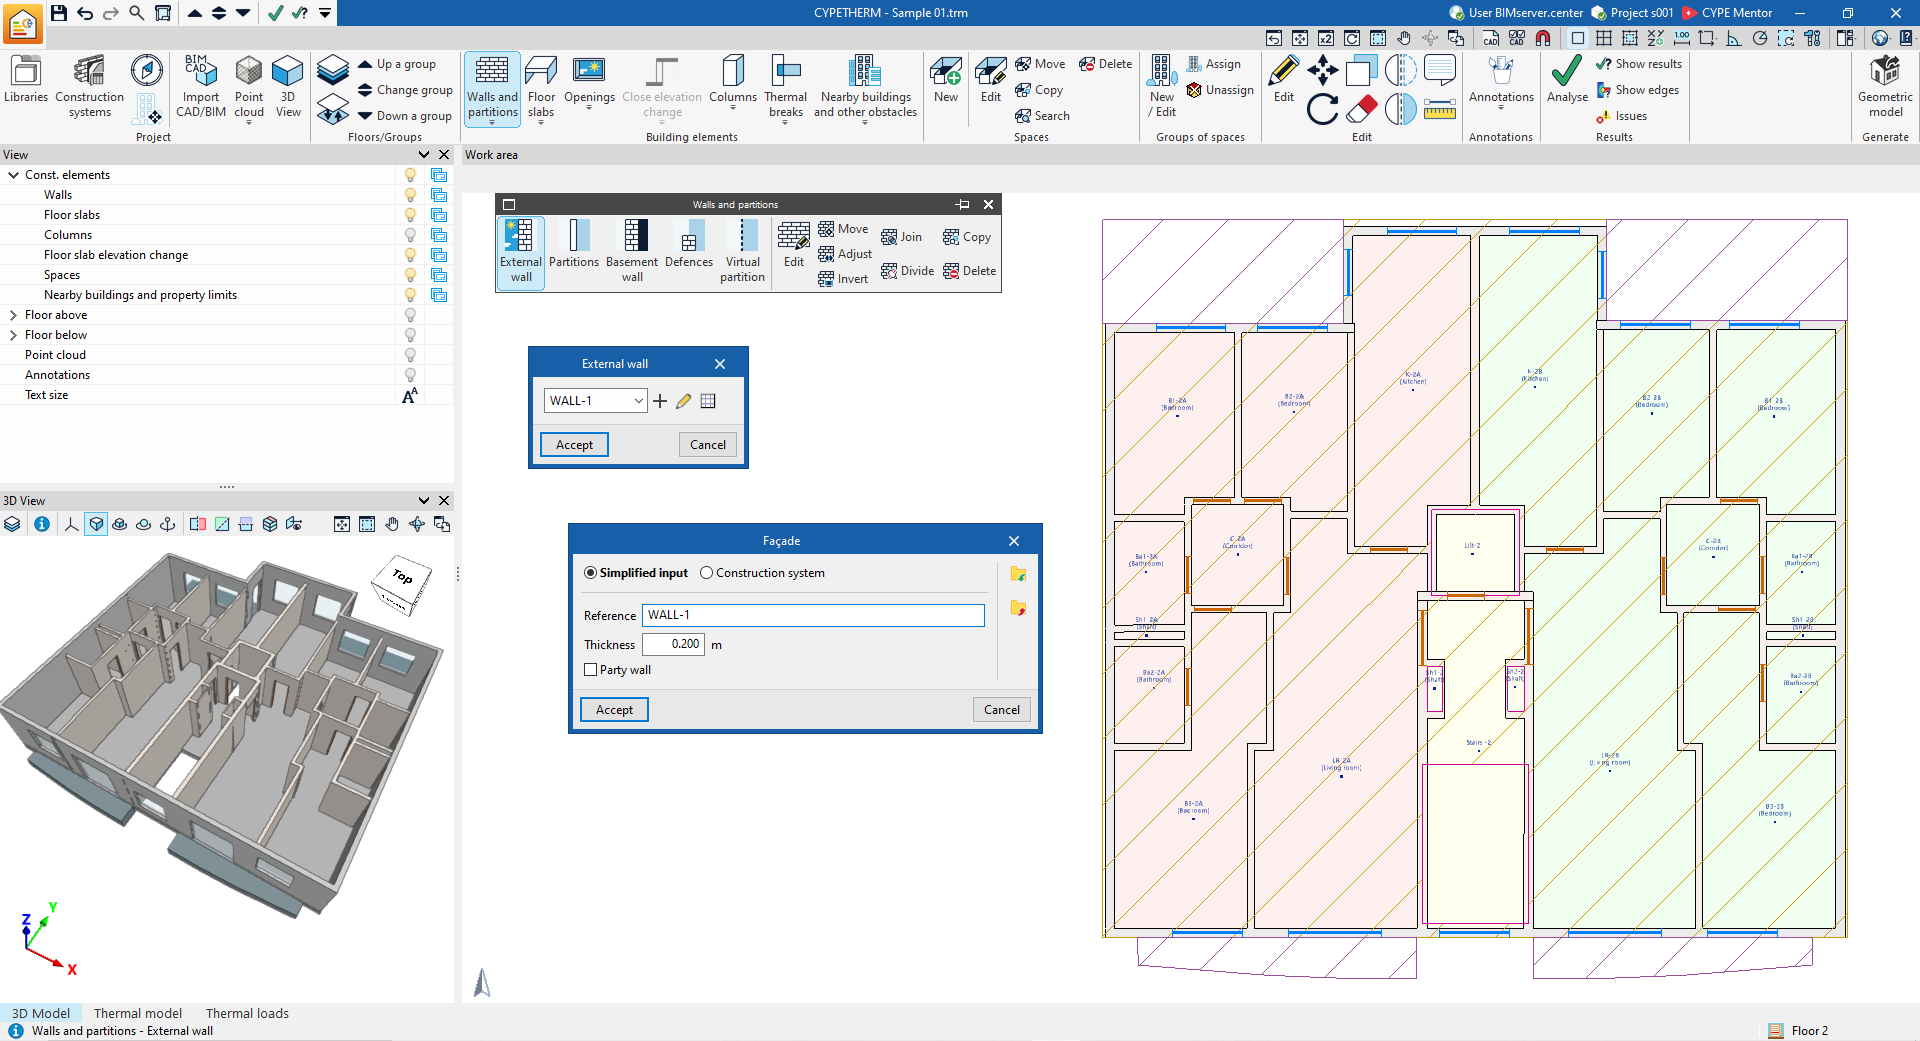
"3D Model" tab
The "3D Model" tab appears if a BIM model has not been imported and contains tools that let you design the building’s geometric or architectural model directly within CYPETHERM. You can also define construction systems.
Further information on the tools in the "3D Model" tab can be found via the following link:
"Thermal model" tab
The "Thermal model" tab contains the tools that let you adjust and complete the description of the building model, incorporating the thermal properties of its components.
This tab is, in turn, organised into two further tabs at the top of the main window: "Building" and "Drawings":
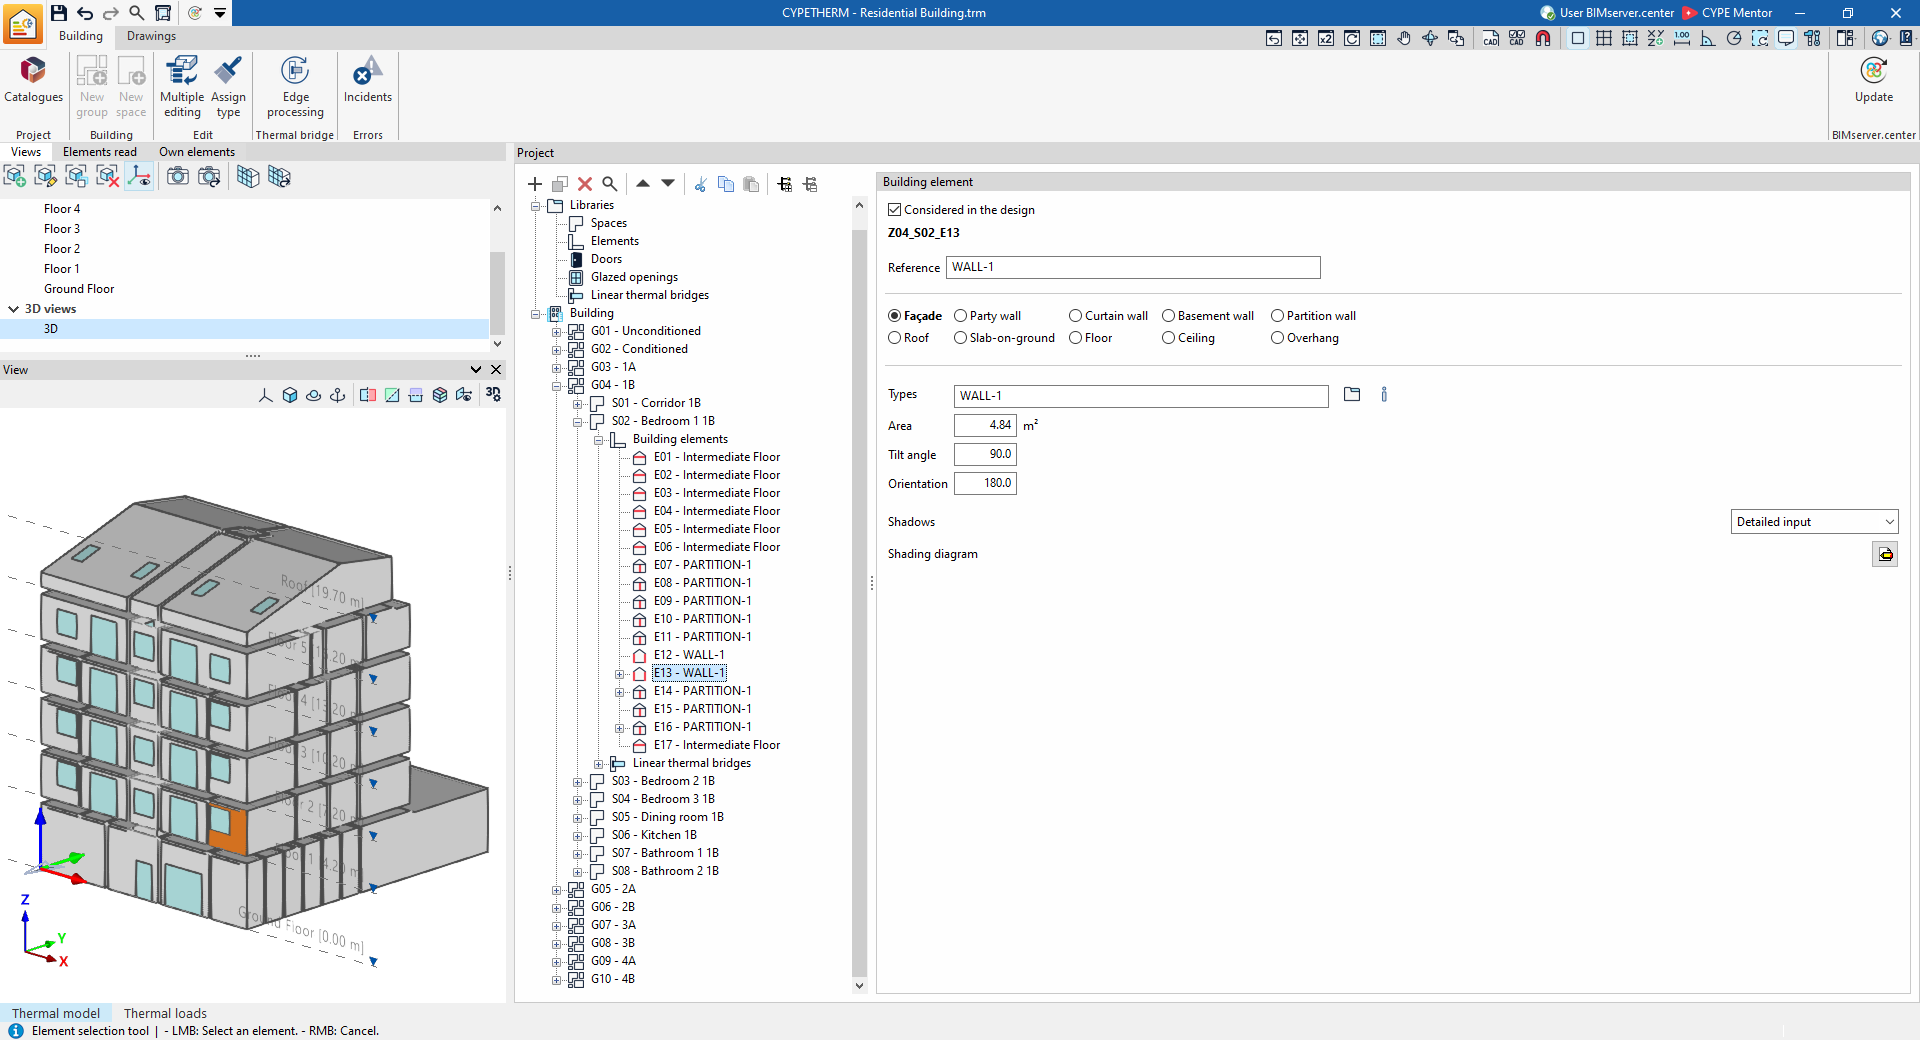
"Building" tab
The "Building" tab is used to define the spaces, building elements, openings and linear thermal bridges that make up the building’s thermal model.
Further information on the model definition process can be found under the "Building" tab via the following link:
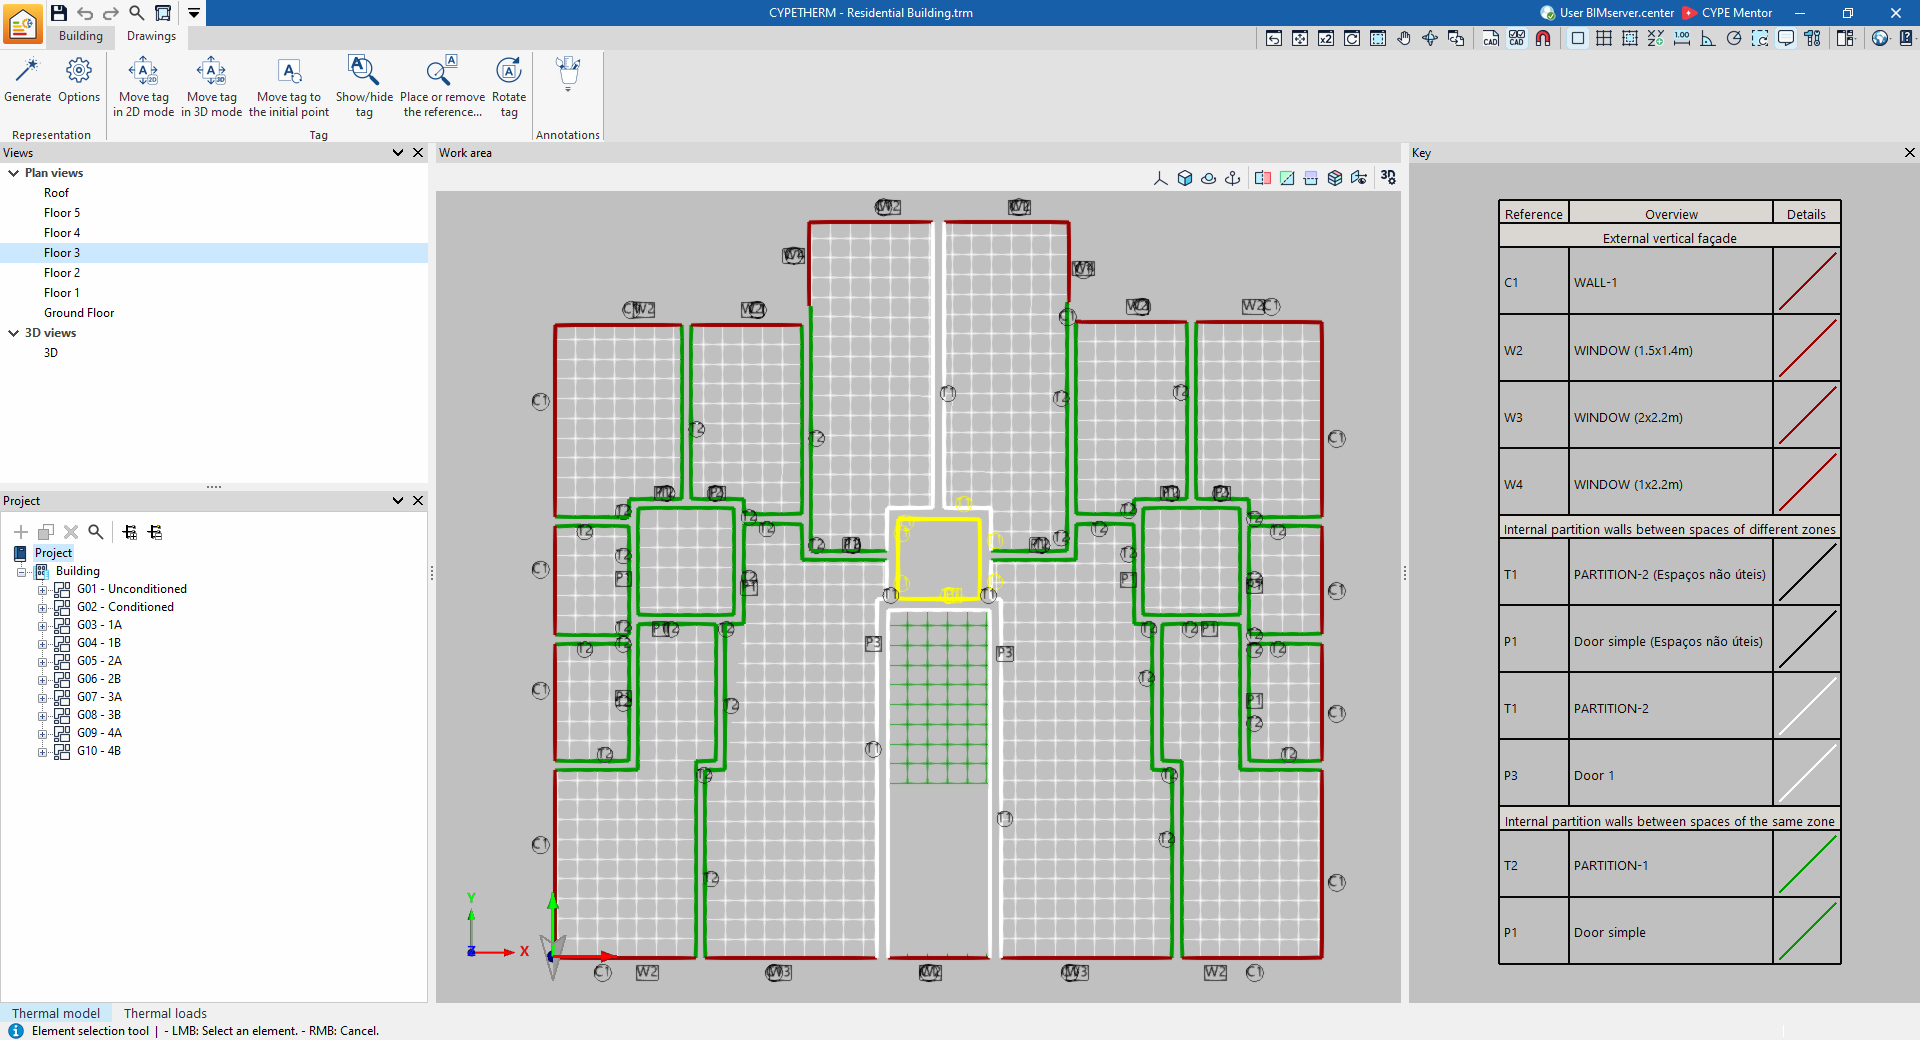
"Drawings" tab
The "Drawings" tab lets you create and edit the drawings for the building’s thermal envelope.
Further information on the options available on the "Drawings" tab can be found at the following link:
"Thermal loads" tab
The "Thermal loads" tab contains the tools for calculating thermal loads and viewing the results in various reports and graphs.
Further information on the calculation and display of results can be found under the "Thermal loads" tab at the following link:
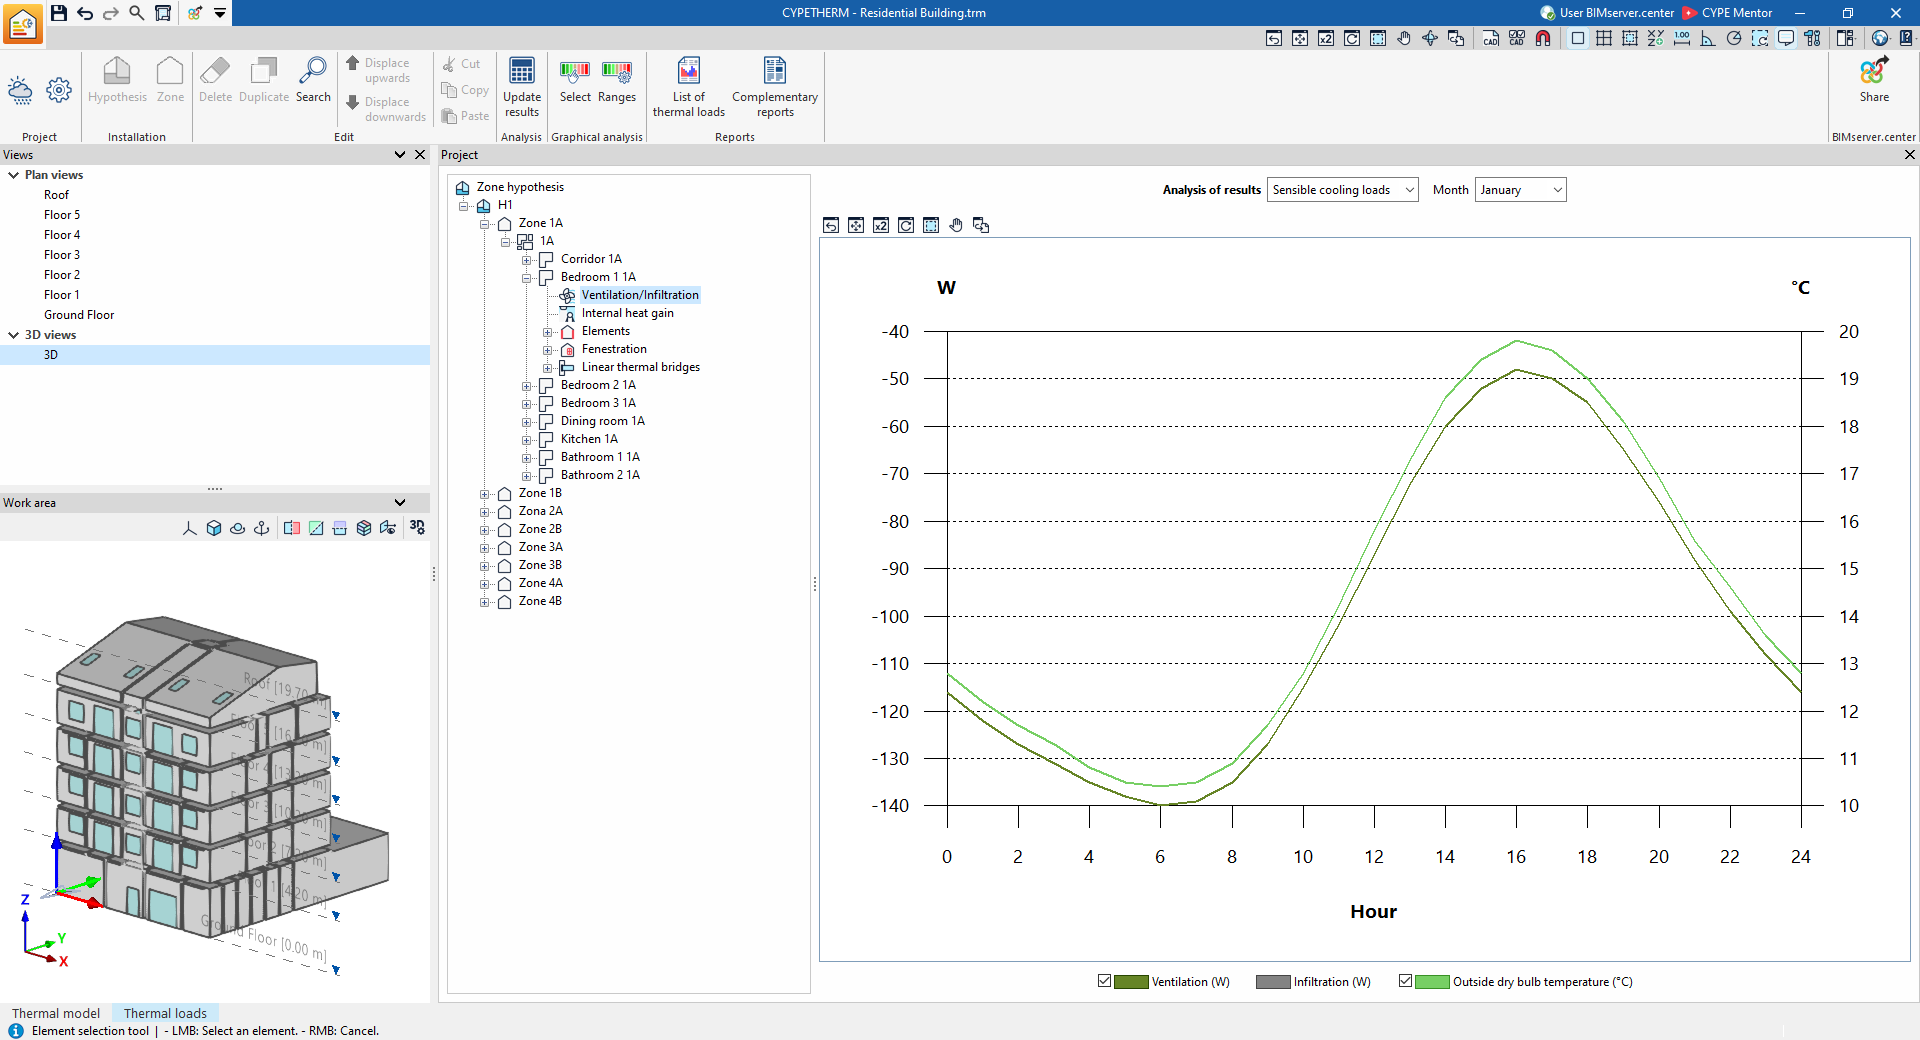
Table of contents
Complete your tour of CYPETHERM by exploring the other sections available:
- Introduction
- Project types:
- Interface tools:
- "3D Model" tab
- "Thermal model" tab:
- "Energy simulation" tab
- "Thermal loads" tab